
You finish decluttering the house, everything looks better, and then somehow three months later you are standing in the same room wondering where all the clutter came from.
I have found that the problem usually isn’t that people don’t know how to declutter. It is that they don’t have a simple system for doing it again. A one-time whole-house reset can make a dramatic difference, but regular small check-ins keep you from needing another exhausting weekend every few months.
That is where a full house declutter checklist becomes useful. Instead of treating decluttering as a huge project, you can divide the house into zones and give each one a quick review throughout the year. The goal is not to keep your home perfectly empty. It is to make decluttering predictable enough that you rarely have to think about where to start.
Why a Year-Round Decluttering System Works Better
A seasonal decluttering session and regular decluttering serve different purposes.
Seasonal decluttering helps you review things that change with the weather, such as winter coats, summer equipment, holiday decorations, or seasonal bedding. Regular decluttering deals with the everyday accumulation that happens regardless of the season.
For example, your kitchen might become cluttered because you bought a new appliance, while the entryway becomes crowded because everyone leaves bags there. Those problems don’t wait for spring or fall.
I prefer a system that combines both. You follow the same basic zone-by-zone checklist throughout the year, while adding seasonal tasks whenever they become relevant.
That gives you a routine without forcing you to declutter the entire house every month.
How to Build Your Full House Declutter Checklist
Start by dividing your home into practical zones rather than trying to create a complicated room-by-room schedule.
Your list should include the spaces where belongings actually accumulate, including hidden storage areas.
Keep the checklist short enough that you will actually use it. If your “quick monthly reset” contains 75 tasks, you are unlikely to keep doing it.
I recommend keeping the master list on your phone, in a notebook, or on a printed sheet inside a household binder.
Then choose a simple rhythm. You might review one or two zones each week, or spend 15 to 30 minutes checking several zones once a month.
The exact schedule matters less than having one.
1. Entryway and Drop Zone
Start with the area where things enter your home.
- Remove shoes, bags, mail, receipts, and clothing that no longer belong there.
- Check baskets and drawers for items that have been sitting there for too long.
- Return misplaced belongings to their rooms.
- Keep only the everyday items that genuinely need to stay within reach.
- Use a small tray for keys and other daily essentials so they don’t spread across nearby surfaces.
This zone deserves frequent attention because clutter here tends to travel into the rest of the house.

2. Living Room
The living room often collects objects that don’t have an obvious home.
- Clear coffee tables, side tables, shelves, and other visible surfaces.
- Return books, toys, chargers, dishes, and miscellaneous objects to their proper homes.
- Check blankets and cushions for items that have become worn or unnecessary.
- Review decorative objects that have gradually multiplied.
- Keep a small basket nearby for items that belong in other rooms.
Don’t turn this into a complete living room reorganization every time. The purpose of your regular checklist is simply to catch accumulation early.
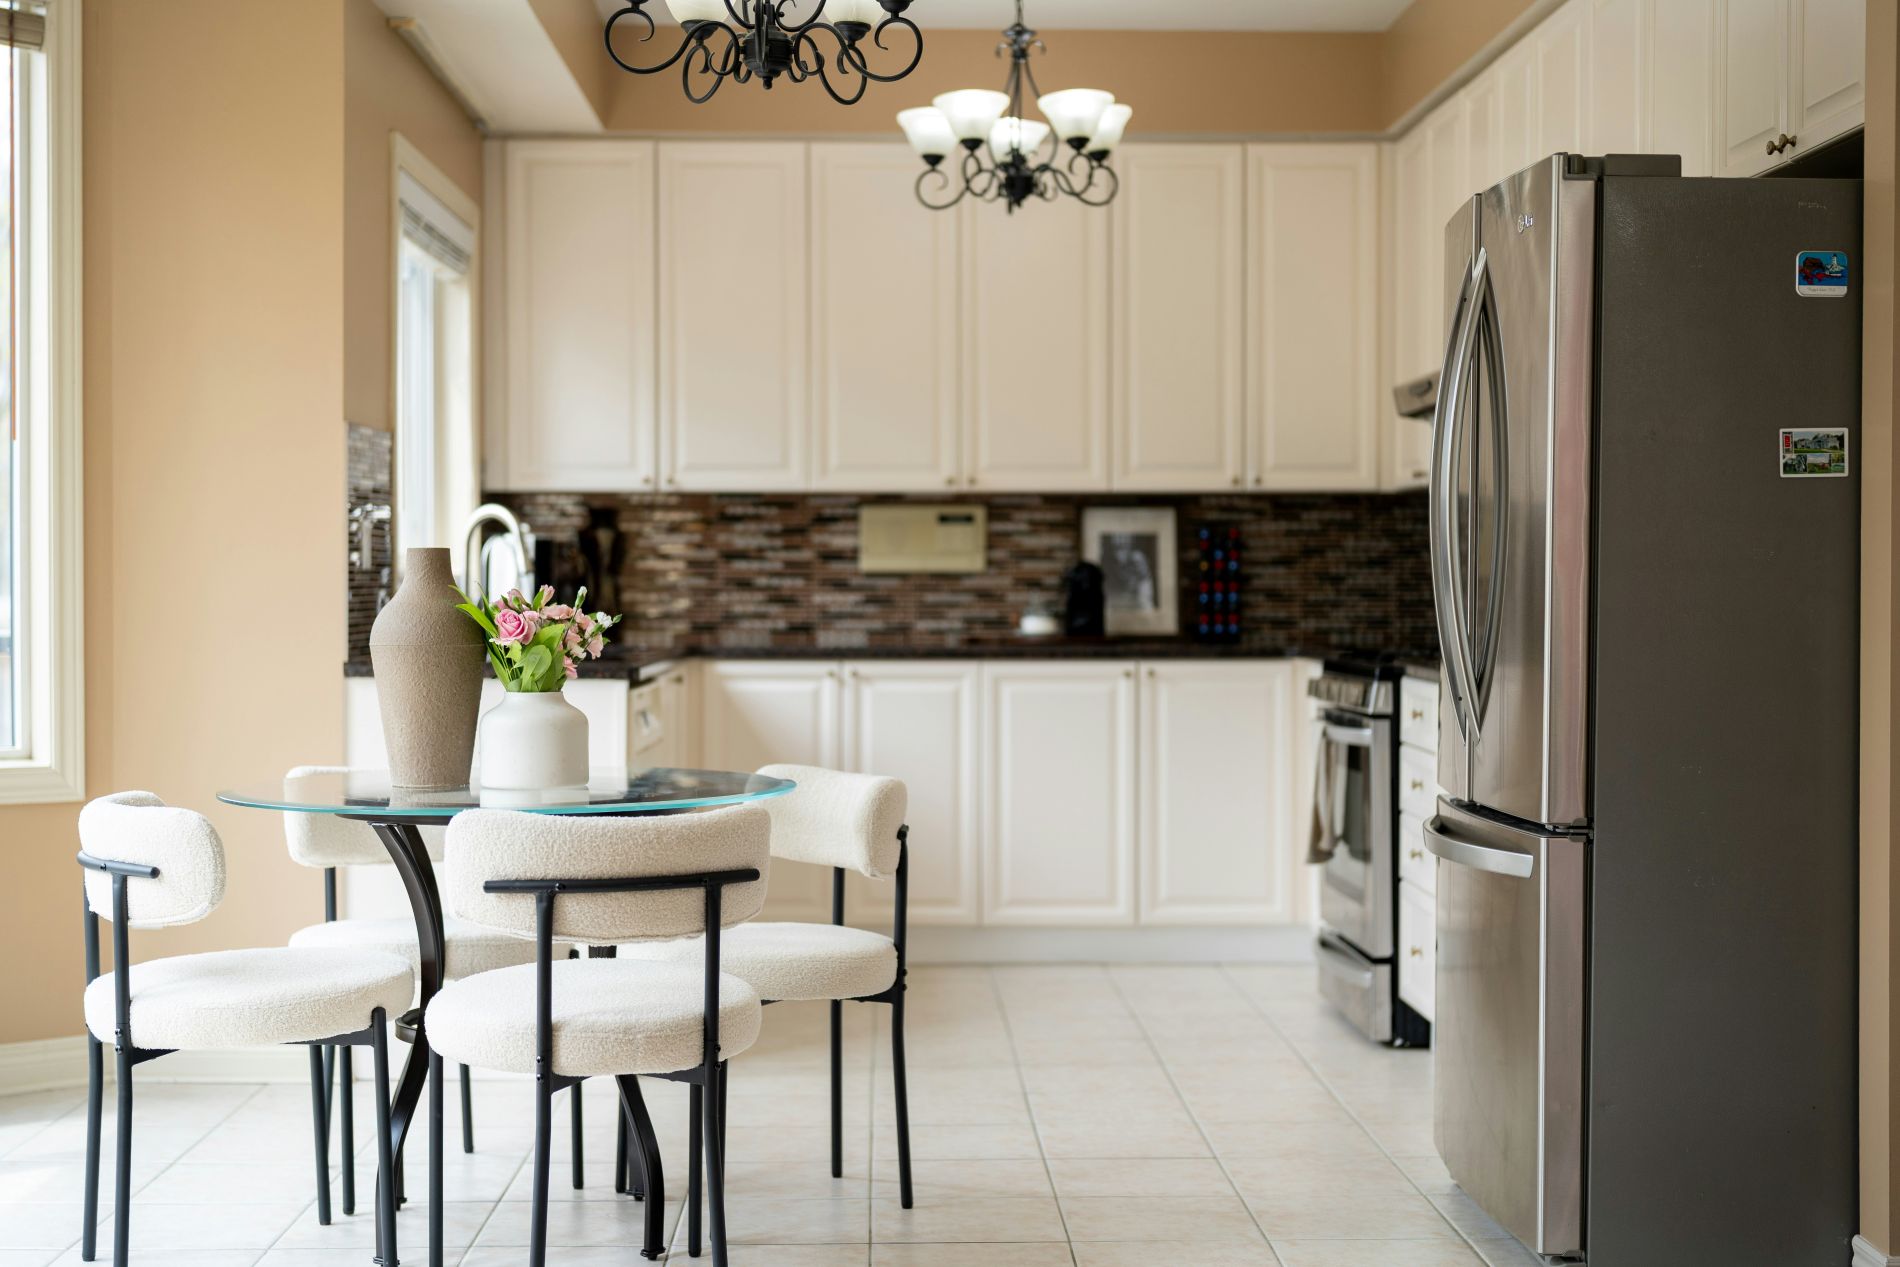
3. Kitchen
The kitchen needs regular attention because food, containers, appliances, and household supplies constantly move through it.
- Check the refrigerator and freezer for expired or forgotten food.
- Remove damaged utensils and containers with missing lids.
- Check pantry duplicates before buying replacements.
- Review appliances that take up valuable counter or cabinet space.
- Remove empty packaging and products you no longer use.
- Group items that belong together before deciding whether you need additional storage.
If you already completed a detailed kitchen decluttering session, this recurring check should take only a few minutes.
4. Dining Area
Dining spaces often become temporary storage when other rooms get busy.
- Clear paperwork, shopping bags, toys, and miscellaneous objects from the table.
- Review table linens for stains, damage, and unnecessary duplicates.
- Check serving dishes and specialty items that you rarely use.
- Return items that belong in the kitchen or another room.
- Keep the table available for its intended purpose rather than treating it as an extra storage surface.
A small nearby basket can help collect objects that need to be relocated later.
5. Bedroom
Your bedroom should have its own short recurring checklist.
- Check bedside tables for cups, receipts, packaging, books, and miscellaneous items.
- Review the floor and surfaces for belongings that migrated from other rooms.
- Remove clothing that needs repair or laundering.
- Check under-bed storage for items you forgot about.
- Review seasonal clothing whenever the weather changes.
- Return unused products and accessories to their proper storage.
You don’t need to repeat the full bedroom decluttering process every time. The detailed bedroom guide can handle the larger reset when you need it.

6. Closet
Closets need a slightly different approach because clothing often accumulates gradually.
- Check for clothing that needs repair, cleaning, or replacement.
- Move seasonal clothing when the weather changes.
- Remove obvious items you no longer wear or need.
- Review shoes and accessories that have become difficult to store.
- Check the floor and upper shelves for miscellaneous items.
For a more detailed wardrobe reset, use your dedicated closet decluttering process rather than trying to squeeze everything into your monthly checklist.
7. Bathroom
Bathroom clutter can build quietly because many products disappear behind cabinet doors.
- Remove empty toiletries and expired products.
- Check drawers for samples and products you never use.
- Review towels and linens for damage or excessive duplicates.
- Clear the countertop of products you rarely use.
- Check under the sink for forgotten supplies.
- Group similar products so you can see what you already own.
A few small containers can keep categories together, but don’t buy organizers simply to contain products you don’t actually need.
8. Home Office
Paperwork and small electronics make the home office particularly easy to neglect.
- Remove outdated paperwork that no longer needs to be kept.
- Clear your desk of items unrelated to current work.
- Review pens, notebooks, cables, and office supplies for duplicates.
- Check drawers for equipment you no longer use.
- Move personal belongings back to their appropriate rooms.
- Keep one small container for cables and accessories that you actually use.
If your office has accumulated a large amount of paper, give that task its own session rather than allowing it to overwhelm your regular checklist.
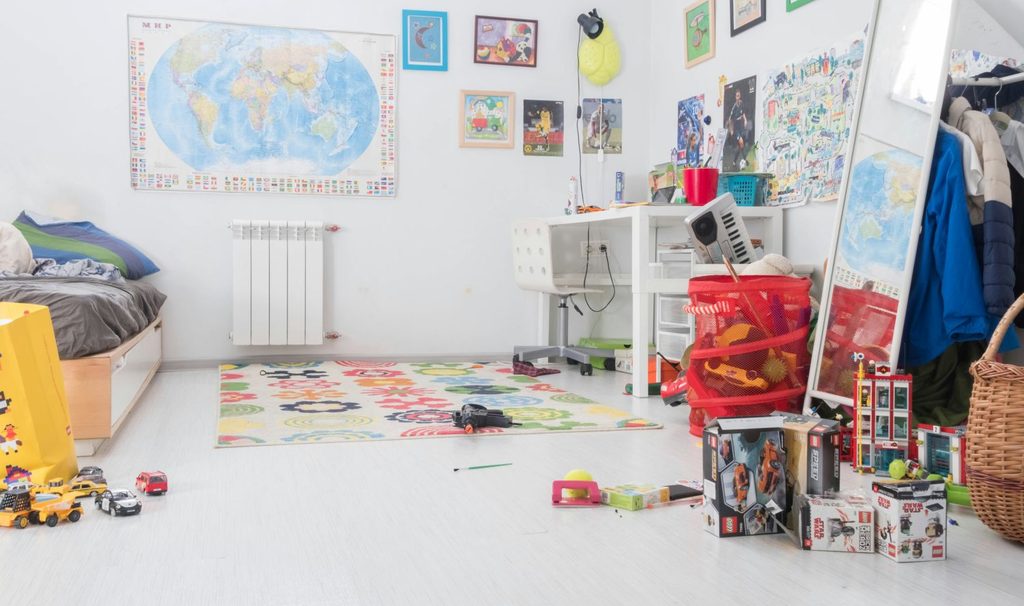
9. Kids’ Room and Play Area
Children’s belongings change quickly, so this zone benefits from short, frequent reviews.
- Remove broken toys and games with missing essential pieces.
- Check clothing for size changes.
- Return books and toys to their appropriate areas.
- Review school supplies after each major school period.
- Remove artwork or papers that no longer need to be kept.
- Keep a donation bag accessible for items your child has outgrown.
You can make this easier by involving children in age-appropriate decisions instead of trying to make every decision for them.
10. Laundry and Utility Areas
These spaces often become storage zones because they’re functional rather than decorative.
- Remove empty detergent and cleaning containers.
- Check cleaning supplies for products you no longer use.
- Clear the tops of appliances.
- Return miscellaneous objects to their proper locations.
- Check shelves and cabinets for duplicates.
- Keep frequently used supplies together in a simple handled caddy.
Use appropriate storage and follow product labels when dealing with household chemicals.
11. Garage
The garage deserves a less frequent but still predictable review.
- Remove obvious rubbish and broken items.
- Check seasonal sports equipment.
- Review duplicate tools and household supplies.
- Identify items that have been sitting unused for a long time.
- Keep frequently used tools accessible.
- Label seasonal storage containers clearly.
Don’t try to completely reorganize the garage during every whole-home check. A quarterly review is often more realistic.
For a larger project, use the dedicated garage decluttering guide rather than rebuilding your entire system each time.
12. Basement, Attic, and Storage Areas
Hidden storage is where clutter can survive for years.
- Check one storage category at a time.
- Look for broken seasonal items before storing them again.
- Review boxes that haven’t been opened in a long time.
- Replace vague labels with specific descriptions.
- Keep frequently needed items near the front.
- Create a small “needs decision” box instead of putting uncertain belongings back immediately.
You don’t need to inspect every storage box every month. Rotate through these areas during the year.
13. Outdoor and Seasonal Storage
Finally, include the spaces outside your main living areas.
- Review gardening equipment before and after the main growing season.
- Check outdoor toys and sports equipment.
- Review patio accessories as the seasons change.
- Remove broken outdoor items before storing them.
- Check seasonal decorations before putting them back into storage.
- Keep similar seasonal belongings together.
This is where your seasonal decluttering articles can work alongside your year-round system.

How to Make Your Checklist Easy to Maintain
The most important part of a full house decluttering checklist isn’t how comprehensive it looks. It is how easy it feels to complete.
I recommend using three simple decisions whenever you check a zone:
Keep: It has a clear purpose and belongs here.
Remove: It is broken, unnecessary, duplicated, or no longer useful.
Move: It belongs somewhere else.
You don’t need a complicated sorting system for regular maintenance.
If you’re unsure about something, place it in a labeled decision box and continue. Setting a time limit for reviewing that box can prevent indecision from stopping your entire session.
A Simple Year-Round Schedule
You can adapt the schedule to your household, but this structure gives you a starting point:
Weekly: Entryway, kitchen surfaces, living room accumulation.
Monthly: Bedrooms, bathroom, home office, kids’ spaces, laundry area.
Quarterly: Garage, storage areas, outdoor equipment, seasonal belongings.
Seasonally: Clothing, bedding, holiday items, outdoor equipment, and other things that change with the weather.
This means you’re rarely attempting a complete whole-house reset.
Instead, each area gets attention at an appropriate frequency.
A Small Hack That Makes Decluttering Easier
Keep a permanent donation bag somewhere discreet in your home.
When you notice an item you no longer need, put it directly into the bag rather than waiting for your next decluttering session.
I also keep a small “belongs elsewhere” basket during larger resets. It prevents me from walking between rooms repeatedly and losing momentum.
One Mistake That Can Undo the System
Don’t turn every decluttering session into a shopping trip.
If a drawer looks messy, your first question should be whether you own too many things, not which organizer you should buy.
Storage products work best when they solve a specific problem. Otherwise, they can simply give clutter a more attractive container.
What to Do When Your Home Falls Behind
Even the best system will sometimes fail.
A busy month, a move, visitors, illness, holidays, or a major life change can interrupt your routine. When that happens, don’t try to “catch up” by creating an enormous checklist.
Start with the highest-impact zones: kitchen, entryway, living room, and bedroom.
Then return to your normal schedule.
The goal is a system you can restart easily, not one that only works when life goes perfectly.
Your Whole-Home Decluttering Rule
Once you have completed the initial reset, your checklist should become boring.
That may sound strange, but I think it is a good sign.
You should know what to check, where to look, and what decisions to make without spending half an hour planning your next move.
For larger projects, you can use the detailed guides for your closet, bedroom, kitchen, bathroom, living room, home office, kids’ room and garage when a particular zone needs more attention. And here is a plan for 30-day whole home reset.
A Few Last Words
A full house declutter doesn’t have to mean starting over every few months. Create one simple checklist, divide it by zones, and give each area attention at a frequency that makes sense for your home. Once the system becomes familiar, you spend less time wondering what to declutter and more time maintaining the home you already worked hard to create.
Featured image credit: Photo by Franco Debartolo on Unsplash
Leave a Reply