
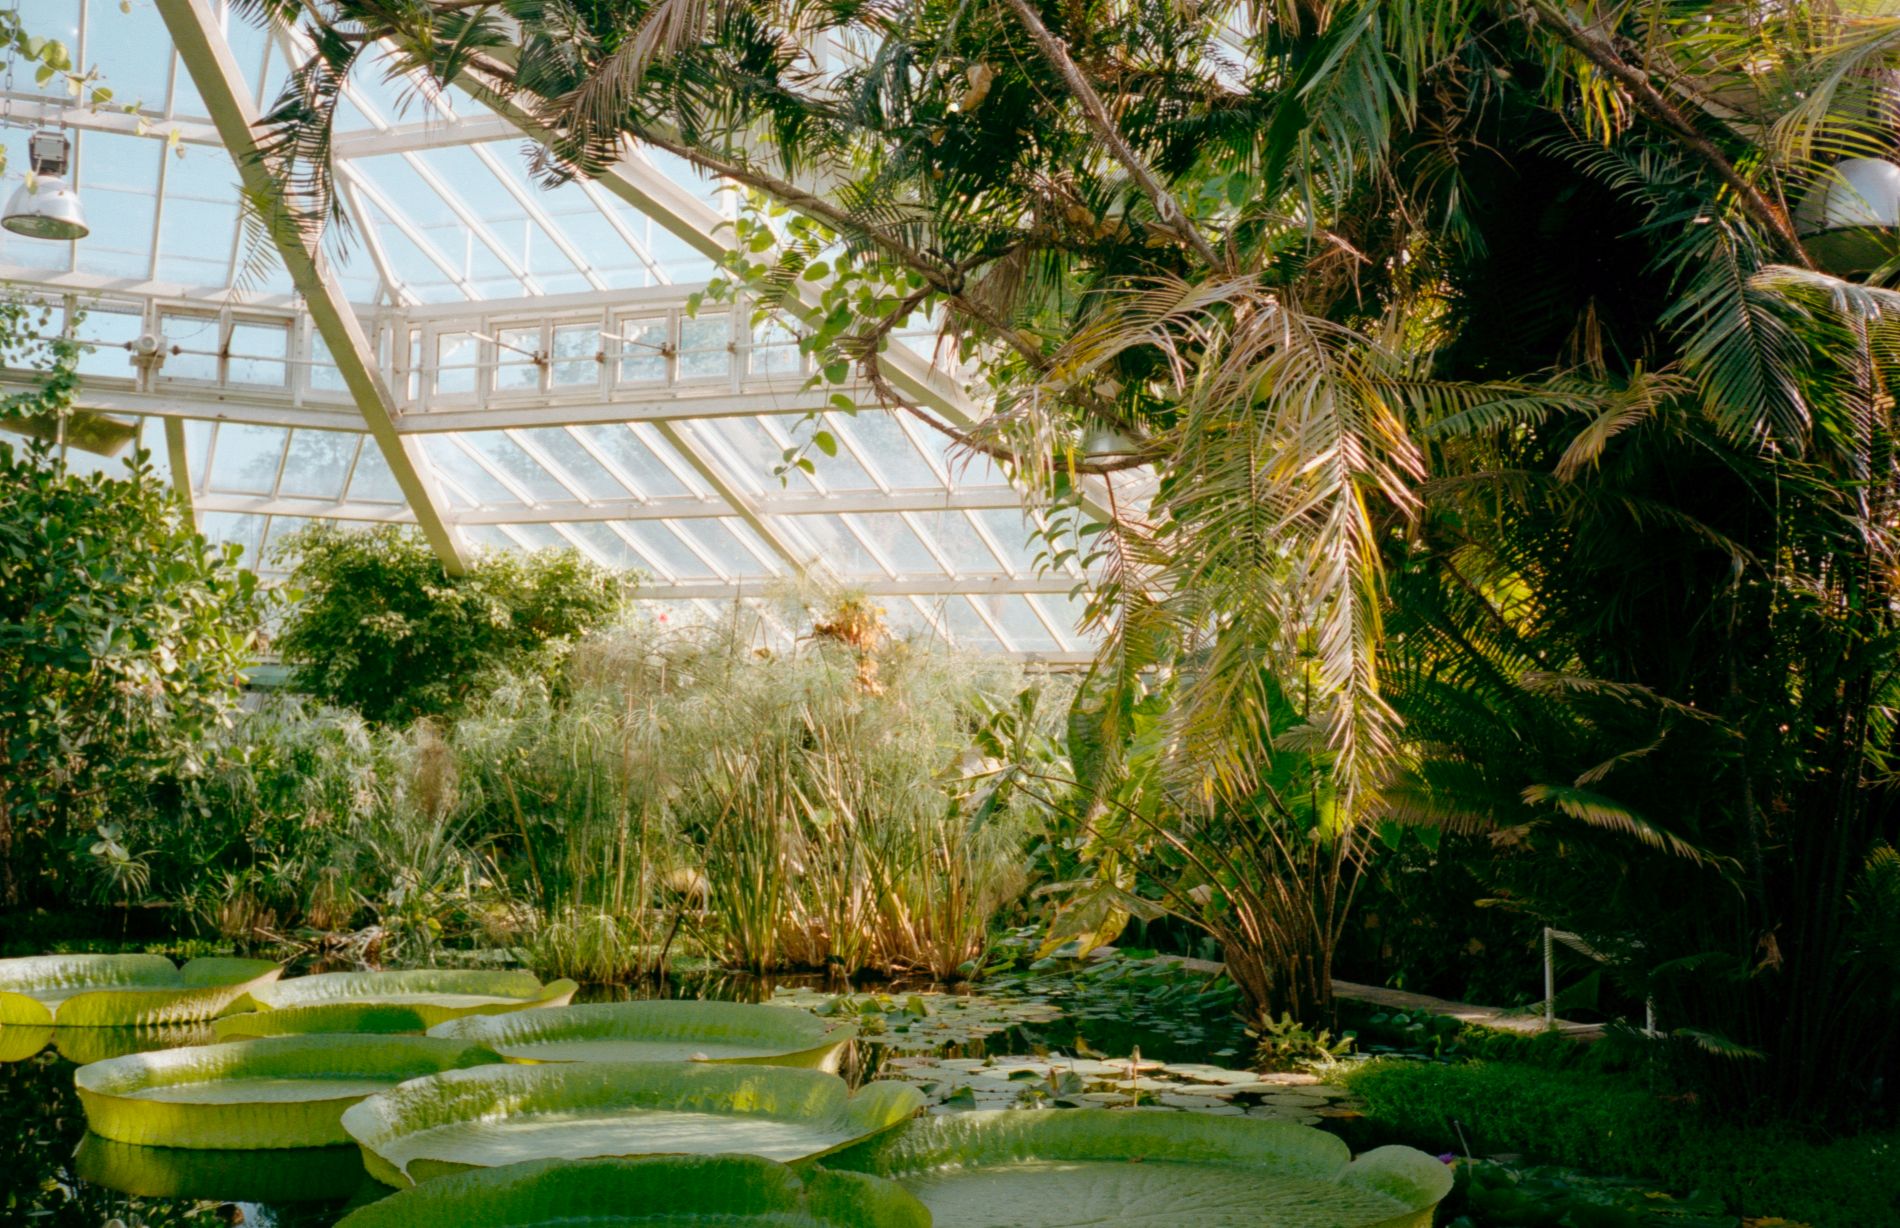
You finally have a greenhouse, but standing inside it with trays, seed packets, pots, and bags of compost can leave you wondering what you are actually supposed to do first. A greenhouse looks simple from the outside, yet the growing environment behaves very differently from an outdoor garden.
That controlled environment is exactly what makes a greenhouse useful. You can protect plants from heavy rain, extend your growing season, start seedlings earlier, and manage temperature and moisture more closely. But there is a catch: a poorly managed greenhouse can become too hot, too humid, or too dry surprisingly quickly. Greenhouse gardening for beginners becomes much easier when you learn to manage the environment before worrying about growing a perfect crop. So, let us go through the process from an empty greenhouse to your first harvest.
Why Greenhouse Gardening Can Be So Useful
A greenhouse gives you something an outdoor garden cannot easily provide: control. You can protect young plants from sudden weather changes, reduce damage from heavy rain and wind, and create a longer growing window.
However, I would not treat a greenhouse as a place where you can simply put plants and leave them alone. On a sunny day, temperatures inside can rise rapidly, while poor airflow can trap humid air around the leaves. Extension guidance specifically recommends ventilation to control greenhouse temperature and humidity, and notes that overheating can damage or even kill plants.
That is why my approach to greenhouse gardening is simple: set up the environment first, then grow the plants.
Also read: 15 Vegetables to Grow in a Greenhouse for More Harvests All Year
Greenhouse Gardening for Beginners: Start With These Steps
1. Choose the Right Position for Your Greenhouse
If you are still building your greenhouse, think about location before anything else. Choose a place with good exposure to sunlight and avoid putting it directly beneath trees or beside buildings that cast long shadows.
Morning sunlight is particularly valuable, and extension guidance recommends maximizing light exposure when selecting a greenhouse location. You should also think about access to water and electricity if you plan to use fans, heating, grow lights, or automated watering.
If your greenhouse already exists, spend a day observing how sunlight moves across it before deciding where each plant will go.
2. Plan Your Greenhouse Gardening Layout
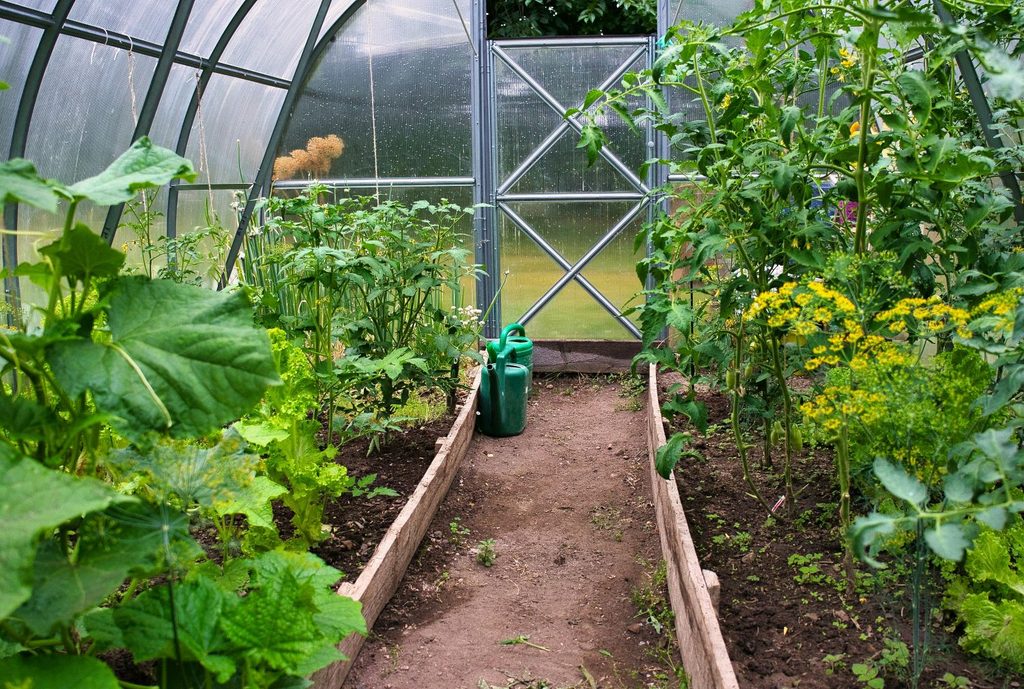
Before filling the greenhouse with pots, make a simple greenhouse gardening layout on paper. You do not need a complicated design program. A notebook and measuring tape are enough.
Leave a walkway wide enough for you to carry a watering can, harvest basket, or tray without knocking into plants. Put taller plants where they will not unnecessarily shade shorter ones, and keep frequently harvested plants somewhere you can reach easily.
I also like keeping one small area free for seedlings. It prevents you from having trays scattered across every available surface when you need to start the next batch.
A narrow shelving unit can provide several levels of growing space without taking up much floor area. Use sturdy shelves rather than decorative furniture because wet pots become surprisingly heavy.
3. Install the Basic Equipment Before Planting
You do not need an expensive greenhouse full of technology. Start with a minimum/maximum thermometer, a humidity meter, a watering can with a gentle rose, seed trays, plant labels, pruning scissors, and a small fan.
A thermometer is particularly important because greenhouse temperatures can change much faster than outdoor temperatures. If your budget allows, an automatic vent opener is one of the upgrades I would prioritize. It can open a vent as the greenhouse heats up without requiring you to remember to check it every hour.
For larger greenhouses, exhaust fans and additional ventilation may become worthwhile. Smaller structures can often rely on doors, roof vents, or windows for natural ventilation.
4. Clean the Greenhouse Before You Bring Plants Inside
This is one of those jobs that feels unnecessary until you experience a pest or disease problem.
Remove old plant material, weeds, dead leaves, and spilled potting mix. Wash dirty glazing so you are not unnecessarily reducing the amount of sunlight entering the greenhouse.
I also recommend keeping a small lidded storage box inside for labels, plant ties, scissors, gloves, and other small tools. It sounds minor, but having everything in one place makes regular maintenance much easier.
Cleaning also reduces hiding places for pests. Remove weeds and infected or infested plant debris because they can harbor pests and diseases.
5. Prepare the Growing Medium
If you are growing directly in greenhouse beds, test your soil before adding large quantities of fertilizer or amendments. If you are using containers, choose a good-quality potting mix rather than digging ordinary garden soil into every pot.
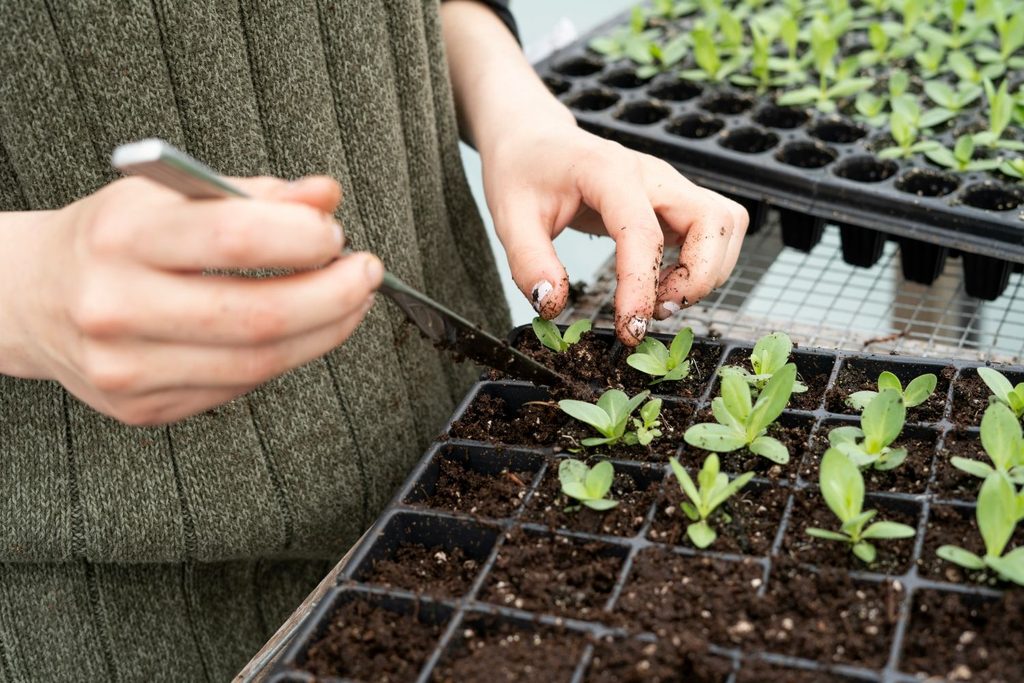
For seedlings, use a fine, well-draining seed-starting medium. Young roots need moisture, but they also need air around them.
I would avoid the common temptation to add a huge amount of compost because you think more organic matter automatically means healthier plants. Compost is useful, but your plants still need an appropriate balance of nutrients, drainage, and air.
Also read: Plant Soil Mixture Guide: The Best DIY Mixes for Your Indoor Plants
6. Start Your Seeds Properly
Read the seed packet before planting because it tells you the expected germination temperature, planting depth, spacing, and approximate maturity period.
Fill your seed tray with moist growing medium, make the recommended planting depth, place the seeds inside, and gently cover them. Label every tray with the crop and sowing date.
Keep the medium evenly moist rather than soaking it repeatedly. A small spray bottle works well for very small seeds, while bottom-watering can help prevent disturbance of the surface. Extension guidance recommends keeping young seedlings evenly moist without leaving them soggy.
One useful money-saving trick is to test leftover seeds before planting an entire tray. Place a known number of seeds between damp paper towels and check how many germinate. If only half germinate, you know not to rely on that packet for an important crop. Test older seed for germination before sowing.
Also read: Your Complete Seed Starting Checklist: Everything Beginners Need to Grow Big From Tiny Seeds
7. Give Seedlings Enough Light
A greenhouse does not automatically guarantee enough light.
During short winter days or prolonged cloudy weather, seedlings may become tall, thin, and weak because they are searching for more light. Place trays in the brightest suitable location and consider an LED grow light if natural light remains inadequate.
Keep the light close enough to the seedlings according to the manufacturer’s instructions, and use a timer so you do not have to remember when to turn it on and off.
Once seedlings develop their first true leaves, gradually give them more space and airflow.
Also read: 12 Vegetables to Grow in Shade for a Productive Low-Light Garden
8. Harden Plants Before Moving Them Around
If you start seedlings in a particularly protected environment, do not suddenly move delicate plants into a dramatically different growing condition.
Gradually expose them to more airflow, stronger light, and the temperatures they will experience in their final growing position. This reduces the shock of transplantation.
When seedlings have reached an appropriate size for their crop, transplant them into their final containers or greenhouse beds. Water them after transplanting and avoid immediately giving them a heavy dose of fertilizer.
9. Build a Watering Routine Based on the Soil
This is where I would change the way you think about greenhouse gardening.
Do not decide that your plants need water simply because it is Tuesday.
Check the soil first. Push your finger into the growing medium or use an inexpensive moisture meter. If the soil is still damp below the surface, wait.
Greenhouse plants can lose water quickly during hot weather, but winter plants may use considerably less. Overwatering is particularly easy to do when you assume that more water means faster growth.
When you water, water thoroughly enough to reach the root zone. For containers, allow excess water to drain away rather than leaving pots sitting in water.
Also read: 11 Signs of Overwatering Plants Every Gardener Should Know Before It’s Too Late
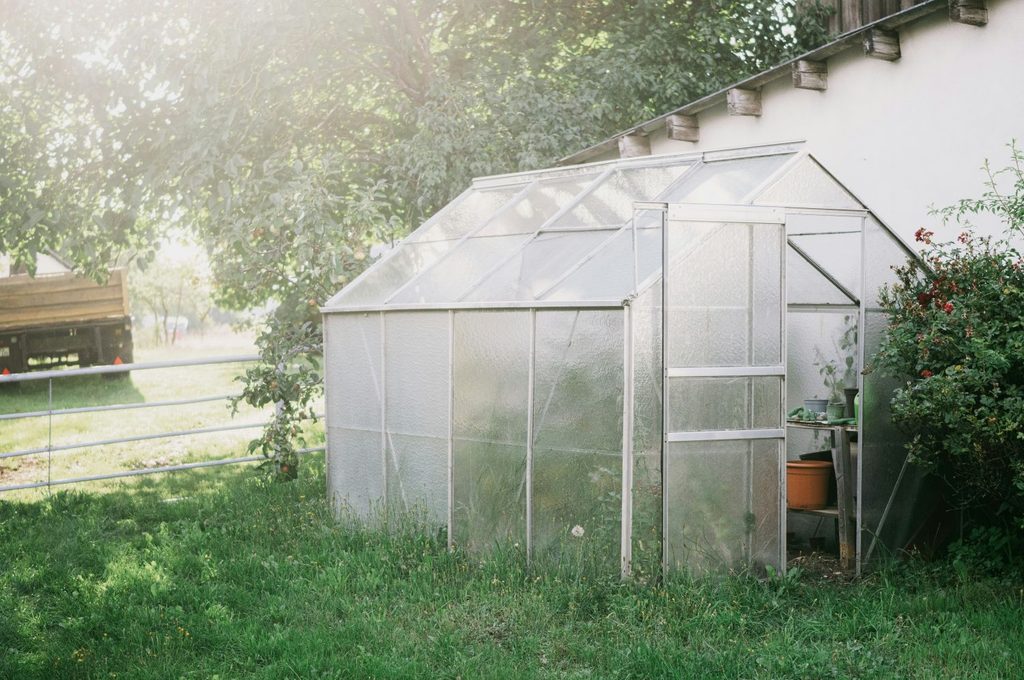
10. Control Temperature Before It Becomes a Problem
The sun can turn a greenhouse into a very hot space surprisingly quickly.
Check your thermometer in the morning and again around the warmest part of the day. If temperatures climb too high, open doors and vents or use your fan to move hot air out.
Good ventilation also helps manage humidity. When humid air remains trapped around plant leaves, condensation and disease problems become more likely.
For a beginner, I would spend money on ventilation before buying complicated greenhouse gadgets. A healthy airflow system usually solves more problems than another piece of equipment.
11. Keep Humidity Under Control
Humidity is not automatically bad. Plants need moisture in the air, and some crops prefer higher humidity. The problem occurs when the greenhouse stays damp for too long, especially overnight.
If you see condensation repeatedly covering the leaves or greenhouse walls, take it seriously. Increase airflow and avoid unnecessary evening watering.
A small circulation fan positioned to move air through the plant canopy can make a noticeable difference. You want gentle movement, not leaves constantly bending in a strong stream of air.
12. Feed Plants According to Their Growth
Once plants begin actively growing, they need nutrients. However, you should not automatically fertilize every time a plant looks slightly unhappy.
Start with the instructions for your potting mix or fertilizer. If you have tested your soil, use the results to guide amendments.
For container plants, nutrients can gradually leave with drainage water, so long-season crops may need regular feeding. A slow-release fertilizer can make this easier for beginners because you do not have to remember multiple liquid-feed applications.
Keep fertilizer in a sealed, labeled storage container away from children and pets.
Also read: 11 Signs of Overfertilizing Plants Every Gardener Should Know Before It’s Too Late
13. Train, Prune, and Support Plants Early
Do not wait until a plant has become a tangled mass before deciding how you want it to grow.
Install stakes, trellises, clips, or plant strings while plants are still small. This is especially helpful for crops that climb or produce heavy fruit.
Tie plants loosely rather than tightly so stems can expand. Check supports every few days as the plants grow.
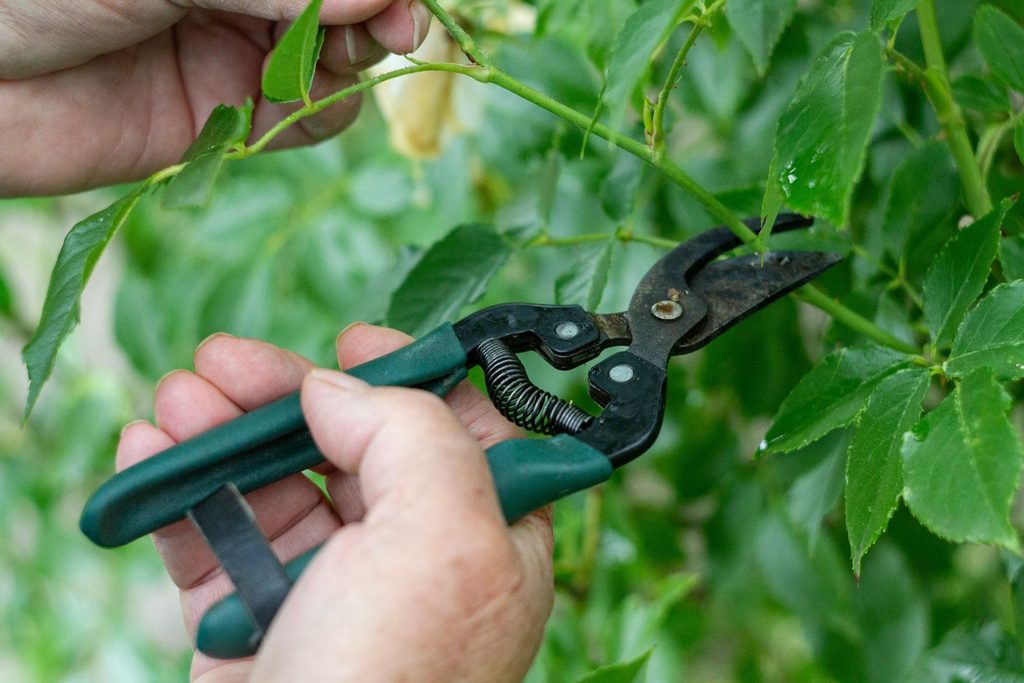
I also find that keeping pruning scissors in a dedicated tool box inside the greenhouse makes it much more likely that I will remove damaged leaves promptly instead of thinking, “I will do it later.”
14. Check Plants Before Problems Spread
Make a habit of looking at your plants closely at least a few times each week.
Check the underside of leaves, new growth, stems, and the soil surface. Look for tiny insects, sticky residue, distorted leaves, fungal spots, wilting, or unusual discoloration.
Yellow sticky traps can help you notice flying pests early. Use them as an early warning tool in greenhouses.
The important part is noticing a small problem before it becomes a greenhouse-wide problem.
15. Harvest at the Right Time
Your greenhouse work does not end when the first vegetable appears.
Harvest crops according to the variety’s recommended maturity and remove overripe or damaged produce promptly. Regular harvesting encourages many fruiting crops to continue producing.
Keep a small harvest basket inside the greenhouse so you do not have to carry tools and produce separately. I also recommend recording your first harvest date. Next season, that information will be much more useful than trying to remember when you planted something months earlier.
Small Greenhouse Tricks That Save Time and Money
One of my favorite greenhouse gardening ideas is to use inexpensive clips to create a simple vertical storage system along an unused wall. Hang labels, scissors, twine, gloves, and small tools there instead of buying a specialized organizer.
Another useful trick is to keep a written greenhouse log. Record sowing dates, first harvests, fertilizer applications, unusual temperatures, and pest problems. After one season, you will have your own greenhouse gardening layout plan and growing calendar rather than starting from zero every year.
You can also place a cheap maximum/minimum thermometer at plant height rather than only near the greenhouse roof. The temperature where your plants actually grow matters more than the temperature several feet above them.
Also read: 8 Gardening Hacks That Save Busy People Real Time and Money
The Greenhouse Mistake I Would Avoid
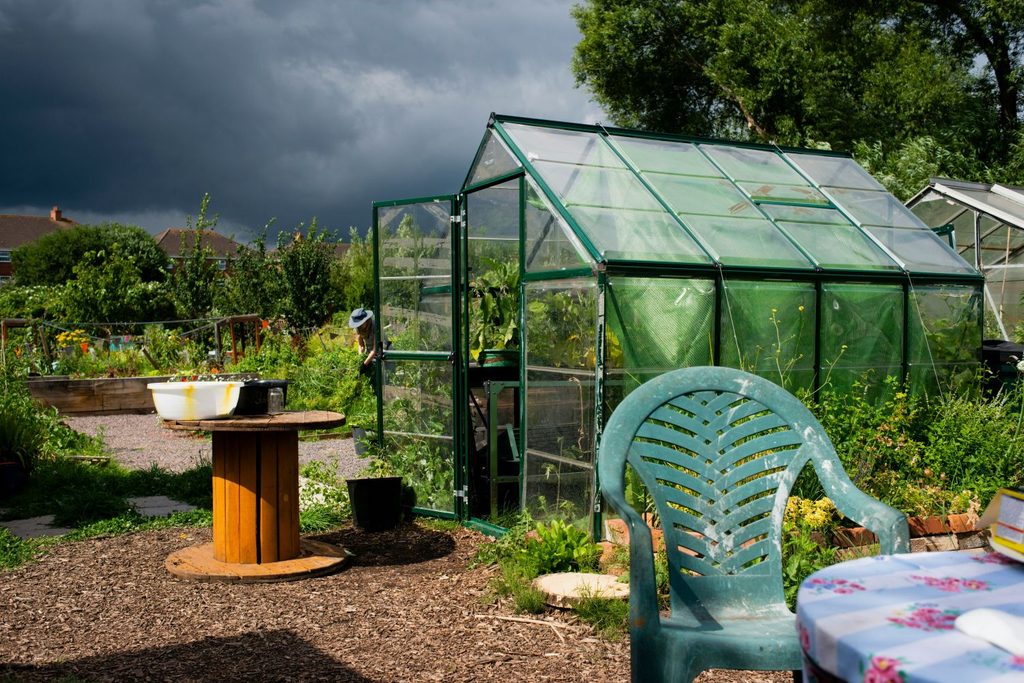
Do not seal the greenhouse tightly because you think keeping all the warm air inside will automatically help plants grow. Heat and humidity can build rapidly, particularly on sunny days. Good greenhouse management means balancing warmth with ventilation, moisture, airflow, and light rather than maximizing any one of them.
What Your First Greenhouse Season Should Look Like
For your first season, resist the urge to fill every available space. Start with a manageable number of plants and learn how your greenhouse behaves during morning, afternoon, evening, hot weather, rain, and cold nights.
Once you understand those patterns, you can expand your greenhouse gardening system with better shelving, automatic vents, irrigation, or supplemental lighting where they genuinely solve a problem.
Greenhouse gardening for beginners becomes much less complicated when you treat the greenhouse as an environment that you manage rather than simply a building that protects plants. Get the light, airflow, temperature, watering, and growing medium right first, and the plants become much easier to care for.
Featured image credit: Photo by Jonas Denil on Unsplash
Leave a Reply