
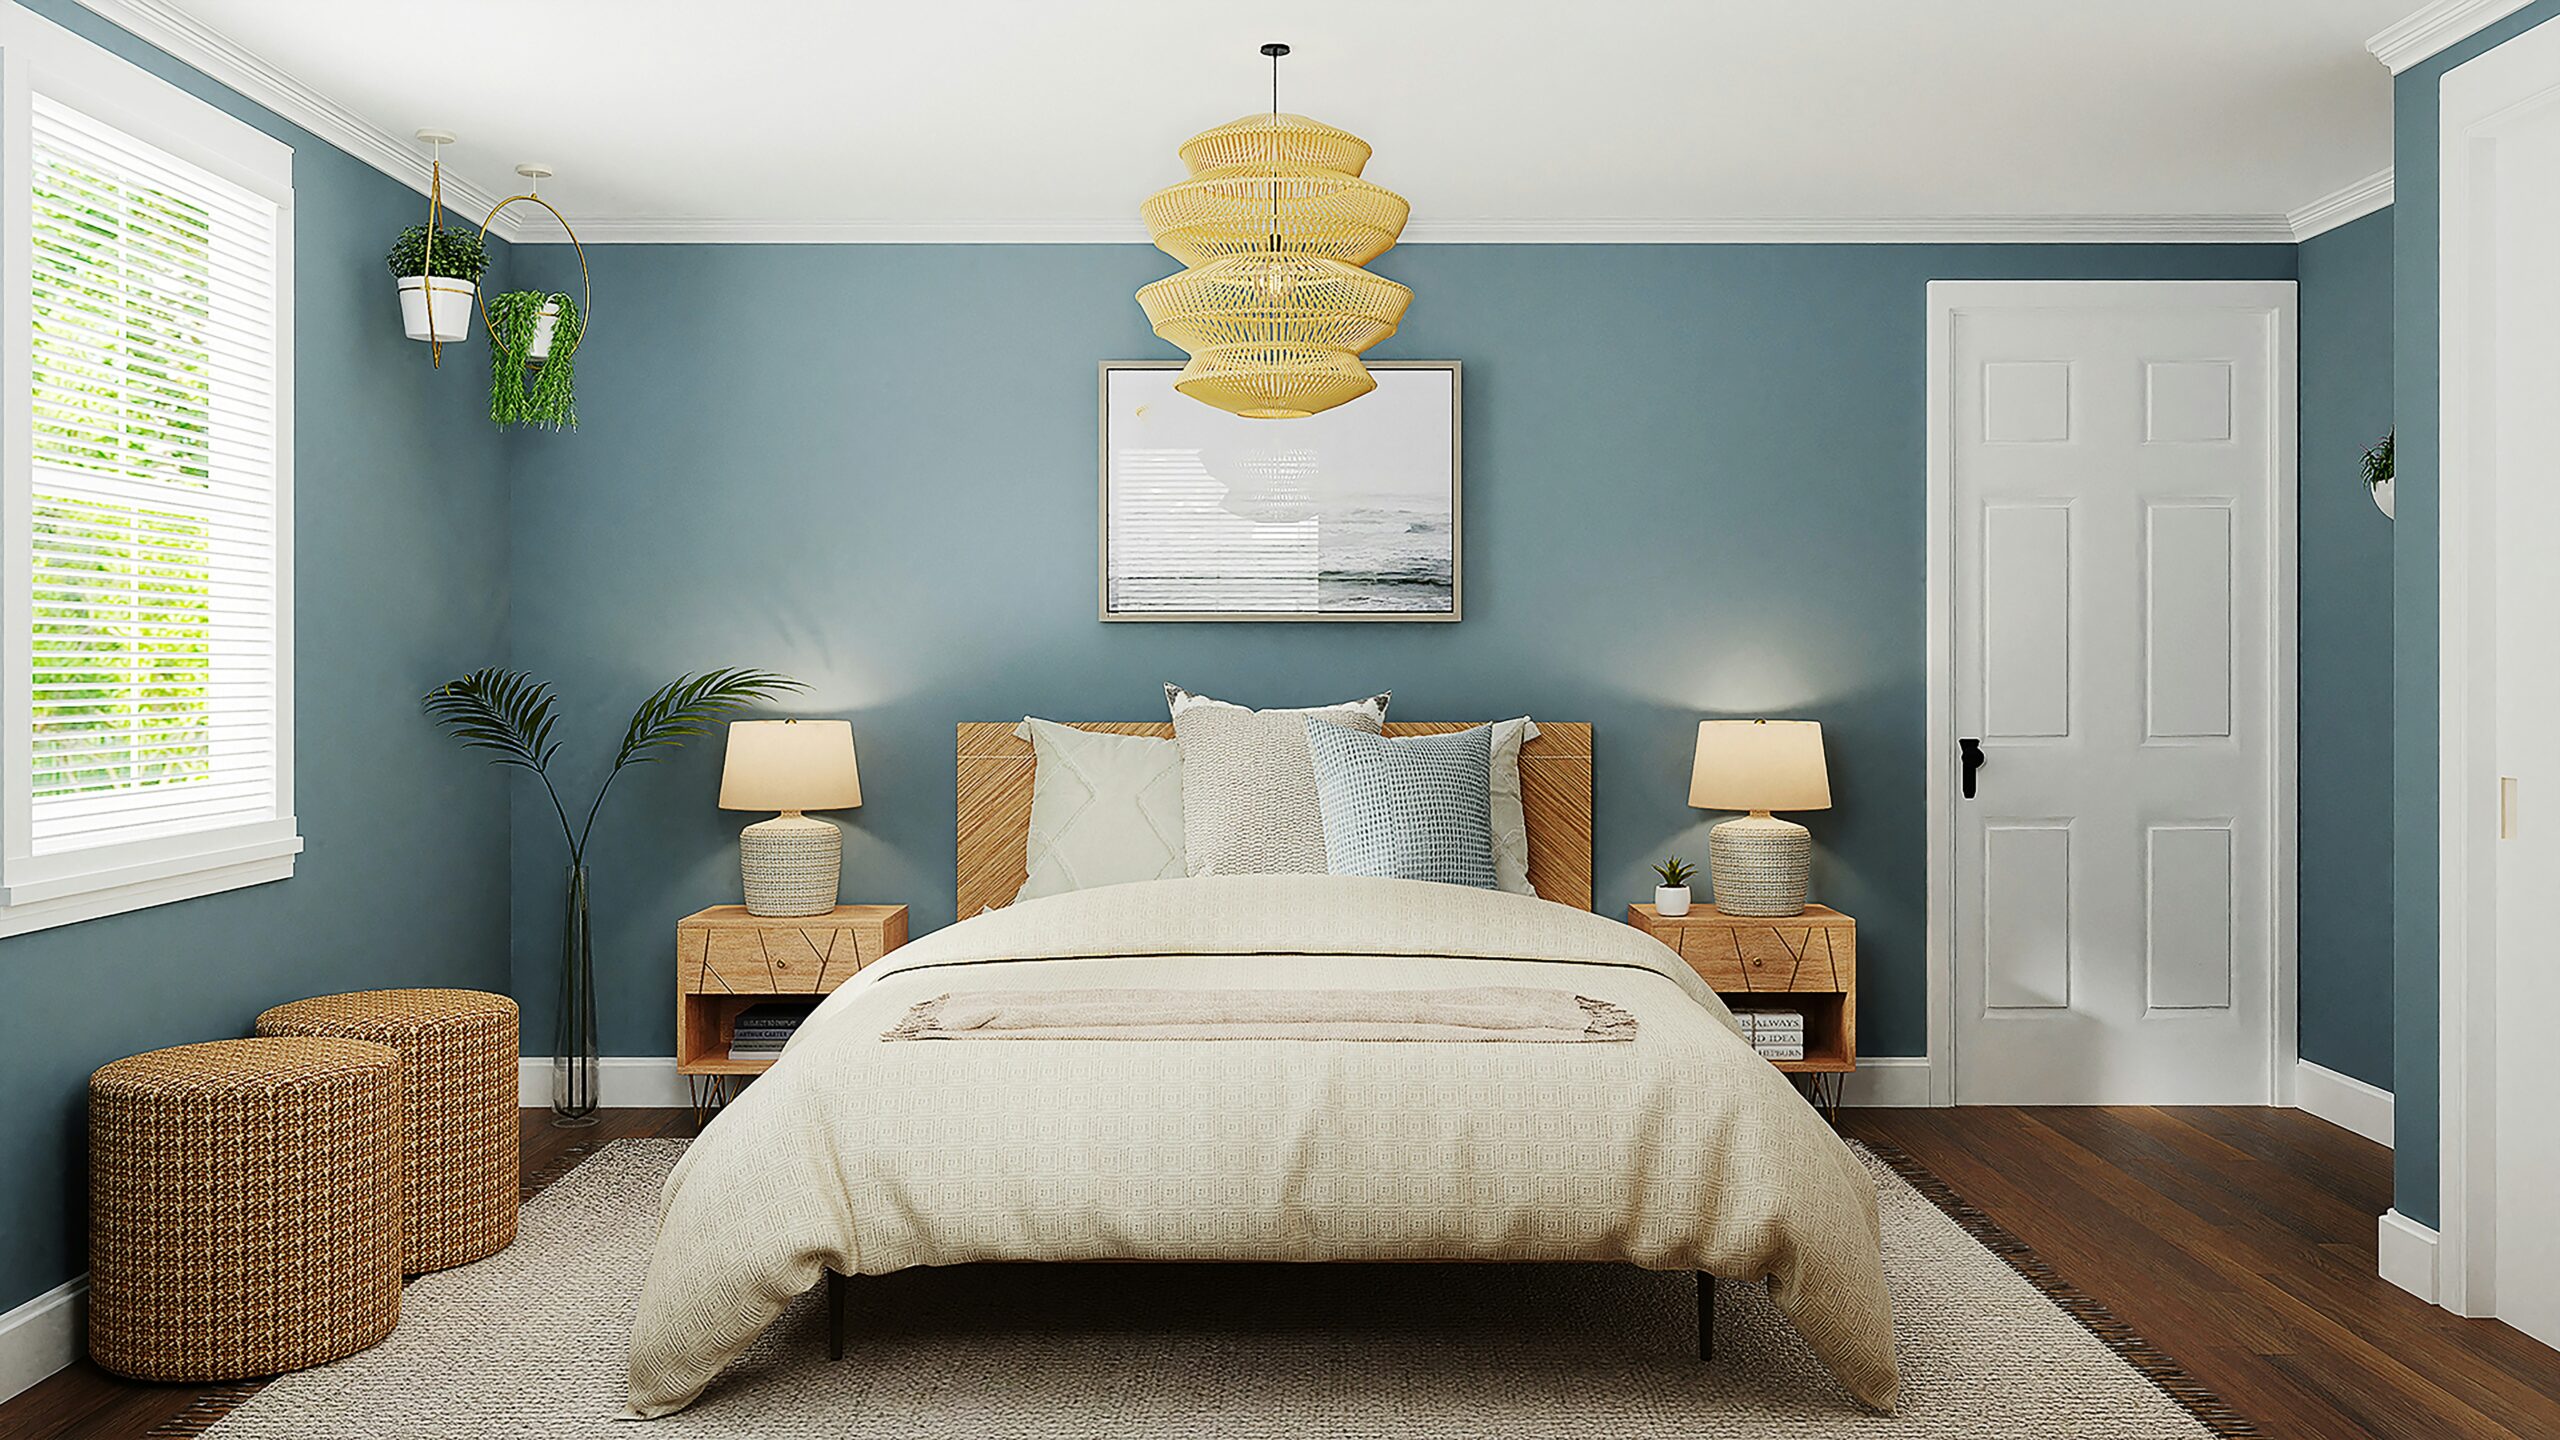
You walk into your bedroom planning to relax, but instead you see clothes on the chair, random items on the dresser, overflowing drawers, and a bedside table that somehow collects everything except what you actually need. It usually doesn’t happen overnight. A busy week turns into a busy month, and little piles slowly become part of the room.
I’ve been there myself. What surprised me most was that cleaning the room never solved the problem for long. Within days, the clutter returned because I never had a simple system to follow. Once I focused on creating homes for my belongings instead of simply moving them around, keeping the room tidy became much easier.
If you’re ready to make decluttering bedroom projects feel less overwhelming, this step-by-step approach will help you finish the job in just a few days and make it easier to maintain afterward.
Why Bedrooms Become Cluttered So Quickly
Most people don’t struggle because they’re messy. They struggle because bedrooms serve too many purposes. They become a place to sleep, work, change clothes, store shopping bags, charge electronics, fold laundry, and sometimes even eat.
Every new activity introduces new items into the room. Without a designated place for those items, they stay on visible surfaces until they slowly become permanent.
Research in environmental psychology has also found that visible clutter can increase feelings of stress and make it harder to focus or relax. While everyone’s experience differs, many people report feeling calmer after reducing visual clutter. One commonly cited study comes from UCLA’s Center on Everyday Lives of Families, which observed links between household clutter and stress in family life.
The good news is that you don’t need a perfect bedroom. You simply need a room where everything has an easy place to return.
Also read: Small Room, Big Potential: Bedroom Organization Ideas That Cost Almost Nothing
Decluttering Bedroom: Step by Step Process
Day 1: Remove Everything That Doesn’t Belong
The first mistake many people make is organizing before decluttering.
Instead, start by carrying a large laundry basket around the room. Pick up anything that belongs somewhere else, such as dishes, office supplies, children’s toys, unopened mail, or bathroom products. Don’t organize them yet. Simply collect them.
This immediately removes visual clutter without requiring many decisions.
A sturdy laundry basket or inexpensive plastic storage tote works perfectly because you can carry everything at once instead of making dozens of trips around the house.
Once the bedroom only contains bedroom items, the rest becomes much easier.
Day 1: Sort Everything Into Simple Categories
Now begin grouping similar items together.
Create small piles for:
- Clothes
- Shoes
- Books
- Electronics
- Accessories
- Beauty products
- Paperwork
- Keepsakes
This often surprises people. You might discover six phone chargers, fifteen notebooks, or far more scarves than you realized you owned.
Seeing everything together helps you make better decisions because you’re comparing similar items instead of deciding one object at a time.
If your room feels overwhelming, work on one category before moving to the next.
Day 1: Make Quick Decisions
Many bedroom decluttering sessions fail because people overthink every item.
Instead, ask yourself three simple questions:
- Have I used this during the last year?
- Would I buy this again today?
- Does this deserve space in my bedroom?
If the answer is no, place it into one of three containers:
- Donate
- Sell
- Throw away
Clear storage bins or labeled cardboard boxes work well because you immediately know where everything belongs.
There will always be sentimental items that take longer to decide. Instead of forcing yourself to choose immediately, place them inside one “decide later” box. Give yourself one month before reviewing it again.
Day 2: Create Storage That Matches Your Habits
This is the step that completely changed how I approached organizing.
Instead of asking where something should go, ask where you naturally look for it.
If you always remove your watch beside the bed, keep a small tray there.
If you usually change clothes near the wardrobe, place a laundry basket nearby instead of across the room.
When storage matches your daily habits, staying organized requires much less effort.
Affordable storage tools that make a noticeable difference include:
- Drawer dividers for socks and underwear
- Under-bed storage containers
- Small fabric baskets
- Clear stackable bins
- Slim velvet hangers that save closet space
- Bedside catch-all trays
None of these need to be expensive. Even budget storage containers can dramatically reduce clutter if they fit your space well.
Also read: 15 Small Bedroom Storage Ideas That Make Tiny Rooms Feel Bigger and Easier to Manage
Day 2: Stop Flat Surfaces From Becoming Storage
Dressers, nightstands, desks, and chairs naturally attract clutter.
Rather than leaving these surfaces completely empty, intentionally assign each one a purpose.
For example:
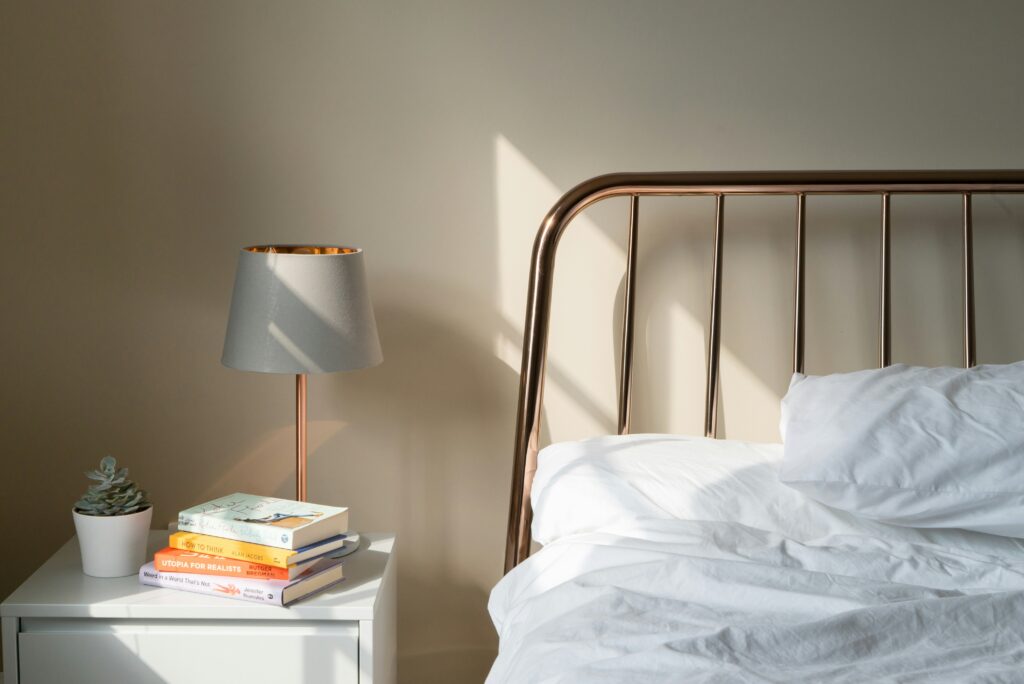
- Your bedside table holds a lamp, one book, tissues, and a glass of water.
- Your dresser displays a plant and jewelry tray.
- Your chair is for sitting, not storing tomorrow’s outfit.
Giving each surface a limit makes it much easier to notice when clutter starts returning.
This is one of my favorite decluttering ideas because it prevents future mess before it starts.

Day 3: Organize Clothes You Actually Wear
Closets often contain the biggest source of bedroom clutter.
Instead of organizing by color immediately, separate clothing into:
- Everyday wear
- Work clothes
- Seasonal clothing
- Occasion wear
Store seasonal clothing inside under-bed containers or vacuum storage bags if space is limited.
Keep everyday clothing at eye level because those are the pieces you reach for most often.
Many professional organizers also recommend turning every hanger backward. After wearing an item, return it facing normally. After several months, you’ll clearly see which clothes never get used.
Also read: Decluttering Tips: How to Declutter Your Closet in Just One Weekend
Day 3: Build a Five-Minute Daily Reset
The most organized bedrooms aren’t cleaned once a month.
They’re reset for a few minutes every day.
Before going to bed:
- Put dirty clothes into the laundry basket.
- Return items to their storage spots.
- Throw away trash.
- Clear the bedside table.
- Make the bed the following morning.
This routine usually takes less than five minutes but prevents hours of future cleaning.
Personally, this small habit made a bigger difference than buying any organizer ever did.
Also read: The One-Year Rule: Simple Decluttering Tips for Deciding What to Keep and What to Toss
Small Changes That Make a Bigger Difference
One thing I’ve learned is that buying more storage doesn’t automatically solve clutter.
If every drawer already feels full, another storage box often hides the problem instead of fixing it.
Instead, reduce what you own before adding organizers. Once you’ve kept only what you actually use, storage solutions become much more effective.
That’s why many professional organizers recommend decluttering first and shopping second.
A Few Simple Tricks That Help
Try keeping an “outbox” somewhere inside your closet. Whenever you find something you no longer use, place it inside immediately instead of creating another decision for later.
Another helpful trick is taking a quick photo of your room after you’ve finished organizing. The picture becomes a simple reference whenever you wonder if clutter is slowly returning.
One Mistake That Creates More Clutter
Avoid emptying every drawer and closet at once if you only have an hour available.
Half-finished decluttering projects often leave rooms looking worse than before, making it easier to give up. Instead, finish one section completely before moving to the next, even if it’s only your nightstand or one dresser drawer.
Remember That Every Bedroom Is Different
Small apartments, shared bedrooms, and homes with limited storage naturally present different challenges. If you don’t have enough built-in storage, focus on creating simple zones rather than expecting a magazine-perfect room. A functional space that fits your daily routine matters far more than achieving a flawless look.
A Few Last Words
Decluttering bedroom projects become much less stressful when you stop thinking of them as one huge task. Remove what doesn’t belong, sort by category, create storage that matches your habits, and spend five minutes resetting the room each day. Once you build this simple system, keeping your bedroom organized feels easier than starting over every weekend.










Leave a Reply