
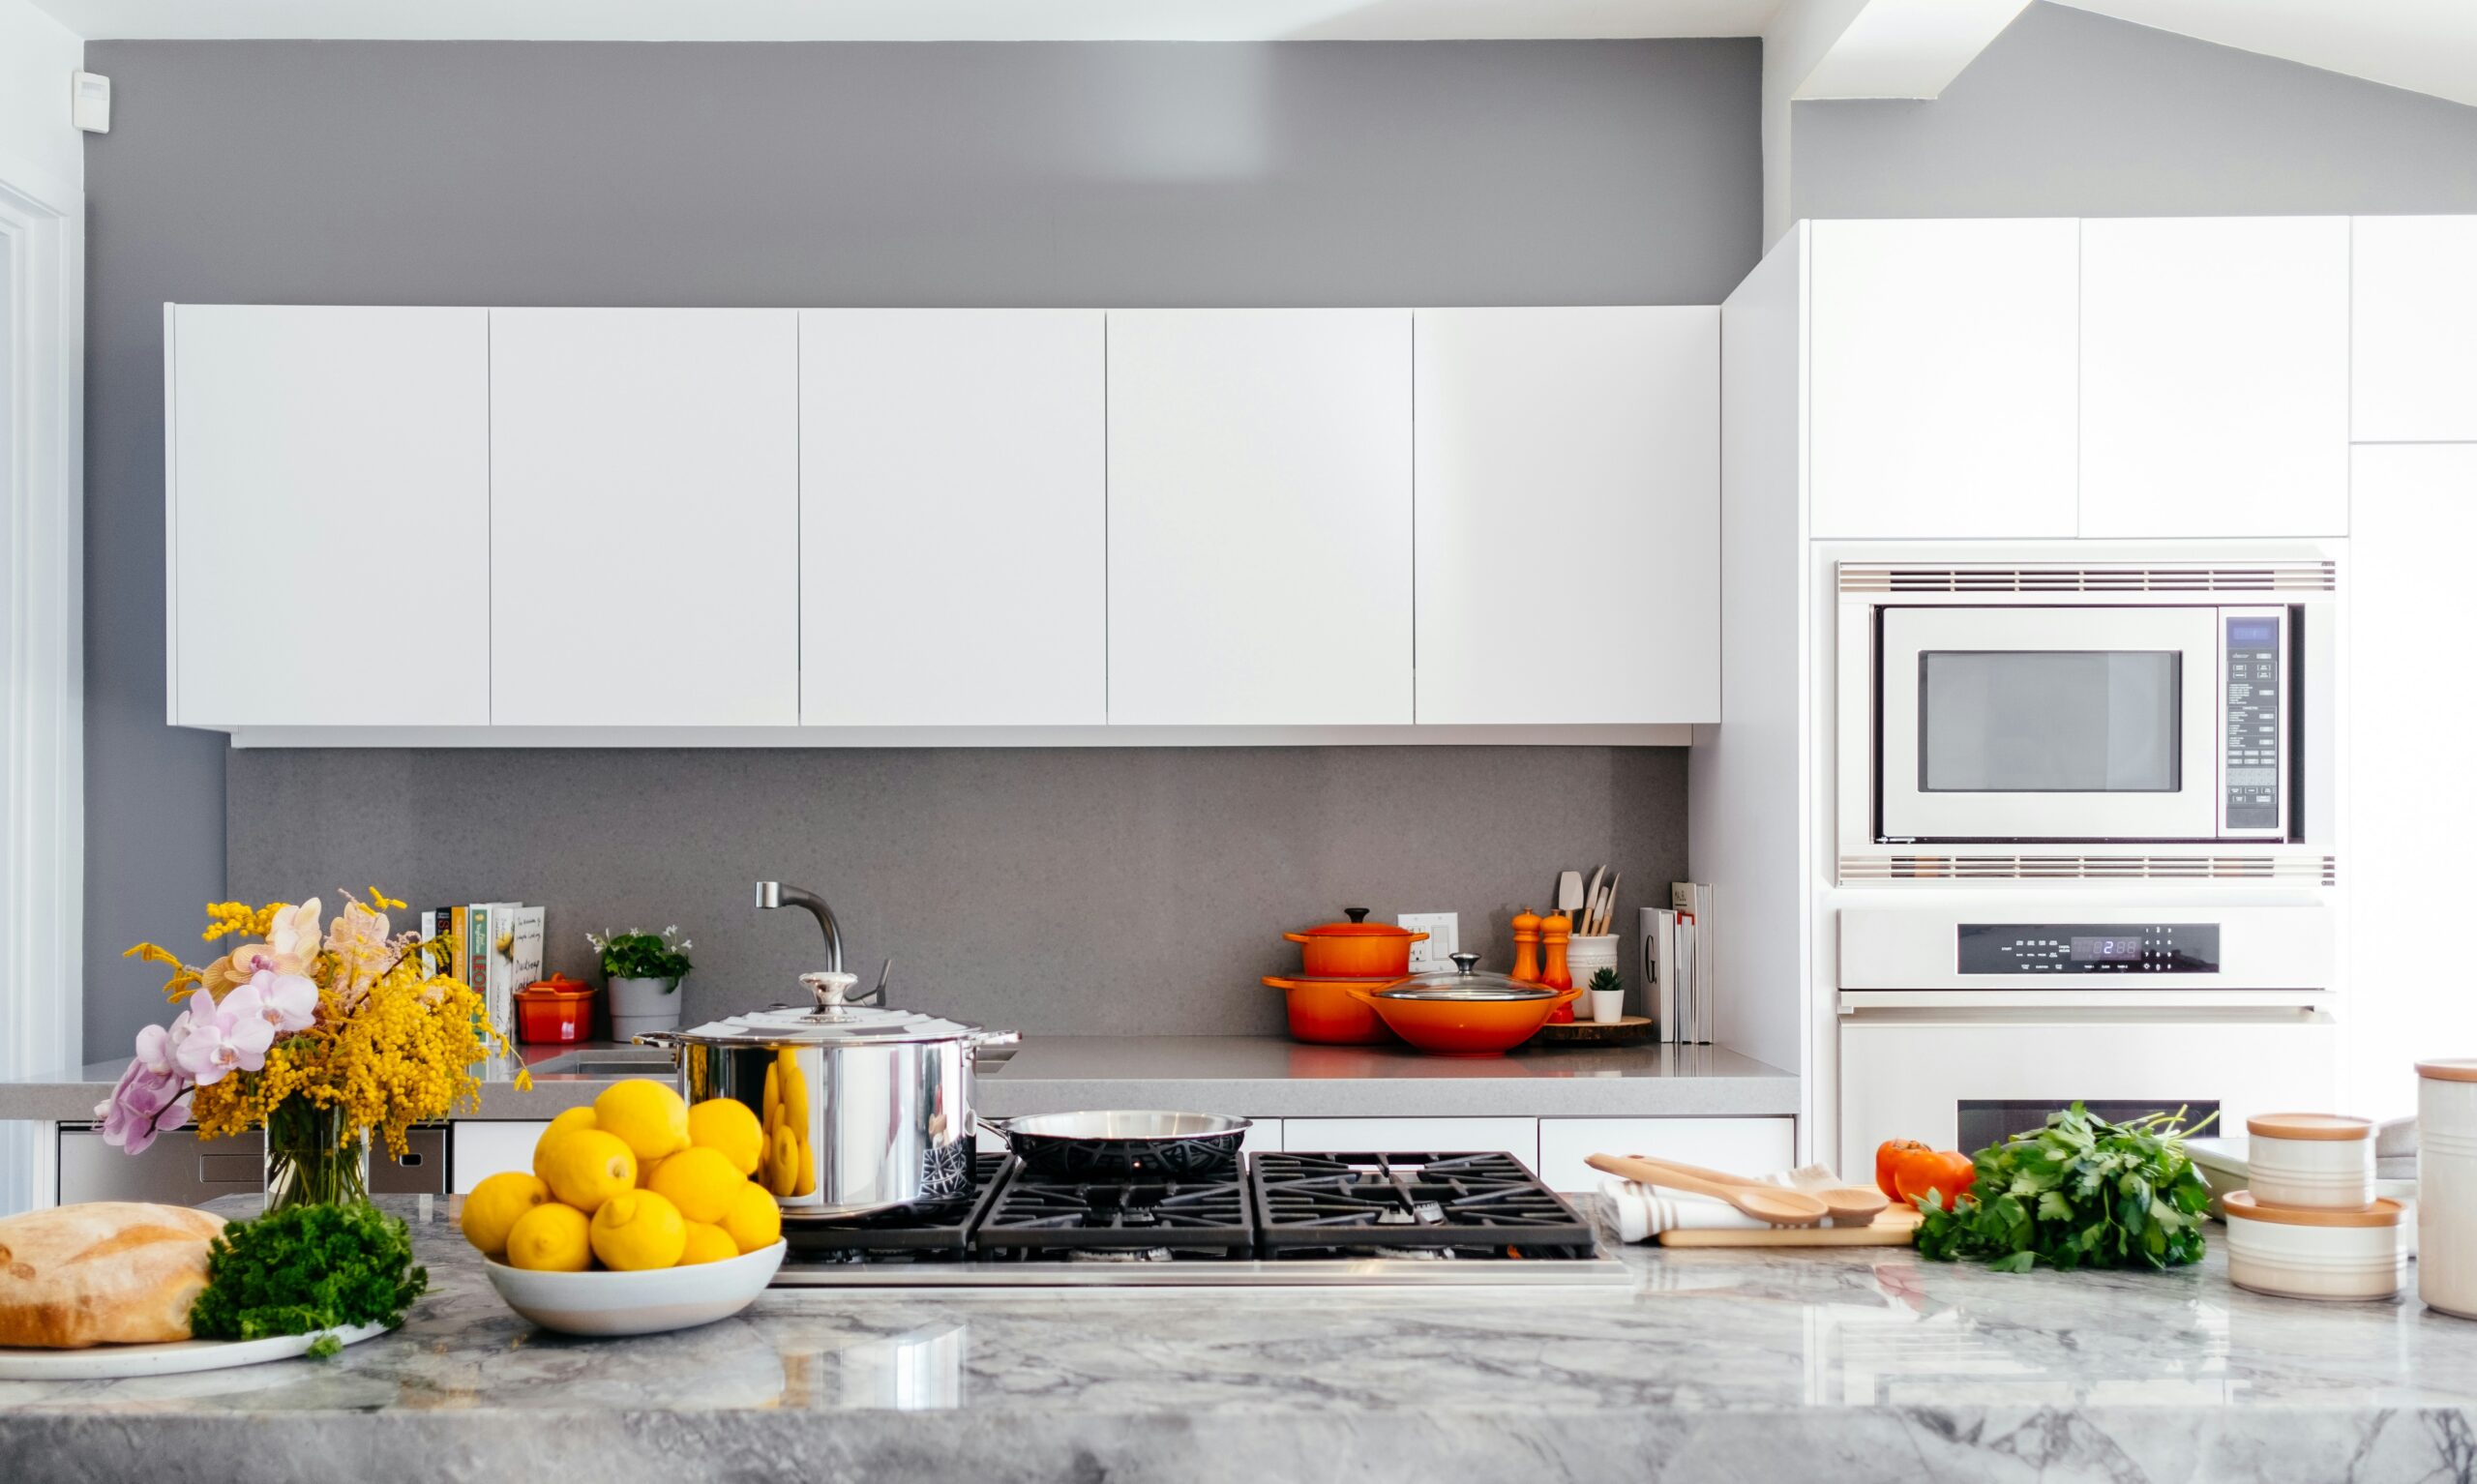
You clean the kitchen, wipe the counters, put away the dishes, and somehow it still feels messy. The junk drawer won’t close properly, food containers spill out of the cabinet, spices disappear when you need them, and grocery shopping often leads to buying things you already have.
I’ve experienced this myself, and I eventually realized that the problem wasn’t cleaning. The problem was that my kitchen didn’t have a system. Every cabinet became a place to “temporarily” store something until it turned into permanent clutter. Once I organized the kitchen around how I actually cooked instead of how I thought it should look, everything became easier to find, clean, and maintain.
If you’re ready to make decluttering kitchen projects manageable, this step-by-step guide will help you organize your kitchen with a system that’s easy to keep up.
Why Kitchens Become Cluttered Faster Than Any Other Room
Unlike most rooms in the house, the kitchen changes constantly throughout the day. Groceries come in, meals are prepared, dishes pile up, leftovers need storing, and appliances often stay on the counter because there’s nowhere convenient to put them.
Over time, cabinets become packed with duplicate utensils, expired food, unused gadgets, plastic containers without lids, and “just in case” items that rarely get touched.
Professional organizers often point out that the biggest kitchen problem isn’t a lack of storage. It’s storing too many things that no longer serve your daily routine.
The goal isn’t creating a picture-perfect kitchen. It’s creating one where cooking feels simple because everything is easy to find and easy to put back.
Decluttering Kitchen Step by Step
Step 1: Clear the Counters First
Before opening a single cabinet, clear every countertop.
Remove anything that doesn’t belong there, including unopened mail, shopping bags, random tools, paperwork, medicines, children’s toys, or decorative items that have slowly multiplied.
Next, look at the appliances sitting out.
Ask yourself:
- Do I use this every day?
- Do I use it at least once a week?
- Would putting it away free valuable workspace?
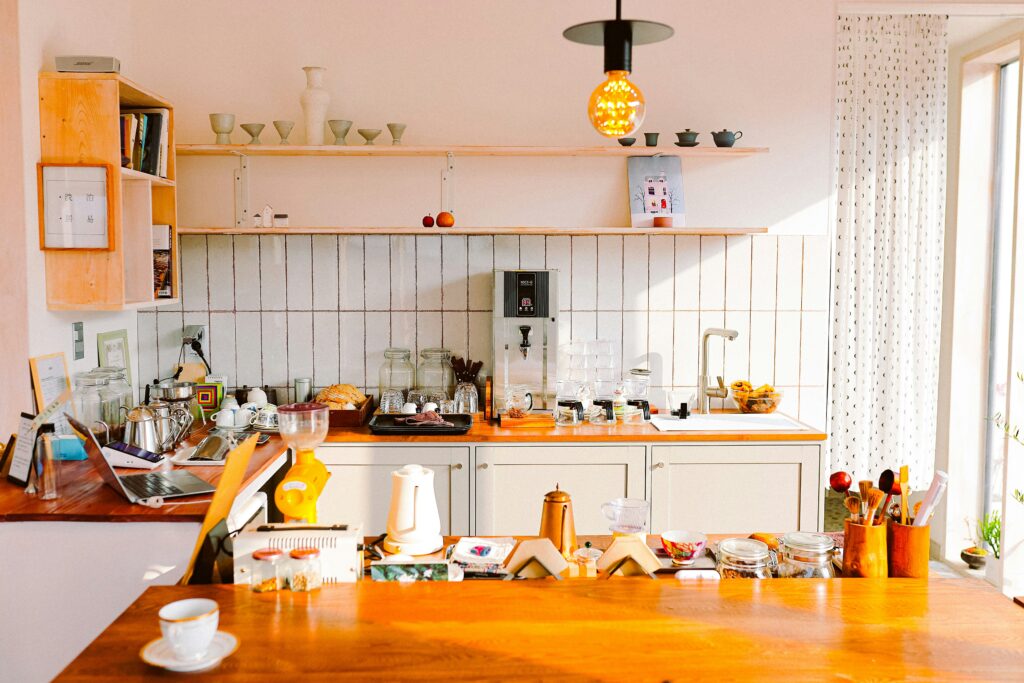
Most kitchens work better when only frequently used appliances stay on the counter, such as a coffee maker, electric kettle, or toaster.
Creating more empty counter space immediately makes the kitchen feel cleaner and gives you room to work while cooking.
Also read: 15 Pantry Organization Hacks That Actually Work
Step 2: Check Every Food Item Before Organizing
Now move to the pantry, food cabinets, and refrigerator.
Instead of organizing immediately, remove expired products first.
Look for:
- Expired canned goods
- Old spices
- Open snack bags
- Stale baking ingredients
- Duplicate sauces
- Forgotten freezer items
Many households discover several partially used packages of the same ingredient hiding in different cabinets.
Place unopened, unexpired food that your family won’t use into a donation box if local food banks accept it.
A simple pantry check also reduces food waste and makes grocery shopping much easier.
Step 3: Sort Similar Items Together
Now group everything by category.
For example:
- Baking supplies
- Breakfast foods
- Pasta and rice
- Snacks
- Canned goods
- Spices
- Cooking oils
- Tea and coffee
The same applies to cookware and utensils.
Keep measuring cups together, mixing bowls together, baking pans together, and food storage containers together.
Grouping similar items helps you see duplicates that would otherwise stay hidden throughout the kitchen.
Step 4: Remove Duplicate Tools You Never Use
Most kitchens collect gadgets that seemed useful at the time but rarely leave the drawer.
Look through every utensil drawer and cabinet.
Ask yourself whether you really need:
- Five spatulas
- Four vegetable peelers
- Multiple can openers
- Several measuring cup sets
- Extra serving spoons
- Specialty gadgets you’ve used only once
Keep your favorites and donate the extras if they’re still in good condition.
The same goes for chipped mugs, cracked bowls, scratched plastic containers, or pots missing their lids.
This step creates far more usable space than buying another organizer.
Step 5: Create Cooking Zones
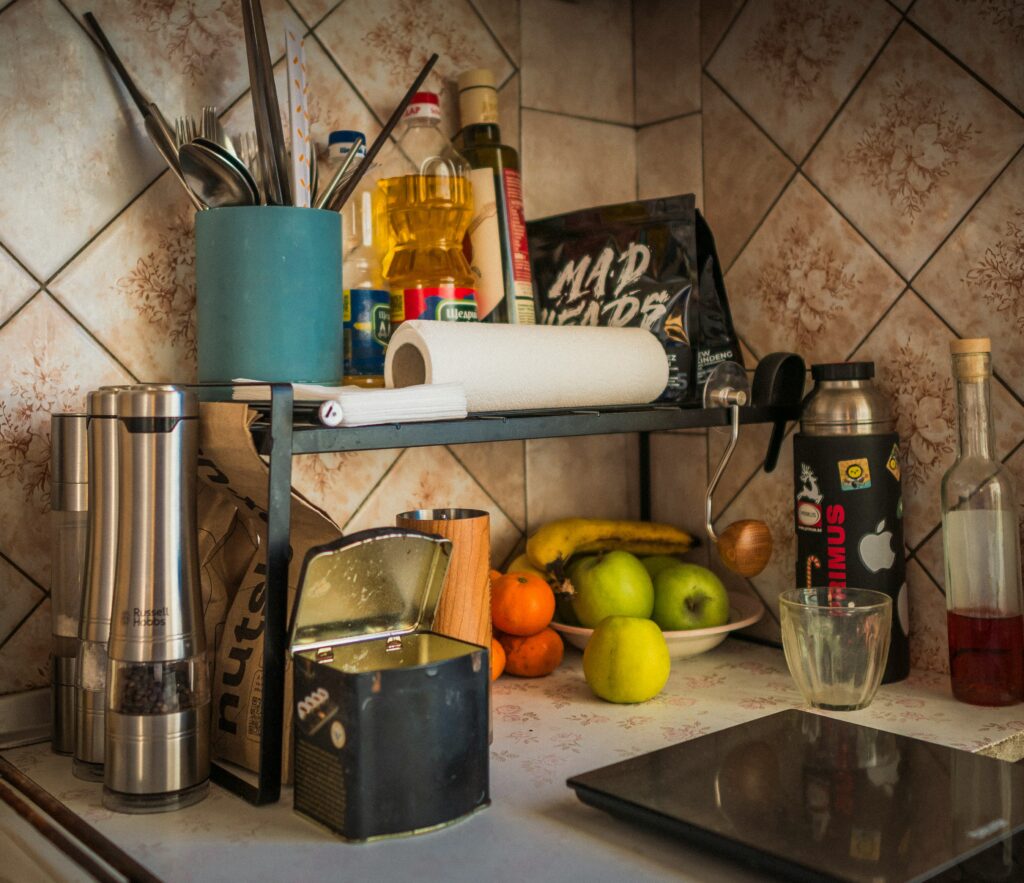
One of the biggest improvements I made was organizing the kitchen around tasks instead of item types.
Create simple zones such as:
Prep Zone
Store cutting boards, knives, peelers, mixing bowls, and measuring cups together.
Cooking Zone
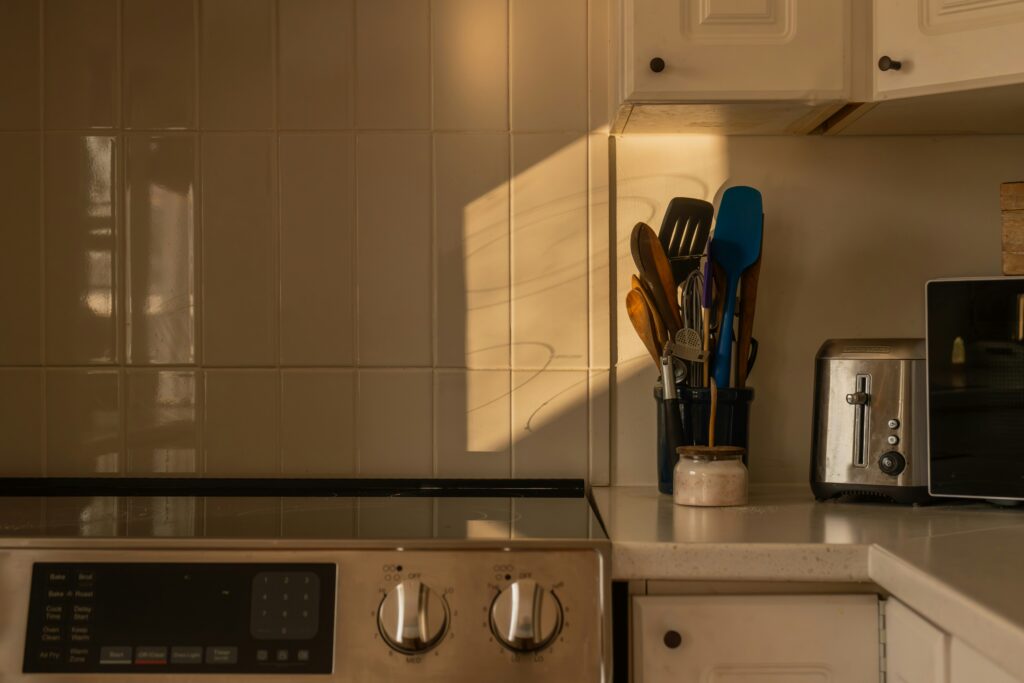
Keep cooking oils, spices, wooden spoons, tongs, frying pans, and pot holders close to the stove.
Baking Zone
Store flour, sugar, baking powder, measuring spoons, mixing bowls, and baking trays together.
Coffee or Tea Station
Place mugs, coffee, tea bags, sugar, filters, and the kettle or coffee maker in one area.
When everything needed for one task stays together, cooking becomes much faster because you’re not walking across the kitchen searching for ingredients.
Step 6: Use Affordable Organizers Where They Actually Help
Once you’ve removed unnecessary items, storage organizers become much more effective.
Some inexpensive tools that genuinely improve kitchen organization include:
- Clear pantry bins
- Lazy Susans for sauces and oils
- Shelf risers for plates
- Drawer dividers for utensils
- Stackable food containers
- Label stickers
- Under-shelf baskets
- Pot lid organizers
You don’t need every organizer you see online.
Choose only the ones that solve a problem you actually have.
For example, if canned food constantly falls over, a simple can organizer makes sense. If your spice cabinet is already easy to use, there’s no reason to replace it.
Step 7: Organize the Refrigerator With Daily Use in Mind
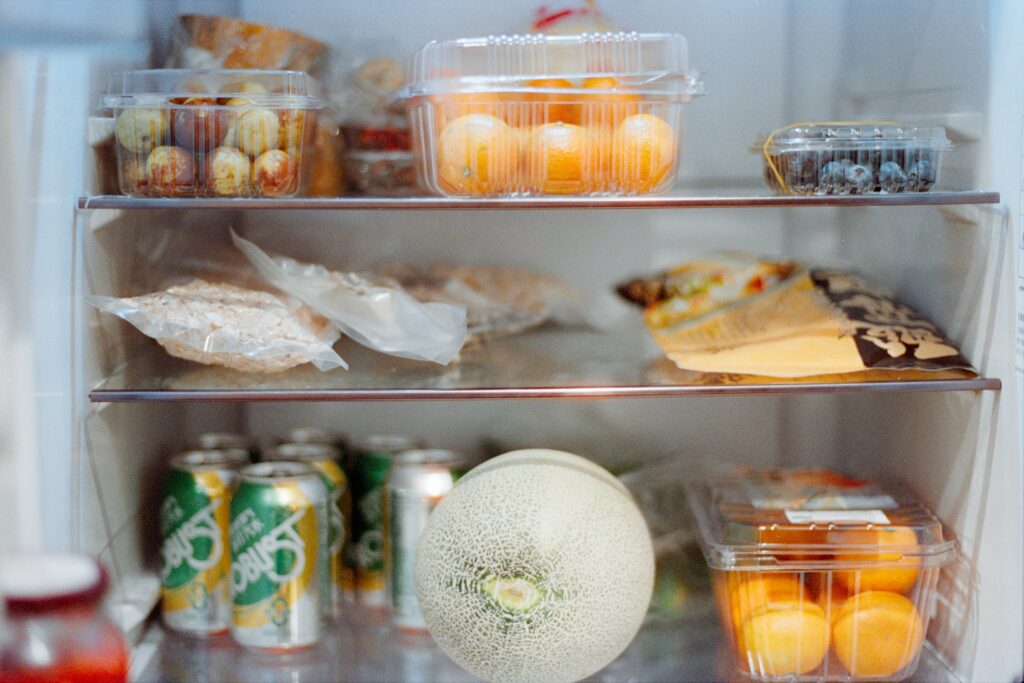
Instead of filling every shelf randomly, give each section a purpose.
For example:
- Top shelf for leftovers and ready-to-eat food
- Middle shelf for dairy products
- Bottom shelf for raw meat (following food safety guidelines)
- Drawers for fruits and vegetables
- Door shelves for condiments and drinks
Clear refrigerator bins also help keep similar foods together and prevent smaller items from getting pushed to the back.
Before every grocery trip, take two minutes to check what you already have. This simple habit prevents duplicate purchases.
Also read: 13 Fridge Organization Ideas: Here’s How to Create More Space without Buying a Bigger Fridge
Step 8: Give Every Drawer One Job
Kitchen drawers become cluttered because they slowly collect unrelated items.
Instead of creating one large “everything” drawer, assign each drawer a single purpose.
Examples include:
- Everyday utensils
- Cooking utensils
- Food wraps and storage bags
- Kitchen towels
- Baking tools
It’s perfectly fine to keep one small household junk drawer if you genuinely need it. Just don’t let it spread into three or four different drawers.
Step 9: Create a Five-Minute Kitchen Reset
The easiest kitchens to maintain don’t stay organized because someone spends hours cleaning them.
They stay organized because small habits prevent clutter from building up.
At the end of each day:
- Empty the sink.
- Wipe the counters.
- Return ingredients to their cabinets.
- Throw away expired leftovers.
- Put dishes back in their proper places.
This daily reset usually takes only a few minutes but keeps the kitchen from becoming overwhelming.
Buy Organizers Last, Not First
One mistake I made was buying containers before I knew what I actually needed.
Many organizers end up storing clutter instead of solving it.
Finish decluttering first. Once you know exactly what remains, you’ll buy fewer storage products and use them much more effectively.
This is also the approach recommended by many professional home organizers because it saves both money and cabinet space.
Small Tricks That Make Everyday Cooking Easier
Store frequently used ingredients in clear containers so you can quickly see when they’re running low. You can also place a small notepad or magnetic shopping list on the refrigerator. Whenever something runs out, write it down immediately instead of trying to remember it later.
Another helpful habit is following the “one in, one out” rule for mugs, water bottles, and reusable containers. If you buy a new one, donate or recycle an older one to keep cabinets from slowly filling up again.
One Mistake That Can Undo All Your Hard Work
Avoid organizing products by how they look instead of how often you use them.
It’s tempting to copy beautiful social media kitchens, but if your everyday cookware ends up on the highest shelf simply because it looks better there, you’ll quickly stop using your system. Build your kitchen around convenience first and appearance second.
Keep Your Kitchen Practical, Not Perfect
Every household cooks differently. A family that prepares three meals a day needs a different setup than someone who cooks only on weekends. Adjust this system to fit your routine rather than trying to recreate someone else’s pantry or cabinet layout.
A Few Last Words
Decluttering kitchen spaces doesn’t require expensive organizers or an entire week of work. By removing expired food, reducing duplicates, creating simple cooking zones, and building a short daily reset routine, you’ll create a kitchen that’s easier to cook in, easier to clean, and much easier to maintain over time.
Featured image credit: Photo by Jason Briscoe on Unsplash







Leave a Reply