
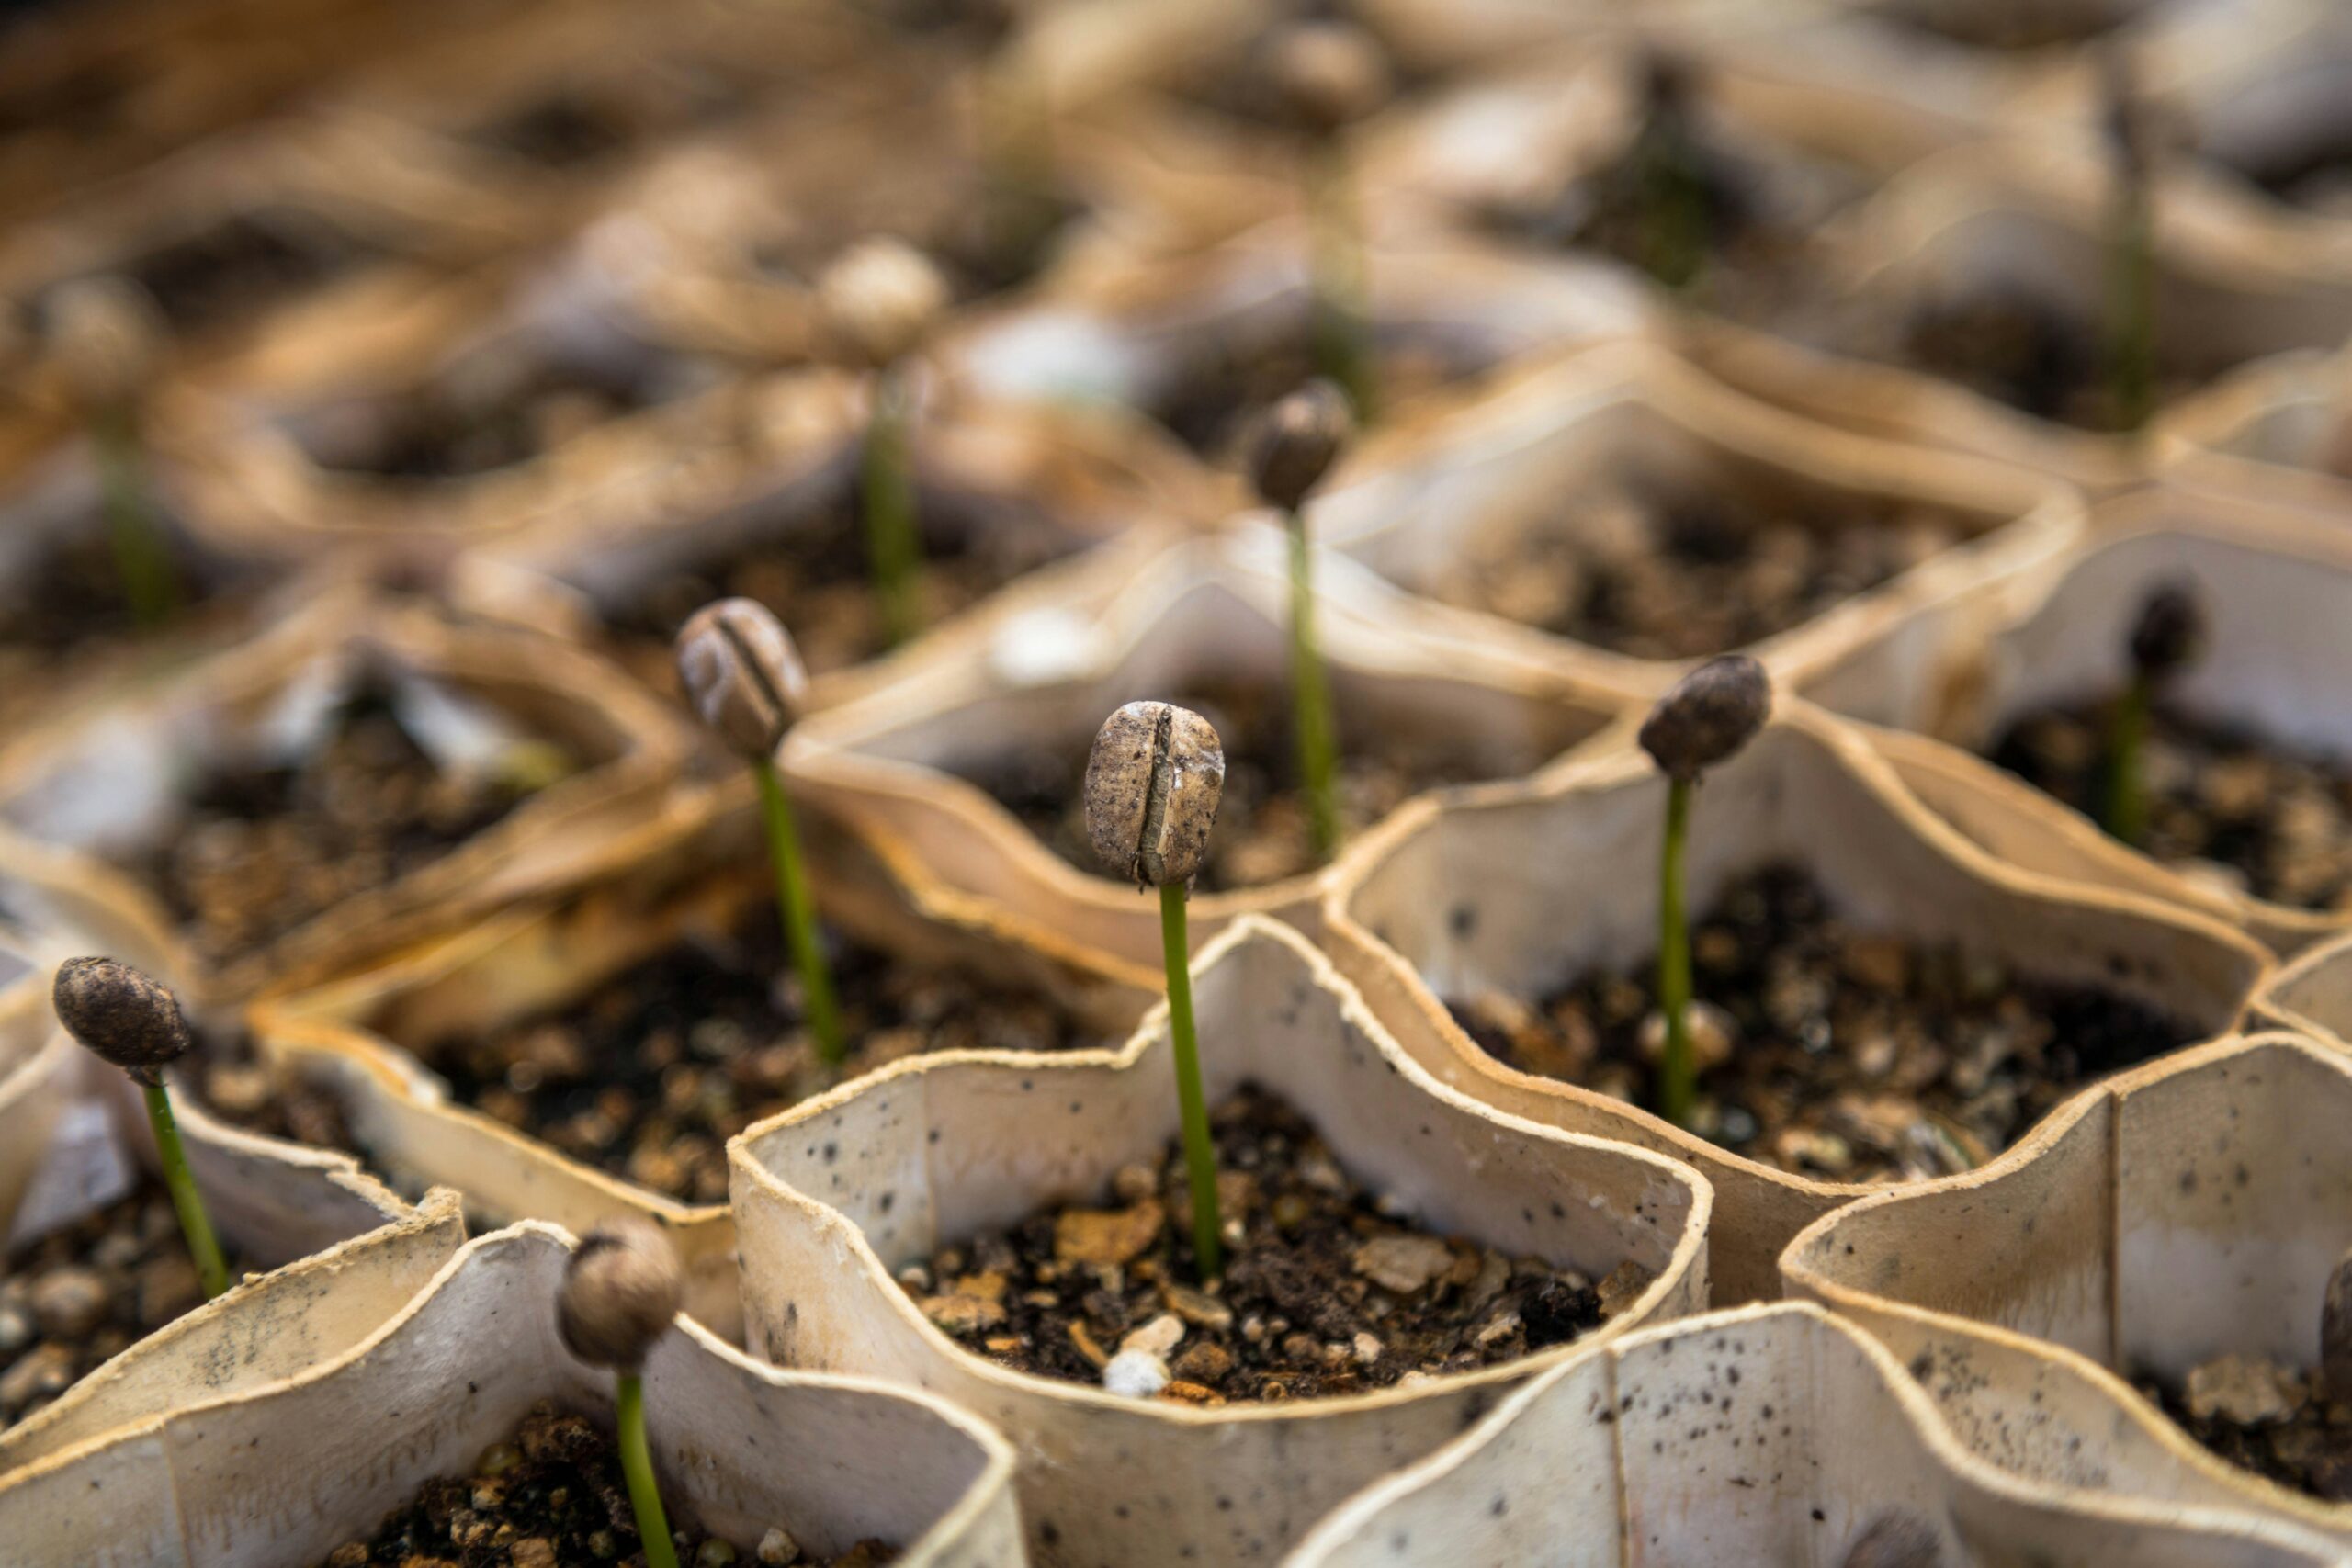
There is something exciting about planting tiny seeds and imagining the garden they will become. Then reality sets in. You see beautiful greenhouse setups online and wonder if growing healthy seedlings indoors is even possible without one. I used to think the same thing until I realized that most seeds care far more about consistent light, warmth, moisture, and airflow than about expensive equipment.
The good news is that starting seeds indoors does not require a greenhouse at all. With a few affordable supplies and the right routine, you can grow sturdy seedlings on a windowsill, shelf, or spare table. In fact, many home gardeners successfully start vegetables, herbs, and flowers indoors every year without ever owning a greenhouse. Once you understand what seeds actually need, creating those conditions becomes much simpler than it first appears.
Why Starting Seeds Indoors Works Without a Greenhouse
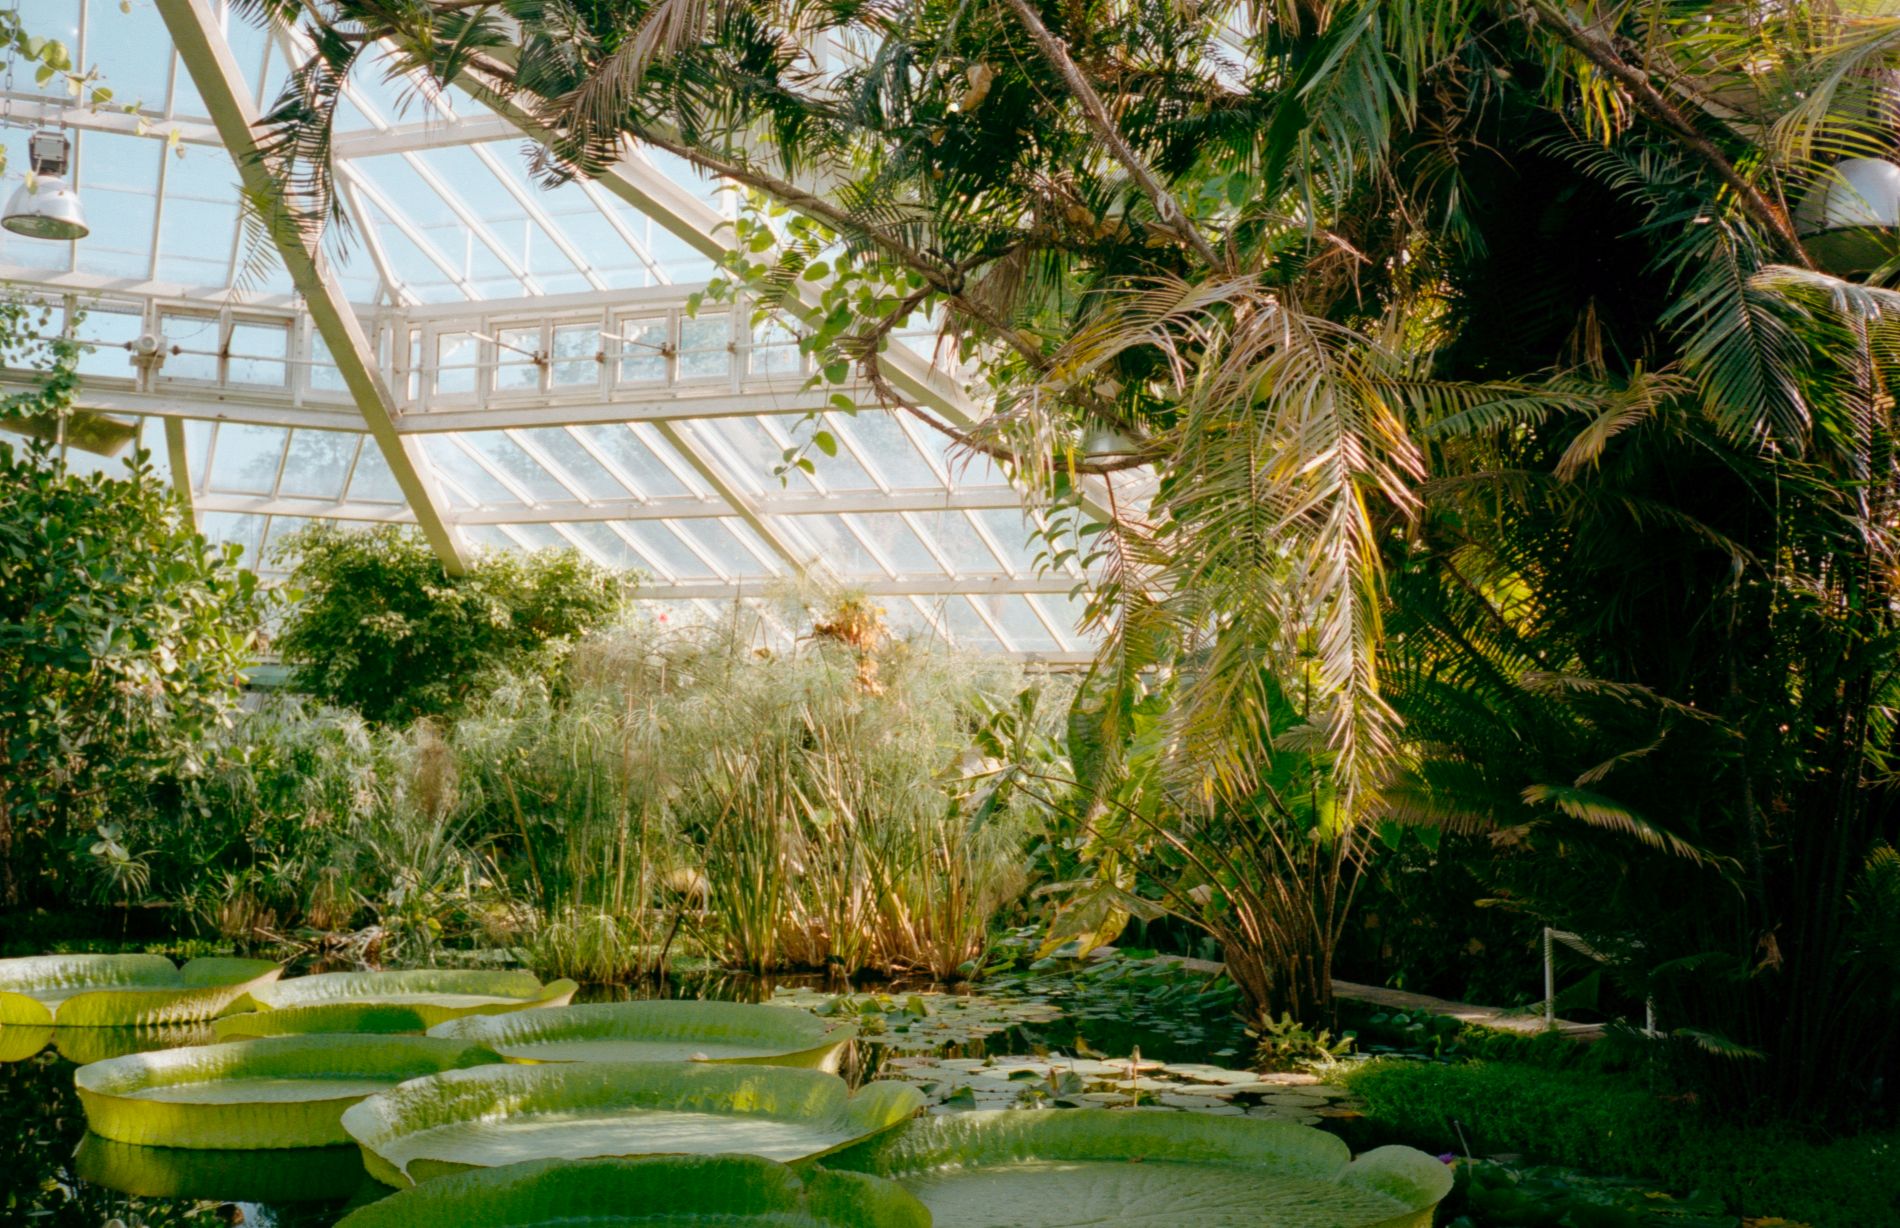
A greenhouse simply creates a controlled environment. It keeps temperatures stable, traps humidity, and protects young plants from harsh weather. Fortunately, you can recreate most of those conditions inside your home with everyday gardening supplies. The most important part is understanding what seedlings need during each stage of growth instead of trying to copy an expensive greenhouse exactly.
1. Choose the Right Seeds to Start Indoors
Not every plant benefits from an indoor head start. Tomatoes, peppers, eggplants, basil, broccoli, cabbage, lettuce, and many flowers usually transplant well after spending several weeks indoors. On the other hand, root crops like carrots, radishes, and beets generally prefer direct sowing because disturbing their roots can reduce growth.
I always begin by checking the seed packet. Most tell you how many weeks before your last frost date you should start the seeds. Keeping a simple garden planner or printable planting calendar nearby makes scheduling much easier.
2. Use a Proper Seed Starting Mix
Regular garden soil often feels like the obvious choice, but it usually creates more problems than it solves. Garden soil may contain weed seeds, fungi, insects, and large particles that make it difficult for delicate roots to grow.
Instead, choose a lightweight seed starting mix. These mixes hold enough moisture while allowing excess water to drain away. Healthy roots need both water and oxygen. I learned this lesson after losing an entire tray of seedlings because the soil stayed wet for too long.
Also read: Plant Soil Mixture Guide: The Best DIY Mixes for Your Indoor Plants
3. Pick Affordable Containers
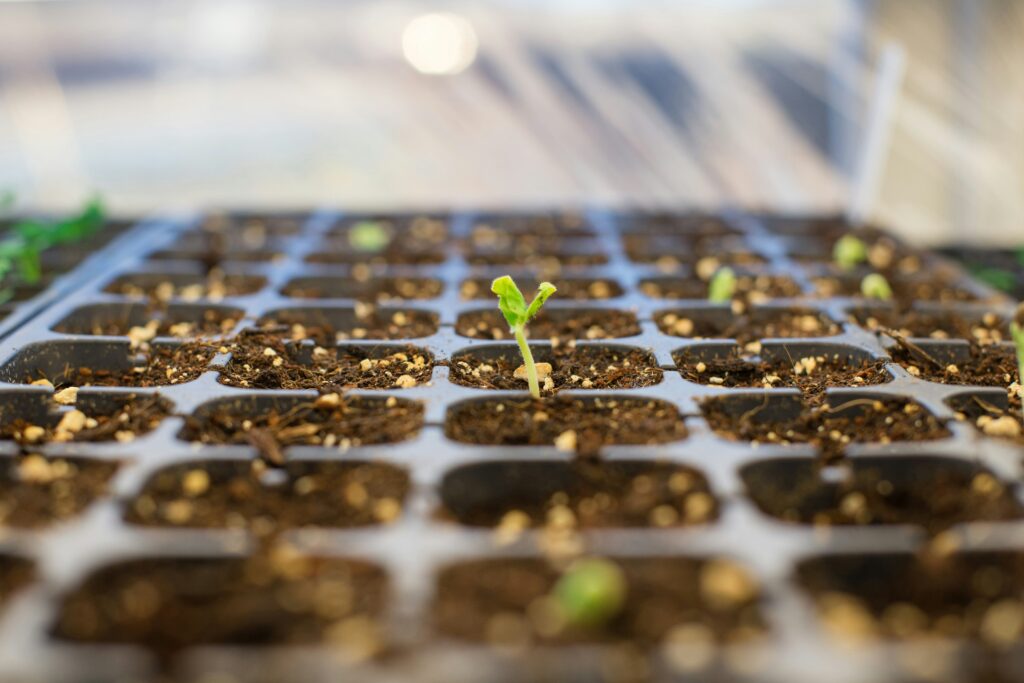
You do not need expensive trays to begin seed starting indoors. Seed trays with drainage holes work well, but yogurt cups, disposable food containers, paper cups, egg cartons, and recycled plastic containers also work if you add drainage holes.
As seedlings grow larger, you can transplant them into slightly bigger pots before moving them outside. A waterproof tray underneath helps protect furniture while making watering much easier.
4. Give Seeds Enough Warmth to Germinate
Most vegetable seeds germinate best between 65°F and 75°F (18°C to 24°C). If your house stays cooler than that, germination slows considerably.
A heat mat is one of the most affordable upgrades you can buy because it gently warms the soil instead of heating the whole room. If you do not have one, place seed trays on top of the refrigerator or another naturally warm location until seedlings emerge. Once they sprout, move them immediately under bright light.
5. Light Matters More Than Most Beginners Realize
One of the biggest mistakes I made when starting seeds indoors was trusting a sunny window. The seedlings germinated beautifully but quickly became tall, thin, and weak because they stretched toward the limited sunlight.
LED grow lights solve this problem without using much electricity. Position the lights about two to four inches above the seedlings and keep them on for 14 to 16 hours each day. Adjustable shelving makes raising the lights easy as plants grow taller.
If you only use a window, choose the brightest south-facing one available and rotate the containers every few days so seedlings grow evenly.
6. Water Carefully Instead of Frequently
Young seedlings need consistent moisture, but they dislike constantly wet soil. I usually water from the bottom by filling the tray underneath the pots and letting the soil absorb moisture naturally. This keeps delicate stems dry and reduces fungal problems.
Small watering cans with narrow spouts or plant misters also help control the amount of water you apply. Always check the soil before watering instead of following a strict schedule.
Also read: 11 Signs of Overwatering Plants Every Gardener Should Know Before It’s Too Late
7. Create Humidity During Germination
Seeds germinate more evenly when humidity stays high. A clear humidity dome, plastic food container lid, or even plastic wrap placed loosely over the tray helps trap moisture.
However, remove the cover as soon as most seedlings emerge. Keeping high humidity for too long encourages mold and weak growth. Fresh air becomes much more important after germination than humidity.
8. Improve Airflow Early
Many beginners focus only on water and light, but airflow matters just as much. Gentle air movement strengthens stems while reducing diseases like damping-off, which can suddenly kill healthy-looking seedlings.
A small desk fan running on the lowest setting for a few hours each day usually provides enough airflow. The breeze should barely move the leaves rather than constantly shake the plants.
9. Feed Seedlings at the Right Time
Seedlings already contain enough nutrients to produce their first leaves. Fertilizing too early often causes more harm than good.
Wait until the first set of true leaves appears before feeding. Then use a balanced liquid fertilizer at about one-quarter to one-half strength every week or two. Measuring spoons help mix fertilizer accurately without accidentally overfeeding young plants.
Also read: 11 Signs of Overfertilizing Plants Every Gardener Should Know Before It’s Too Late
10. Pot Up Seedlings Before They Become Root-Bound
As seedlings grow, their roots eventually fill the original container. Crowded roots slow growth and make transplanting more stressful.
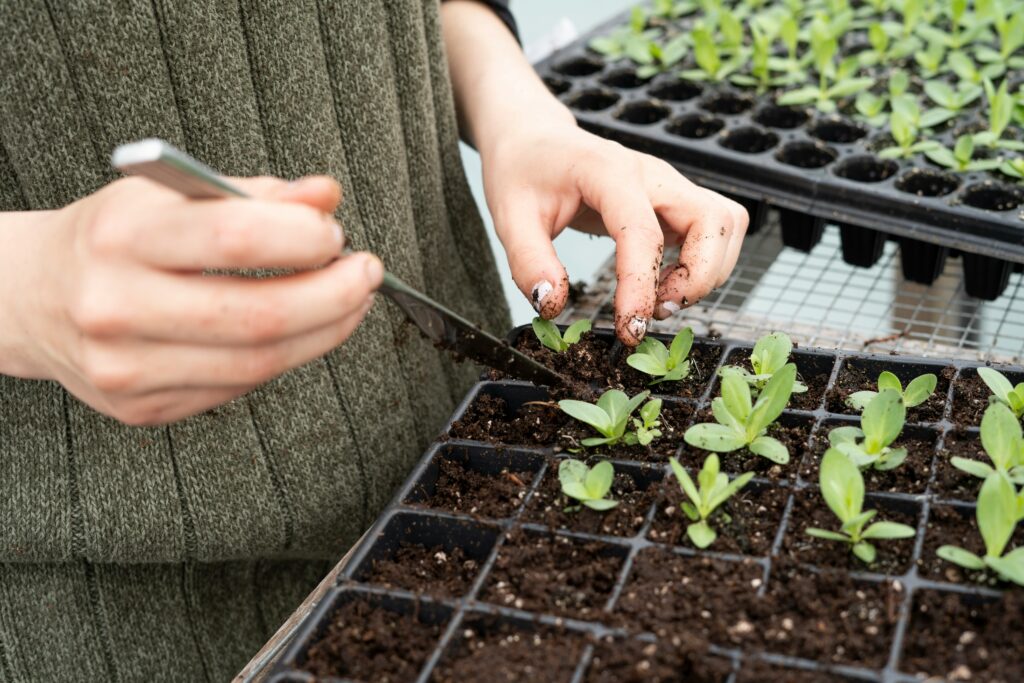
When seedlings develop two or three sets of true leaves, move them into slightly larger containers filled with fresh potting mix. Handle plants by the leaves instead of the stems because damaged leaves recover more easily than broken stems.
11. Harden Off Before Moving Outdoors
One mistake can undo weeks of successful indoor growing. Healthy indoor seedlings still need time to adjust to outdoor sunlight, wind, and changing temperatures.
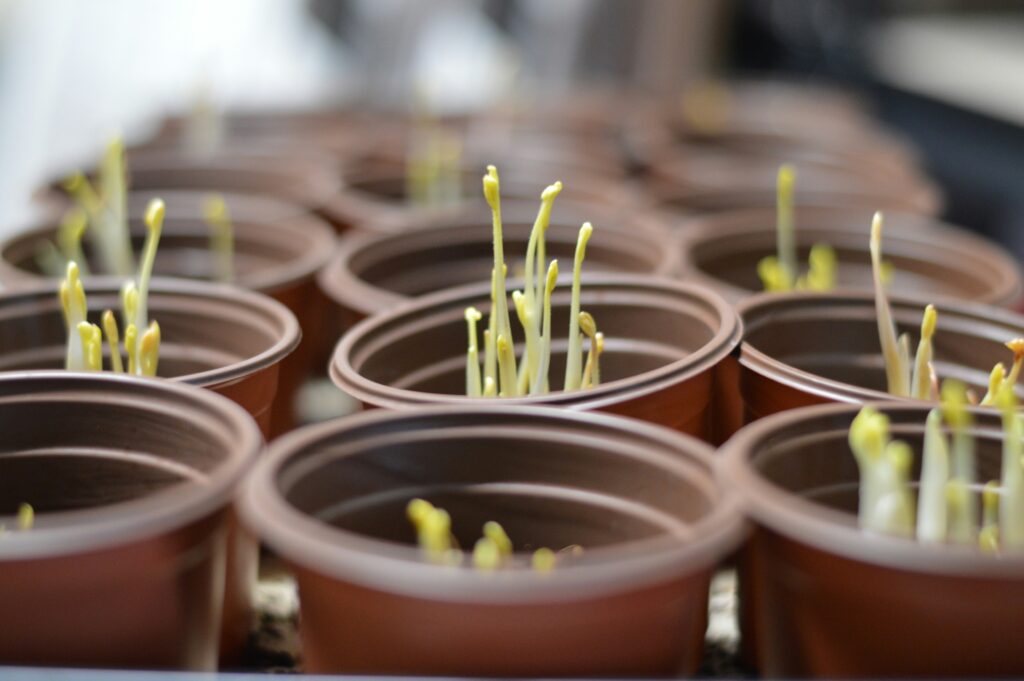
About one week before transplanting, place seedlings outside in a shaded area for one or two hours. Gradually increase both sunlight and outdoor time every day. By the end of the week, the plants should comfortably spend the entire day outdoors before planting in the garden.
A lightweight plant tray makes carrying multiple seedlings much easier during this process.
12. Keep Your Seed Starting Setup Simple
When people search for a perfect seed starting setup indoors, they often think they need shelves full of expensive equipment. My own setup is much simpler than that.
I use a sturdy shelving unit, inexpensive LED grow lights, reusable seed trays, labels, a spray bottle, and a small watering can. Everything fits neatly in one corner of a spare room. Starting with a basic setup also makes it easier to learn what works before buying additional equipment.
In my experience, consistency beats expensive gear every single time.
Most gardening experts agree that good lighting produces healthier seedlings than almost any other upgrade. If your budget only allows one investment, quality LED grow lights usually make the biggest difference.
One limitation worth mentioning is that some plants simply dislike transplanting. Root vegetables such as carrots usually perform better when sown directly outdoors. Indoor seed starting works best for crops that naturally tolerate moving.
How to Start Seeds Indoors Successfully
If you want a simple system you can repeat every season, follow these steps:
- Read your seed packet for timing.
- Fill clean containers with seed starting mix.
- Plant seeds at the recommended depth.
- Water gently until the soil feels evenly moist.
- Cover with a humidity dome until seedlings appear.
- Place seedlings under bright lights immediately after germination.
- Water only when the soil begins drying.
- Feed lightly after true leaves develop.
- Transplant into larger containers when needed.
- Harden off before planting outdoors.
Following the same routine each season makes seed starting feel much less overwhelming.
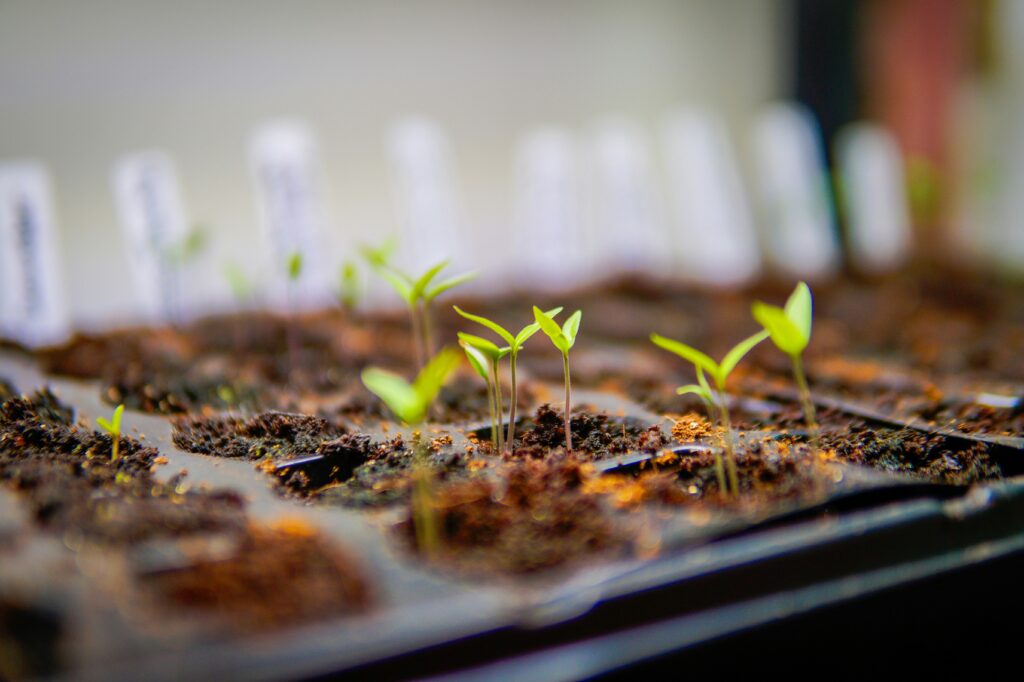
A Small Trick That Makes Germination More Even
Write the planting date directly on each plant label instead of relying only on the seed packet. When several trays begin growing at different speeds, those dates help you judge whether slow germination is normal or whether something needs adjusting.
One Mistake That Can Undo Weeks of Work
Do not rush seedlings outdoors simply because the weather looks warm for one afternoon. One unexpected cold night or strong wind can damage plants that spent weeks growing indoors. Taking a few extra days to harden them off usually leads to much stronger transplants.
Also read: Your Complete Seed Starting Checklist: Everything Beginners Need to Grow Big From Tiny Seeds
A Few Last Words
Starting seeds indoors without a greenhouse is much easier than many gardeners expect. You do not need expensive equipment to grow healthy seedlings. Focus on giving seeds the right amount of warmth, light, moisture, and airflow, and they will reward you with strong young plants ready for the garden. A simple, consistent routine often produces better results than the most elaborate setup.
Featured image credit: Photo by Christian Joudrey on Unsplash

Leave a Reply