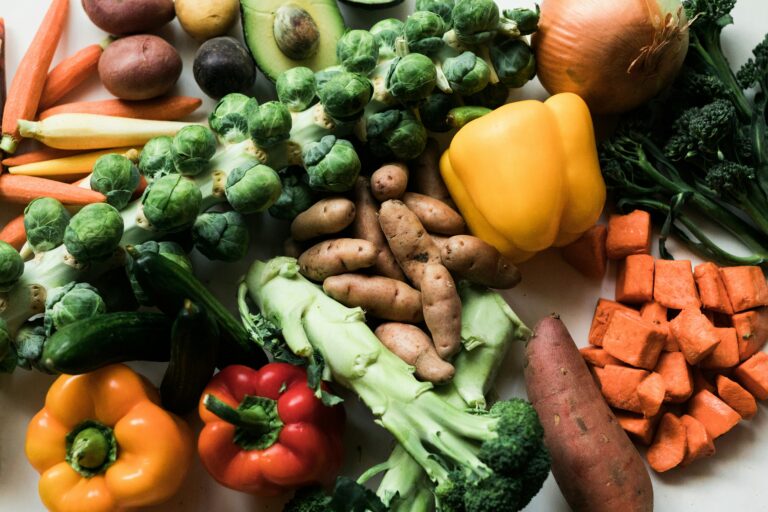
If you have ever stared at a seed packet and felt completely lost, you are not alone. Whether you’re a beginner gardener or an experienced one, seed starting can feel overwhelming every time. But honestly? Once you get the hang of it, it becomes one of the most rewarding parts of gardening. I have been there, standing in my kitchen with a bag of potting mix and zero idea what I was doing. So let me walk you through everything, step by step, the way I wish someone had done for me.
Start With a Plan (Yes, Before You Buy Anything)
The very first thing you need is a seed starting schedule. This is simply a timeline that tells you when to start each seed indoors based on your last expected frost date. For example, if your last frost date is May 1st, you would count backward six to eight weeks to start tomatoes. That puts you around mid-March. Most seed packets actually print this information right on the back, so check there first. You can also search for a seed starting chart online that is specific to your growing zone. The Old Farmer’s Almanac has a reliable, free planting calendar that many beginner gardeners swear by.
Planning ahead saves you from starting too early (which leads to leggy, overgrown seedlings) or too late (which costs you the whole growing season).
Set Up Your Seed Starting Space
Next, think about your seed starting setup. You do not need a fancy greenhouse. A simple folding table near a south-facing window works well. However, if your home does not get much natural light in late winter, a basic grow light makes a huge difference. You can find affordable clip-on LED grow lights on Amazon for under $30. Set it about two to four inches above your seedlings and keep it on for 14 to 16 hours a day.
For warmth, seeds germinate best when the soil stays between 65 and 75 degrees Fahrenheit. A seedling heat mat placed under your trays speeds things up significantly. This is especially helpful for peppers and tomatoes, which are notoriously slow to sprout in cooler conditions.
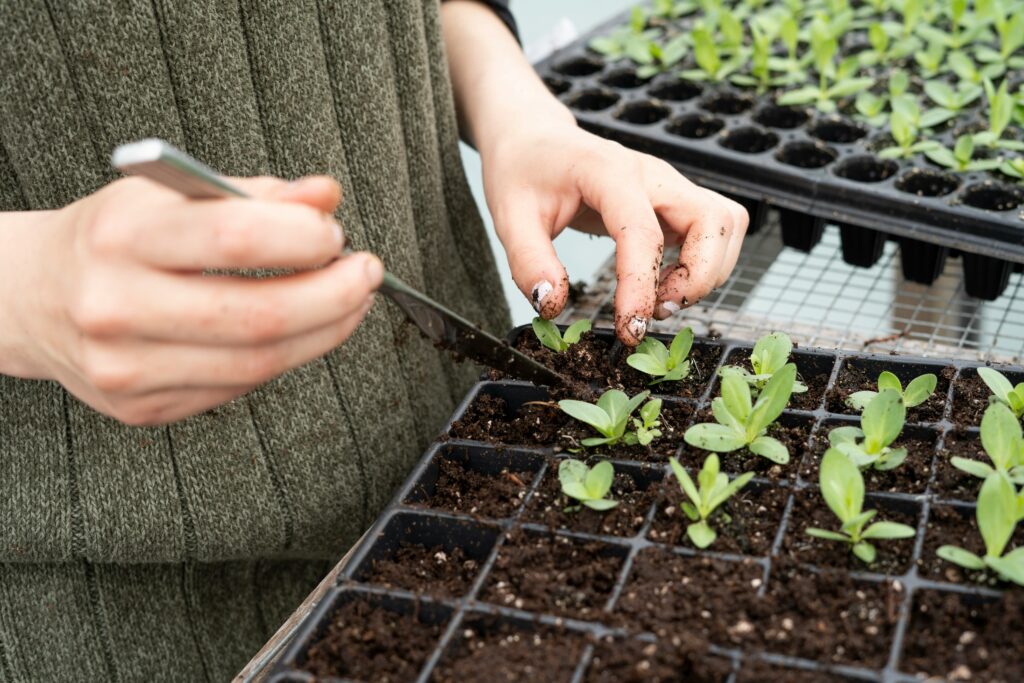
Choose the Right Seed Starting Containers
Your choice of seed starting containers matters more than people think. You want something that holds moisture but also drains well. Here are some popular options that actually work.
Plastic cell trays (the ones that come in 6-pack or 72-cell sizes) are cheap and reusable. Peat pots are great because you plant the whole thing directly in the ground, which reduces transplant shock. Even recycled yogurt cups or egg cartons work well for seed starting ideas on a budget. Just poke drainage holes in the bottom and you are good to go.
Whatever container you choose, make sure it is clean. Old containers can harbor diseases that wipe out your seedlings fast. A quick rinse with diluted bleach water (1 part bleach to 9 parts water) does the job.
Mix Your Own Seed Starting Soil
This is where a lot of beginners go wrong. Regular garden soil is too dense for seedlings. It compacts easily and can suffocate those tiny, delicate roots. Instead, use a proper seed starting mix recipe.
A simple and effective blend is: 2 parts peat moss or coconut coir, 1 part perlite, and 1 part vermiculite. That is it. This seed starting mix recipe is lightweight, drains well, and holds just enough moisture without getting soggy. You can also buy a pre-made seed starting soil from brands like Espoma or Burpee if you prefer to skip the mixing.
Avoid anything labeled “potting mix” or “potting soil” for germination. Those are formulated for established plants, not fragile seedlings.
Sow Your Seeds the Right Way
Now comes the fun part. Moisten your seed starting soil before filling your containers. It should feel like a wrung-out sponge, damp but not dripping. Fill each cell to about a quarter inch from the top.
Check your seed packet for planting depth. A general rule is to plant seeds at a depth of about two times their diameter. Tiny seeds like basil or lettuce go right on the surface. Larger seeds like squash or beans get pushed in a bit deeper.
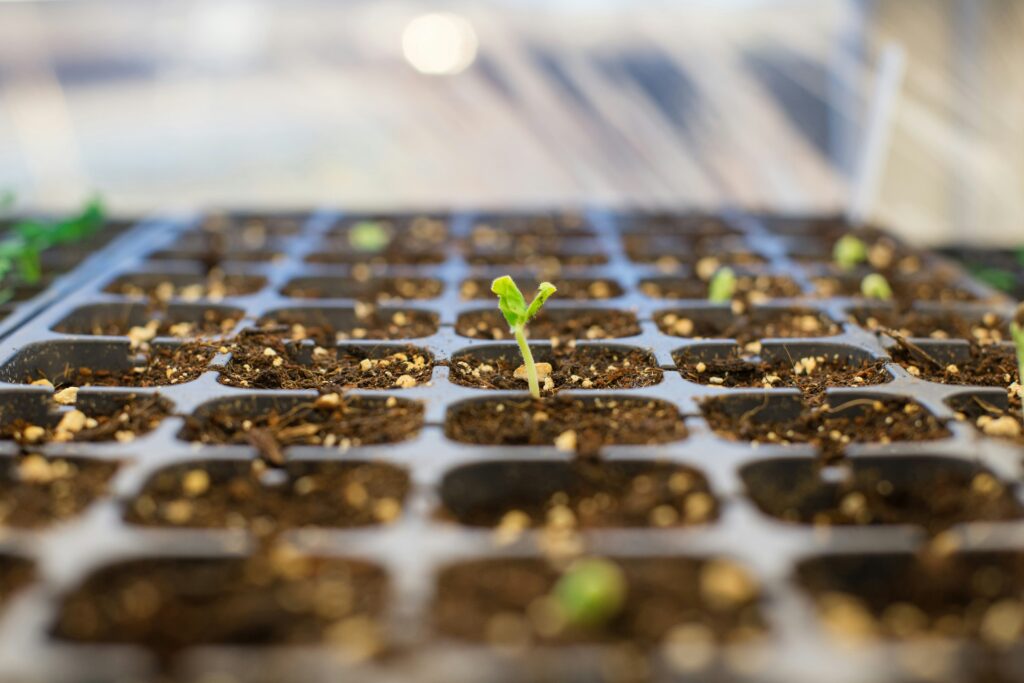
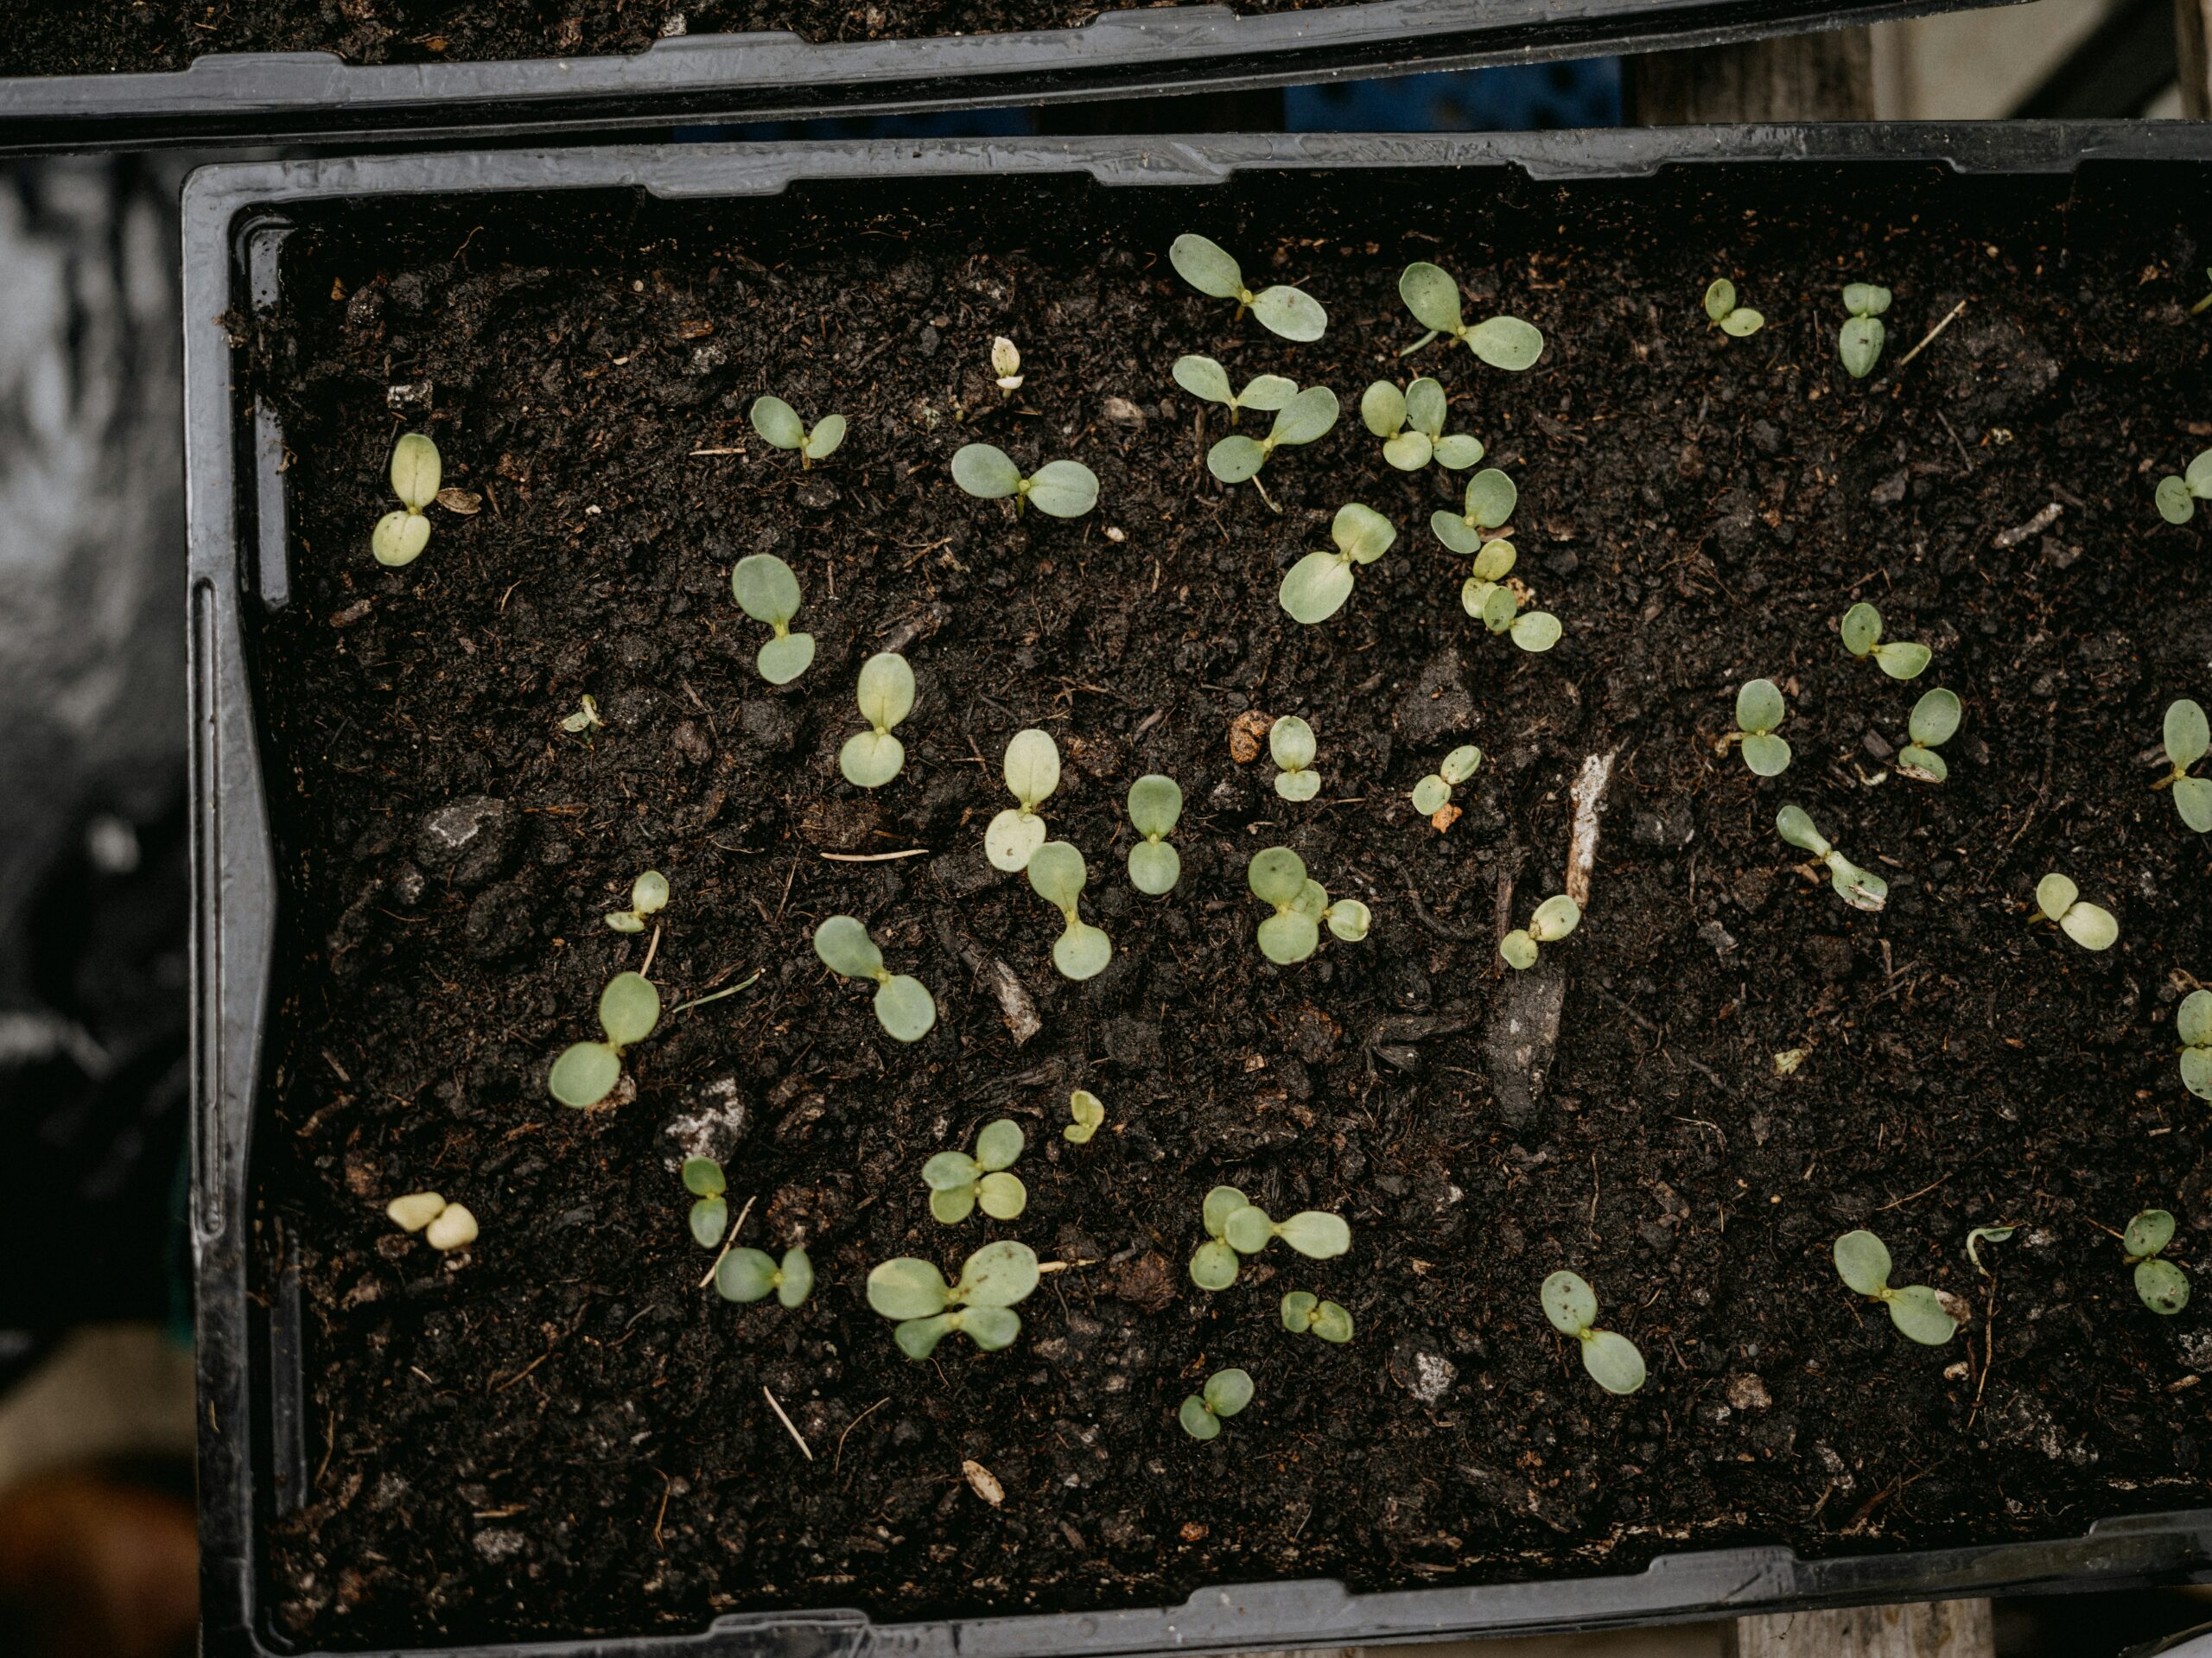
After sowing, cover your trays with a clear plastic dome or plastic wrap. This traps humidity and warmth, which speeds up germination. Remove the cover as soon as you see sprouts.
Water Carefully (This Step Trips Up Most Beginners)
Overwatering is the number one killer of seedlings. Instead of pouring water from above, try bottom watering. Place your tray in a shallow dish filled with an inch of water. Let the soil soak it up from the bottom for 20 to 30 minutes, then remove. This method encourages deeper root growth and prevents damping off, a fungal disease that causes seedlings to suddenly collapse at the stem.
Water only when the top of the soil feels dry to the touch.
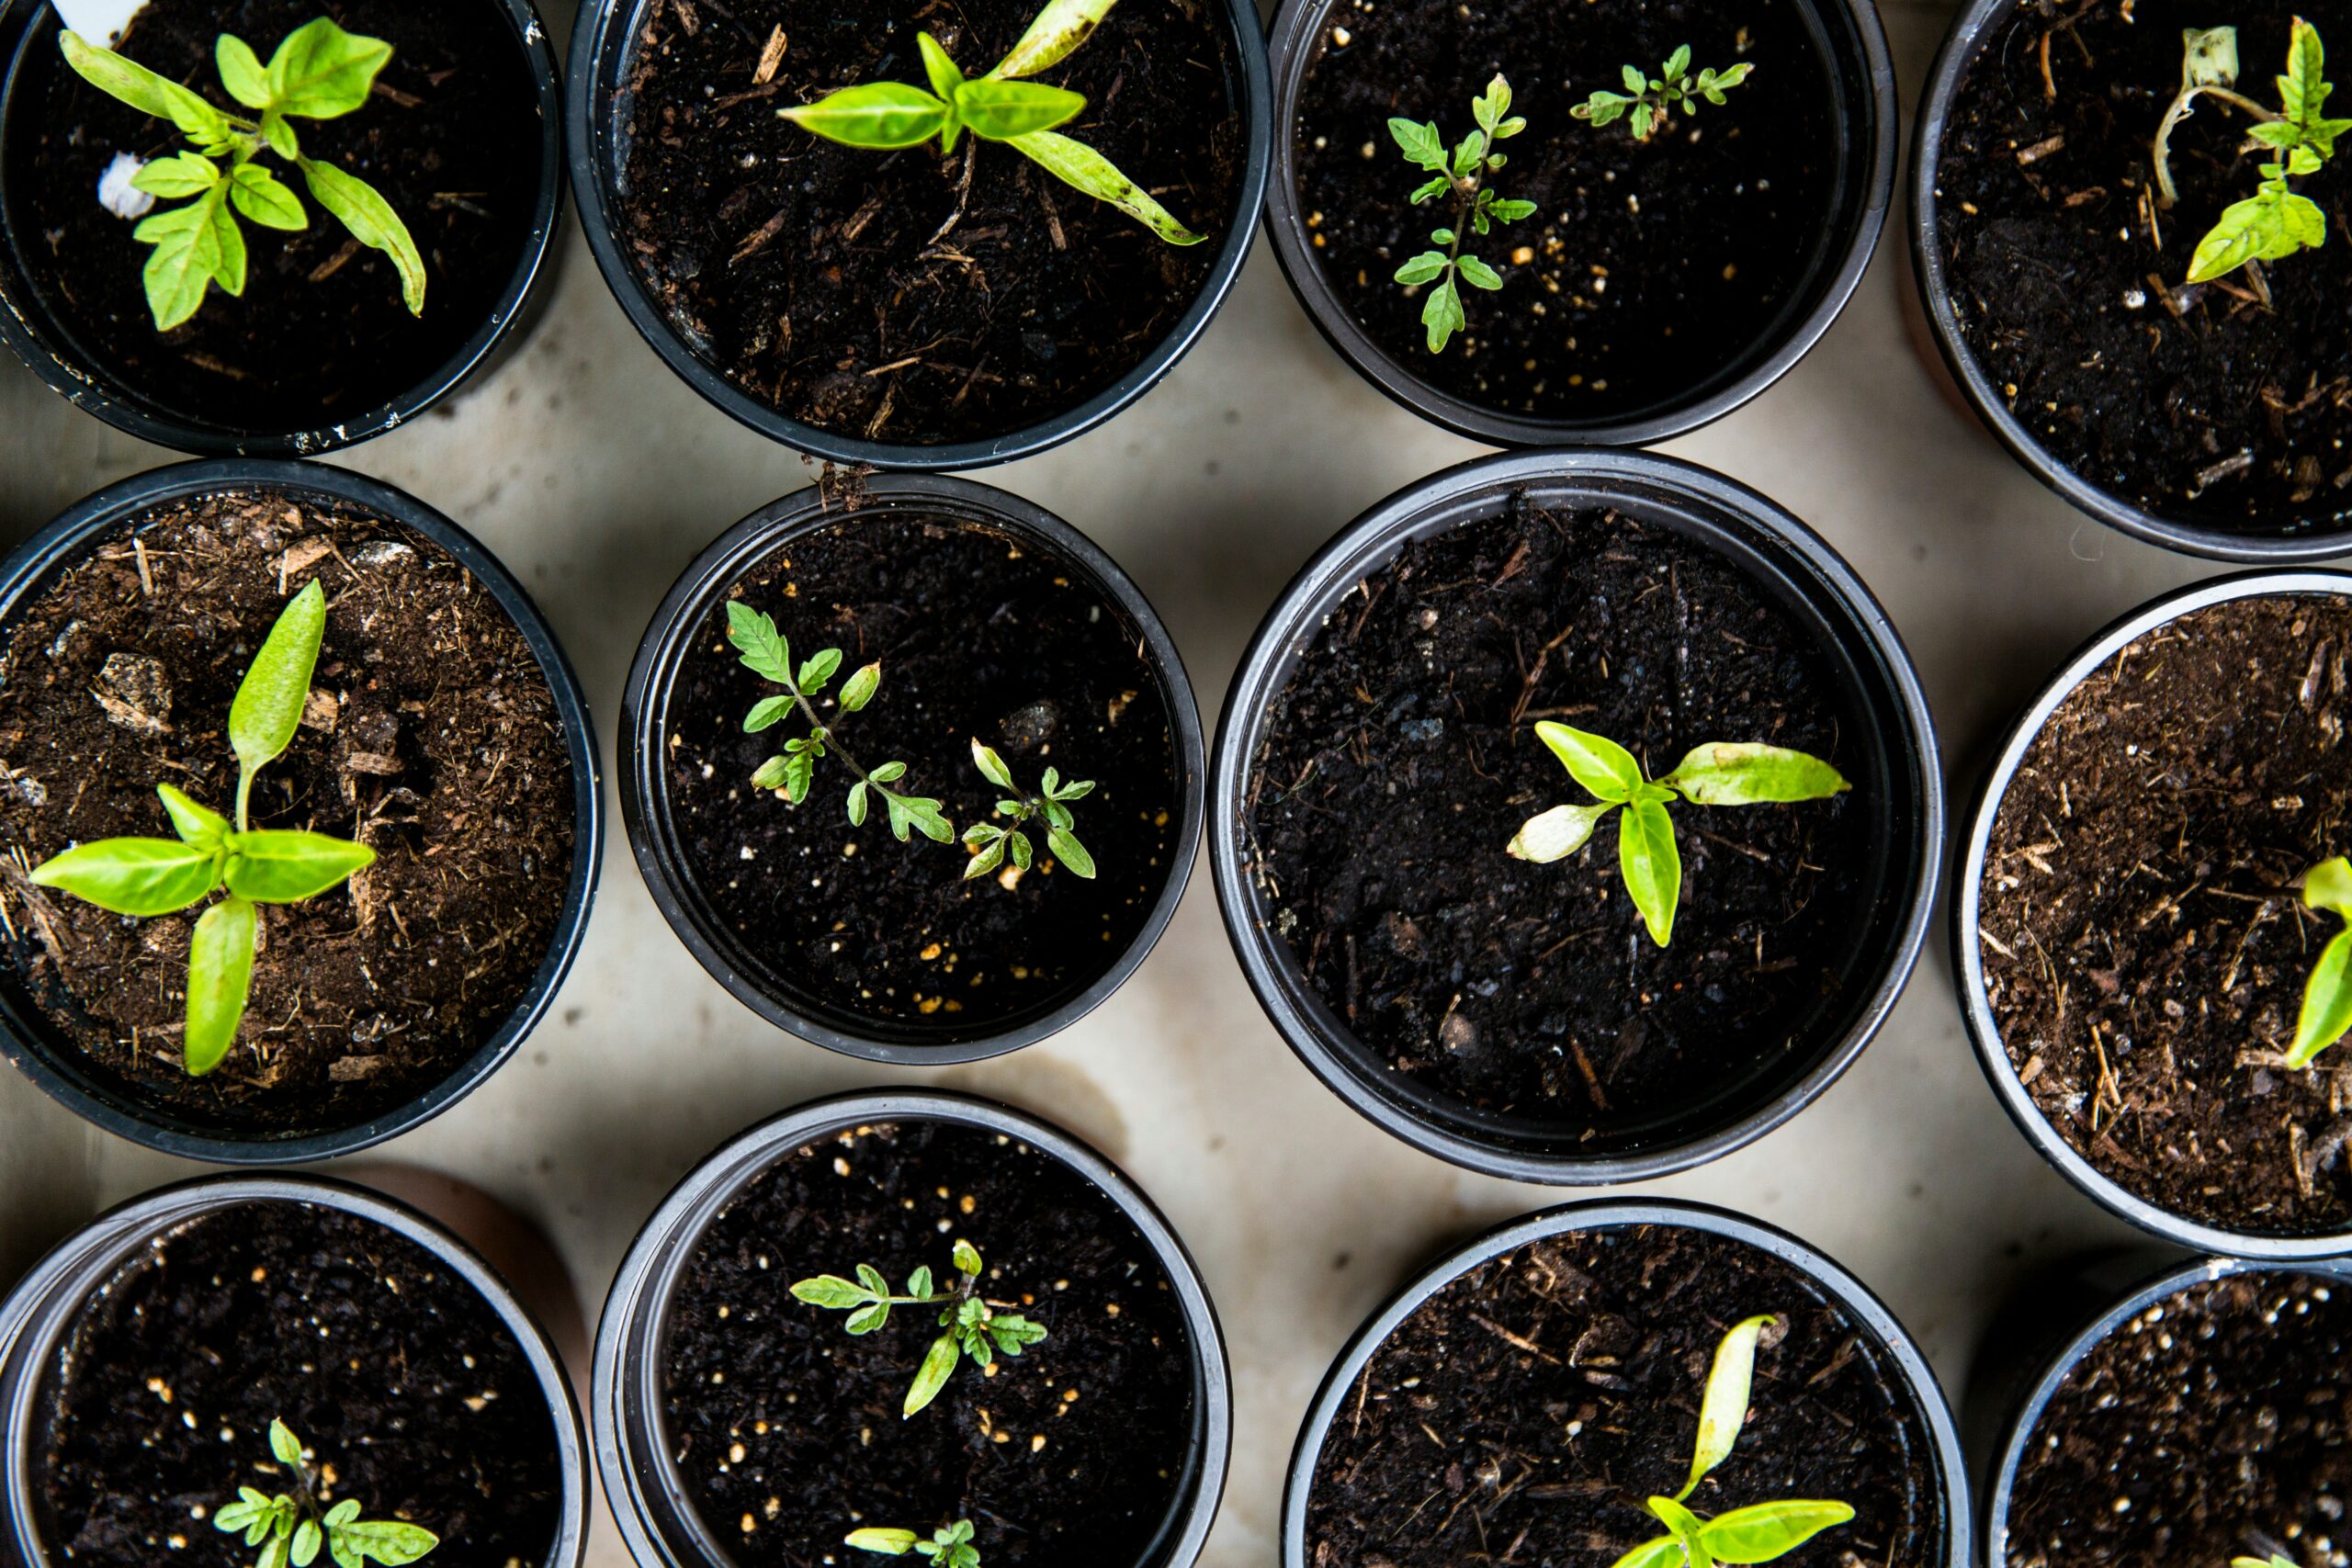
Label Everything
This sounds obvious, but it is so easy to forget. Once your seedlings sprout, they all look the same. Use popsicle sticks or plastic plant markers and write the plant name and start date on each one. A simple seed starting chart taped to your wall can also help you track germination dates and progress at a glance.
Harden Off Before Transplanting
About a week before you plan to move your seedlings outside, start the hardening off process. Take them outdoors for an hour or two each day, gradually increasing the time over seven to ten days. This gets them used to wind, direct sun, and outdoor temperatures. Skipping this step can send your plants into shock, and you may lose seedlings that took weeks to grow.
You Can Do This!
Starting seeds indoors for the first time is genuinely one of those things that seems harder than it is. Get your schedule sorted, set up a cozy little seed starting space, use the right containers and soil, and water with care. Moreover, do not stress if your first round does not go perfectly. That is part of the process. Every gardener has a tray of failed sprouts somewhere in their past. What matters is that you try again, and each season you will get a little better at it.
Featured image credit: Photo by Markus Spiske on Unsplash