Starting a garden feels exciting until you realize you have no idea where to begin. Should you buy seeds or seedlings? Does soil type actually matter? What even is companion planting? If these questions sound familiar, you are in the right place. This guide was written for real beginners who want real results. No fluff, no overwhelming jargon. Just clear, honest steps that will get your first garden growing. Whether you have a backyard, a balcony, or just a few pots, this guide works for you.
Step 1: Understand Your Growing Conditions First
Before you buy a single seed, observe your space. How many hours of direct sunlight does it get each day? Most vegetables need at least six hours. Herbs and leafy greens can manage with less. Notice where the shade falls and at what time. Also think about your climate zone. In the United States, the USDA Plant Hardiness Zone Map tells you what plants survive in your area. In tropical climates, the rainy season and dry season matter more than frost dates. Knowing your conditions is the first and most important step in gardening for beginners. If you skip this, even the best seeds will struggle.
Step 2: Choose the Right Gardening Method for Your Space
Your space determines your method. Do not try to fit a large vegetable bed into a small apartment balcony. Instead, match the method to what you actually have. Here are your main options.
In-ground beds work well if you have open ground and decent soil. They are the most traditional and lowest cost to set up.
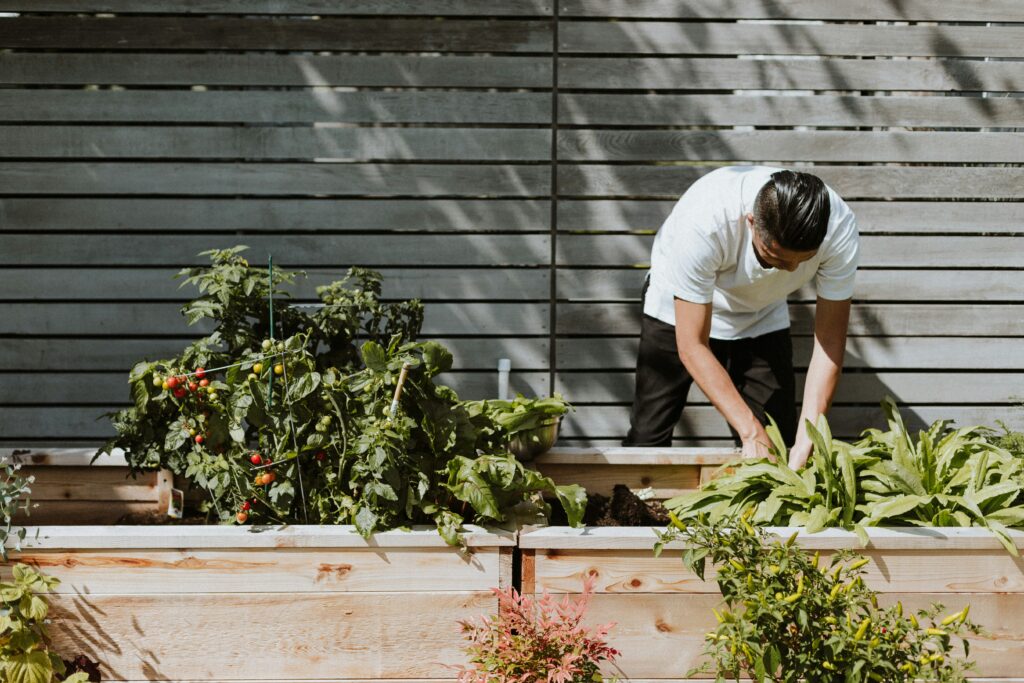
Raised beds are great for beginners because you control the soil completely. They also drain better and warm up faster in spring. A standard raised bed is four feet wide so you can reach the middle without stepping inside.
Container gardening is perfect for small spaces. Tomatoes, peppers, lettuce, and most herbs grow beautifully in pots. Just make sure every container has drainage holes at the bottom.
Vertical gardening is a creative option when ground space is limited. You can grow beans, cucumbers, or strawberries up a trellis or wall-mounted planter.
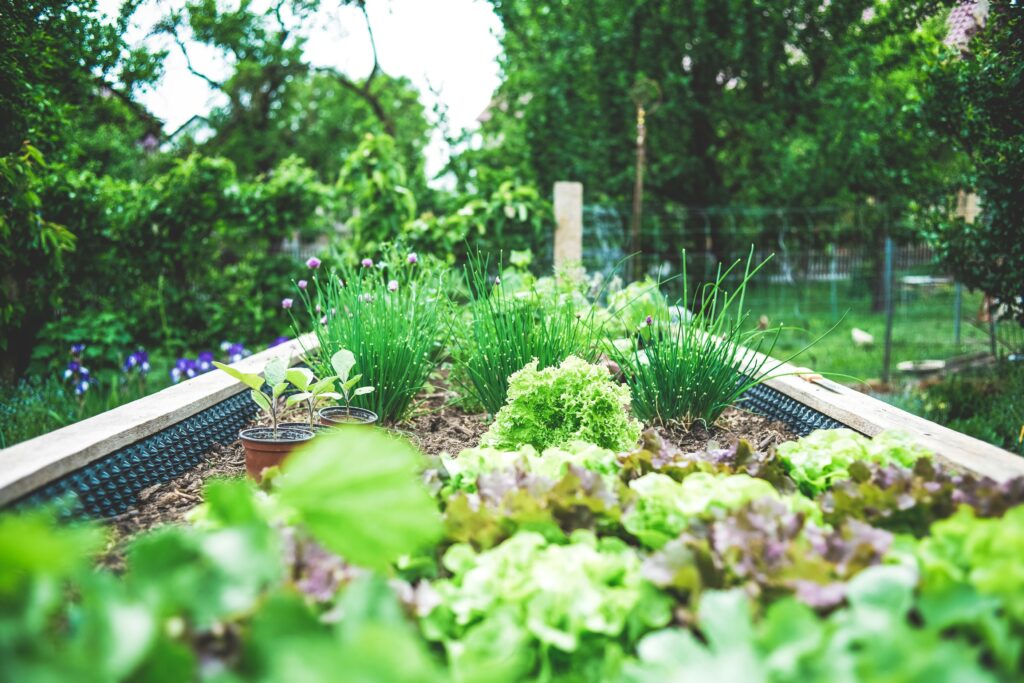
A smart gardening layout does not need to be complicated. Start with one small bed or a few containers. Give yourself room to learn before you scale up.
Step 3: Choose What to Grow (Strategically, Not Emotionally)
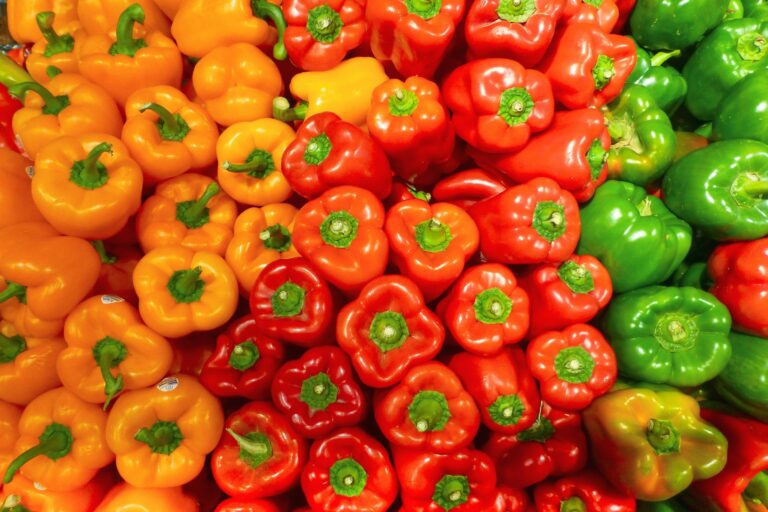
Many beginners make the mistake of planting what they love to eat instead of what will actually grow well in their space and season. Both matter, but starting with easy, forgiving plants gives you confidence and momentum. Good starter plants include lettuce, radishes, green beans, cherry tomatoes, zucchini, basil, and mint. These are fast-growing and relatively pest-resistant. Save the tricky ones like broccoli, cauliflower, or artichokes for later seasons when you have more experience. Also grow what your household actually uses. There is no point harvesting twenty zucchinis a week if nobody eats them.
Step 4: Build the Right Soil Foundation
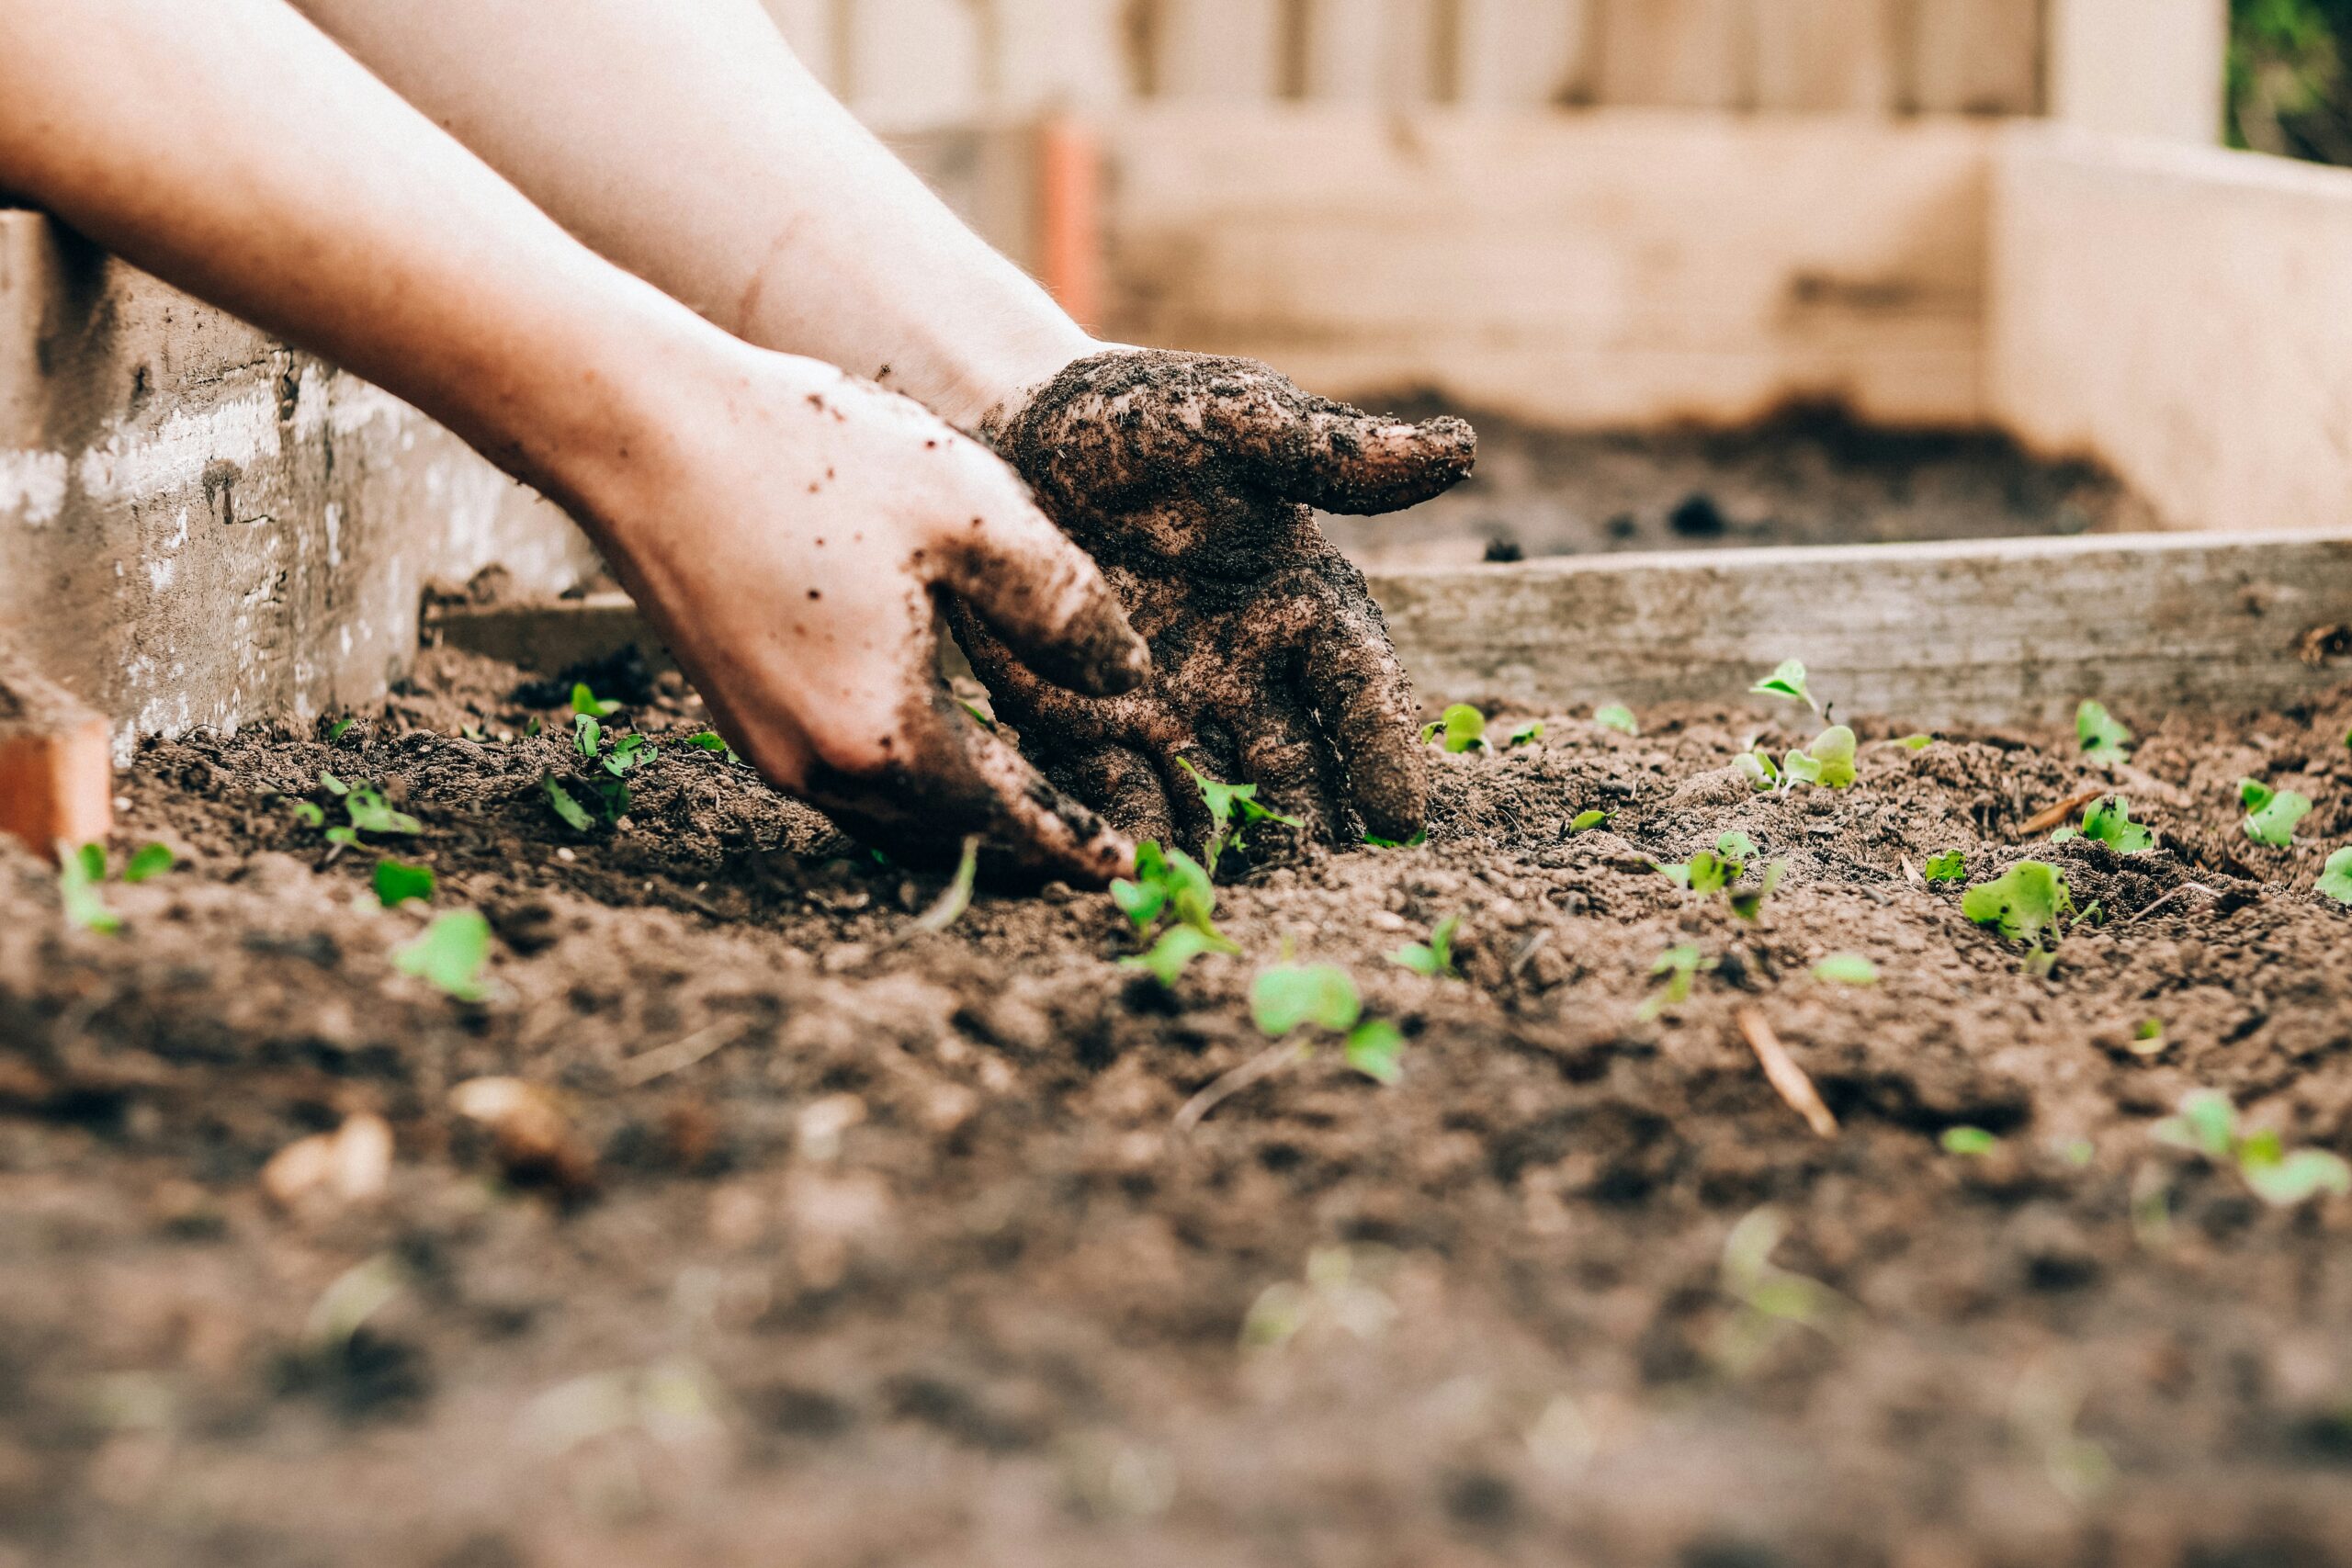
Soil is not just dirt. It is a living system full of microbes, nutrients, and structure that your plants depend on entirely. Bad soil is the number one reason beginner gardens fail. Good garden soil should be dark, loose, and slightly moist. It should not compact into a hard block when dry. For raised beds and containers, a mix of topsoil, compost, and perlite or coarse sand works excellently.
A popular beginner mix is one-third compost, one-third topsoil, and one-third perlite. For in-ground beds, loosen the soil at least twelve inches deep and mix in plenty of finished compost. Avoid using clay-heavy soil without amendment. Roots cannot push through it.
Test your soil pH if you can. Most vegetables prefer a pH between 6.0 and 7.0. Simple pH test kits are available at garden centers and are affordable.
Step 5: Master Watering and Sunlight (The Two Silent Killers)
Too much water kills plants just as fast as too little. Overwatering is actually the most common beginner mistake. Before watering, push your finger one inch into the soil. If it feels dry, water deeply. If it still feels moist, wait another day. Water at the base of the plant, not the leaves. Wet leaves in the evening invite fungal disease. Morning watering is ideal.
In terms of sunlight, always recheck what your plants need. Tomatoes and peppers love full sun. Spinach and cilantro prefer cooler, partially shaded spots. Moving a pot to a sunnier window or a shadier corner can completely change how a plant performs.

Step 6: Decide Between Seeds and Seedlings
Seeds are cheaper but take longer and require more care early on. Seedlings, also called transplants, give you a head start but cost more. As a beginner, a practical approach is to use seedlings for slow-growing crops like tomatoes, peppers, and eggplant. Use direct-sown seeds for fast growers like beans, radishes, carrots, and peas. These do not transplant well anyway.
Many garden centers sell starter seedlings in spring, which makes it easy to begin even in the middle of a season. Starting from seed indoors is a rewarding skill, but save that for your second or third season once you have the basics down.
Step 7: Follow a Basic Planting Timeline
Timing is everything in gardening. Planting tomatoes too early in a cold spring will stunt them. Planting lettuce in the heat of summer will cause it to bolt and turn bitter within days. In temperate climates, cool-season crops like lettuce, peas, and kale go in early spring and again in fall. Warm-season crops like tomatoes, cucumbers, and squash go in after the last frost date.
In tropical climates, focus on the dry season for most vegetables and use the rainy season for crops that tolerate heavy moisture. Write your planting dates on a simple calendar. Even a basic notebook works fine. A visual planting timeline prevents the most common timing mistakes.
Step 8: Understand Companion Planting (and Avoid Conflicts)
Companion plants are plants that grow better when placed near each other. This is not a myth. The science behind it is real and practical. The classic example is the Three Sisters method used by Native American farmers for centuries. They planted corn, beans, and squash together. The corn provides a trellis for the beans. The beans fix nitrogen into the soil. The squash shades the ground, reducing weeds and keeping moisture in.
Another example is planting basil near tomatoes. Basil is believed to repel thrips and aphids while also improving the flavor of nearby tomatoes, according to traditional gardening practice. On the other hand, some plants actively hurt each other. Onions and garlic stunt the growth of beans and peas when planted nearby. Fennel is famously bad company and should be kept away from most vegetables.
Learning companion plants saves space, reduces pests naturally, and improves your overall yield. It is one of the most underused strategies in beginner gardens.
Step 9: Explore Herb, Medicinal, and Specialty Gardens
Once you are comfortable with the basics, herbs are a brilliant next step. They are easy to grow, useful daily, and most do well in small containers. Start with basil, mint, rosemary, parsley, and chives. These suit most climates and are low maintenance.
If you are interested in medicinal plants, consider calendula, chamomile, lemon balm, and tulsi, also known as holy basil. These are beginner-friendly and have well-documented traditional uses. A small dedicated herb section in your gardening layout adds both beauty and practicality to your space.
Step 10: Composting and Sustainable Gardening
Composting turns kitchen waste into free fertilizer. It sounds complicated but it truly is not. Start with a simple bin or pile in a corner of your yard. Add fruit and vegetable scraps, coffee grounds, eggshells, and dry leaves. Avoid meat, dairy, and oily foods. Turn the pile every week or two to add air. Within two to three months, you will have dark, crumbly compost ready to feed your garden.
Composting reduces what you send to the landfill and continuously improves your soil. It is one of the most sustainable habits any gardener can build. Even apartment dwellers can use a small worm bin indoors for a scaled-down version of the same process.
Step 11: Feeding Your Plants Without Overcomplicating It
Plants need three main nutrients: nitrogen for leafy growth, phosphorus for roots and flowers, and potassium for overall strength. A balanced organic fertilizer like a 5-5-5 or 10-10-10 formula covers the basics for most beginners. Apply it every three to four weeks during the growing season. Additionally, compost tea, made by soaking finished compost in water for twenty-four hours and then straining it, is a gentle liquid feed that works well for container plants.
Avoid over-fertilizing. Too much nitrogen causes lush leaves but very little fruit. Let your plants guide you. Yellow leaves often signal a nitrogen deficiency. Slow growth can indicate poor phosphorus levels.
Step 12: Handle Pests and Plant Problems Early
Check your plants every few days. Early detection prevents small problems from becoming disasters. Common pests include aphids, whiteflies, caterpillars, and spider mites. A simple solution of water and a few drops of dish soap sprayed directly on affected leaves handles many soft-bodied pests. Neem oil is a widely available organic option that works against a broad range of pests and some fungal issues. Yellowing leaves, brown spots, and wilting are signals that something is off.
Diagnose before you treat. Wilting can mean underwatering or root rot from overwatering. They look similar but require opposite responses. A good rule is to always check soil moisture first before assuming the worst.
Step 13: Use Smart Gardening Hacks to Save Time and Effort
Experienced gardeners use shortcuts that beginners rarely know about. Here are some proven gardening hacks worth adopting from your first season. Mulching around your plants with straw or wood chips reduces watering frequency by retaining moisture and suppressing weeds at the same time. Eggshells crushed around the base of plants deter slugs and snails. Self-watering containers with built-in reservoirs are ideal for anyone who forgets to water regularly. Repurposed bottles with small holes poked in the cap can be buried neck-down near plant roots to deliver slow, deep watering. Labeling every plant immediately after you plant it saves enormous confusion later. Grouping plants with similar water needs together makes your watering routine faster and more efficient.
Step 14: Grow Your Garden Into a System
The goal is not just a garden. The goal is a garden that almost runs itself. After your first season, evaluate what worked and what did not. Rotate your crops. Do not plant tomatoes in the same spot two years in a row, as this leads to soil-borne disease buildup.
Add one or two new plants each season rather than trying to overhaul everything. Build simple systems like rainwater collection, a dedicated compost station, and a seed-saving habit for varieties you loved. Document what you plant, when you plant it, and how it performs. Even rough notes in a journal help you make better decisions next season. Over time, your garden becomes easier to manage because you understand it deeply.

What Your First Gardening Journey Will Really Look Like
Here is the honest truth. Your first garden will not be perfect. Some plants will die, some will get eaten by pests before you even notice, and some will simply not thrive despite everything you do right. That is completely normal and it happens to every gardener. The goal of your first season is not a perfect harvest. The goal is to learn your space, understand your soil, and build confidence. Every season after that gets easier.
Gardening for beginners is not about following every rule perfectly. It is about showing up, paying attention, and adjusting as you go. The gardeners who succeed are not the ones who know the most at the start. They are the ones who kept going after the first failure. Start small, stay curious, and enjoy the process. Your garden is waiting.
Featured image credit: Photo by Sandie Clarke on Unsplash