
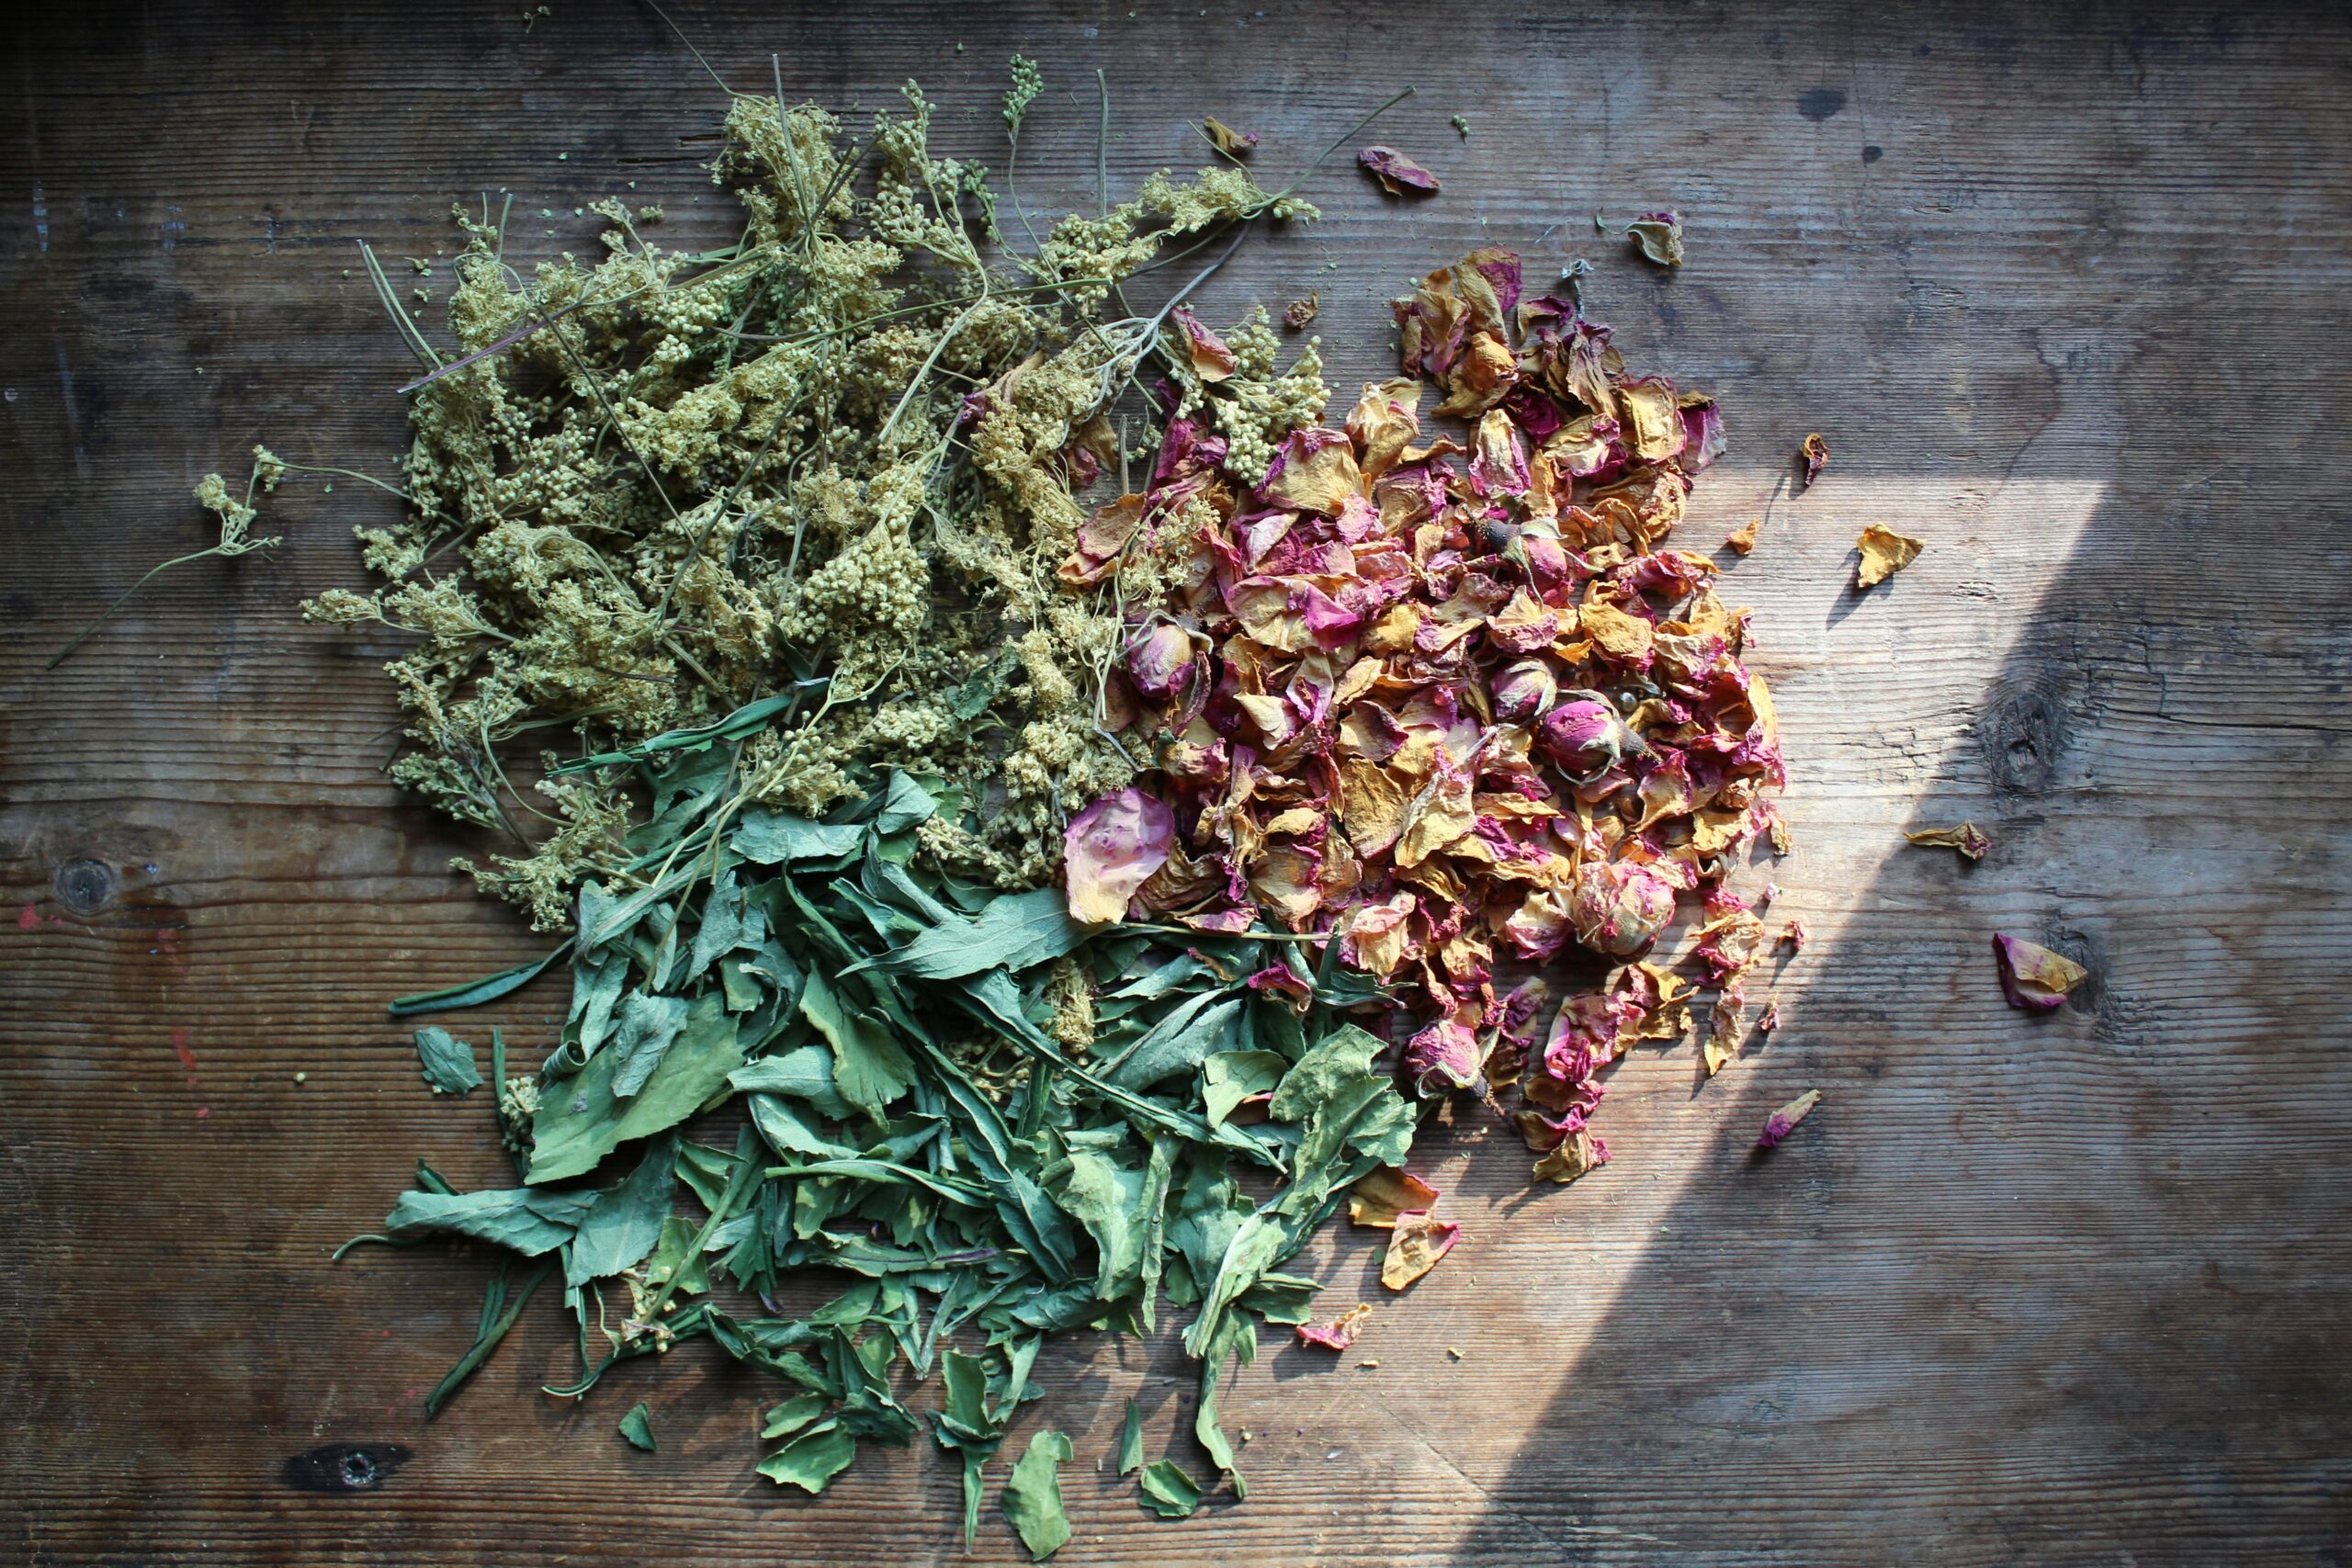
You spend weeks or even months growing fresh herbs, only to realize you cannot use them all before they wilt. A bunch of basil turns black in the fridge. Mint grows faster than you can drink tea. Rosemary becomes woody because you keep putting off harvesting it. If this sounds familiar, you are not alone.
Learning how to preserve herbs is one of the simplest ways to enjoy your garden long after the growing season ends. Dried and frozen herbs save money, reduce food waste, and make home cooking much easier throughout the year. The best part is that you do not need expensive equipment or a dedicated drying room to get great results.
Over the years, I have found that simple methods often work better than complicated ones. Once you understand which herbs dry well and which prefer freezing, preserving your harvest becomes part of your regular gardening routine instead of another chore.
How to Preserve Herbs Without Losing Flavor
Most herbs preserve well if you harvest them correctly and dry them gently. The biggest mistake people make is waiting until herbs flower or drying them too quickly with high heat. Both reduce flavor because essential oils begin breaking down.
For the best results, harvest herbs early in the morning after the dew dries but before the afternoon sun becomes hot. At this stage, most herbs contain their highest concentration of aromatic oils. Use clean pruning scissors or herb snips to avoid damaging stems.
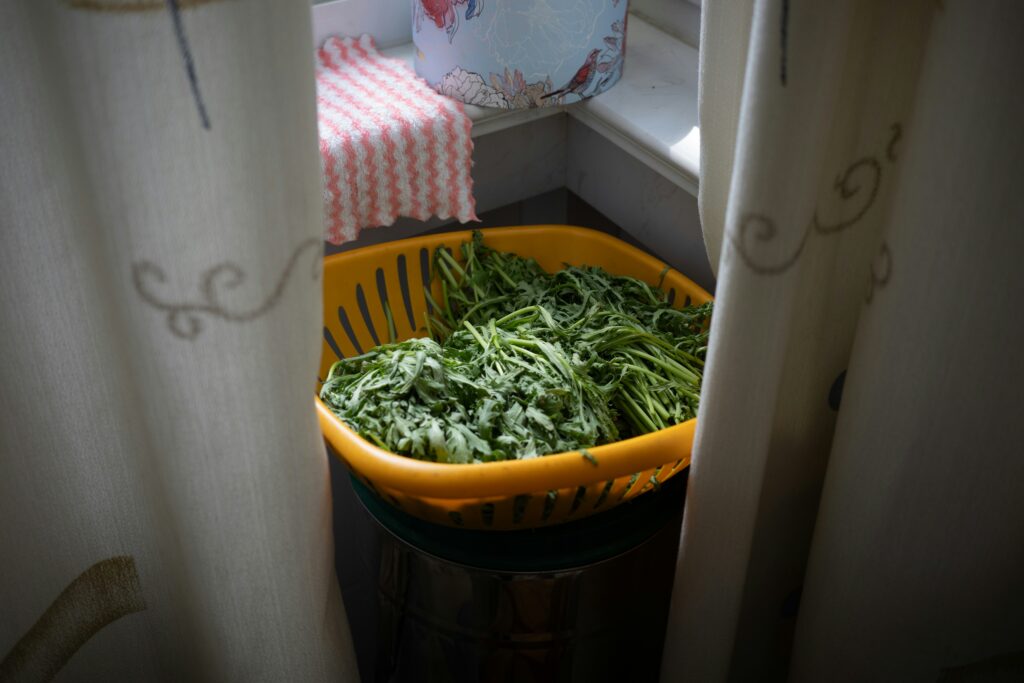
Once harvested, shake away insects and remove damaged leaves. Rinse only if necessary, then pat everything completely dry with a clean kitchen towel or use a salad spinner. Moisture is one of the biggest causes of mold during storage, so spending a few extra minutes drying the leaves is worth it.
Also read: Indoor Herb Garden Ideas for Fresh Herbs All Year Long
1. Air Drying: The Best Method for Most Herbs
If someone asked me for just one method, I would recommend air drying. It costs almost nothing, preserves flavor well, and works for many common herbs.
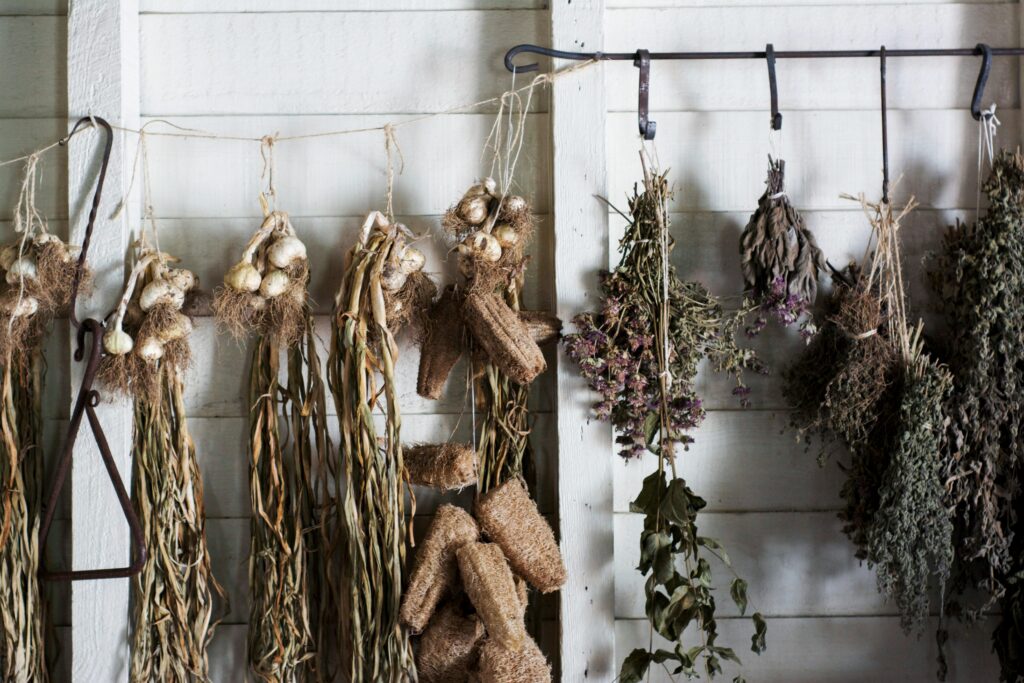
Gather small bundles of herbs like rosemary, thyme, oregano, sage, lavender, marjoram, savory, and dill. Tie each bundle loosely with kitchen twine or a rubber band, then hang them upside down in a warm, dry room with good air circulation. Avoid direct sunlight because it fades color and reduces flavor.
Most herbs dry completely within one to three weeks depending on humidity. Once the leaves crumble easily between your fingers, remove them from the stems and store them in airtight glass jars. A simple drying rack or mesh herb drying screen makes the process even easier if you harvest large amounts.
2. Dry Soft Herbs on Screens
Not every herb dries well in hanging bundles. Tender herbs like parsley, cilantro, mint, lemon balm, and chives contain more moisture and can trap humidity inside thick bundles.
Instead, spread the leaves in a single layer on a mesh drying screen, cooling rack, or clean baking tray lined with paper towels. Turn the leaves every day to improve airflow. This usually shortens drying time and reduces the chance of mold.
If you grow herbs indoors where air circulation is limited, placing a small fan nearby on its lowest setting can improve drying without damaging the leaves.
3. Use a Food Dehydrator for Faster Results
If you regularly grow large herb gardens, a food dehydrator quickly pays for itself. It provides consistent airflow and low temperatures that preserve both color and flavor.
Arrange herbs in a single layer and dry them at about 95°F to 115°F (35°C to 46°C). Most herbs finish drying within two to six hours. Check them every hour because thinner herbs dry much faster than woody stems.
This method works especially well if you harvest several varieties at once and want everything ready for storage in a single afternoon.
4. How to Dry Herbs in the Oven
Many gardeners wonder how to dry herbs in the oven. It works when you need herbs quickly, although it is not my favorite method because ovens often become warmer than ideal.
Set your oven to its lowest temperature, usually around 170°F (75°C) or lower if available. Leave the oven door slightly open to allow moisture to escape. Spread herbs on a baking tray lined with parchment paper and check them every 20 to 30 minutes.
Most herbs finish within one to three hours. Remove them as soon as they become crisp. Overheating causes herbs to lose much of their aroma.
5. Freeze Herbs That Do Not Dry Well
Some herbs lose too much flavor when dried. Basil, parsley, cilantro, and chives usually keep their taste better when frozen.
Chop the herbs, place them into ice cube trays, cover them with water or olive oil, and freeze. Once frozen, transfer the cubes into freezer bags.
This is one of the easiest ways to preserve fresh herbs for soups, sauces, stews, and pasta dishes during winter.
6. Store Herbs Correctly
Drying herbs is only half the process. Poor storage can ruin months of work.
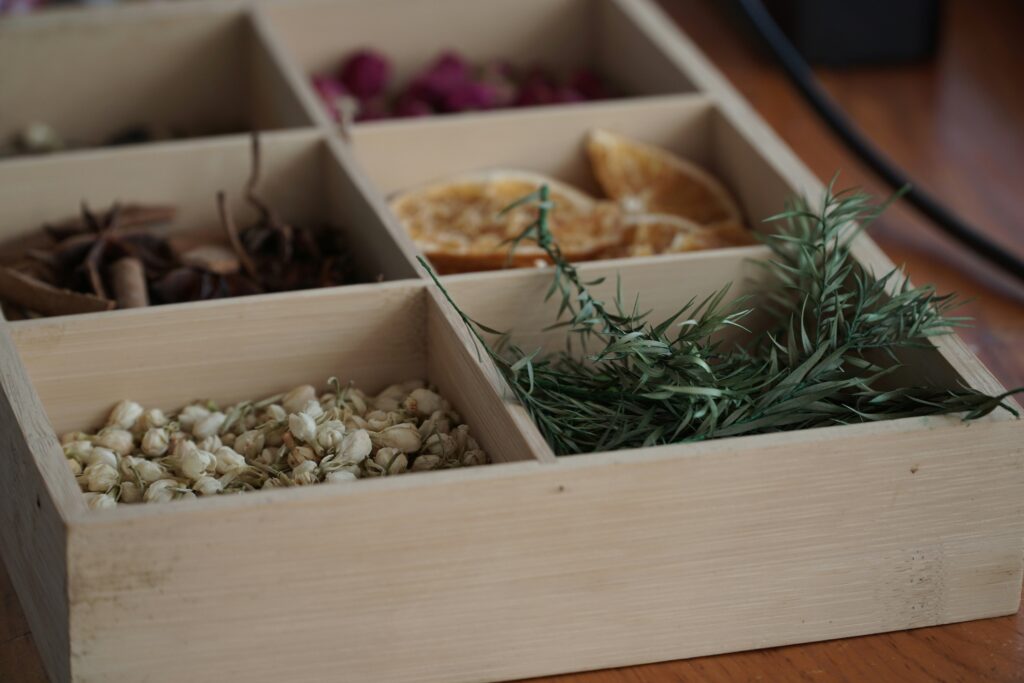
Store dried herbs in clean glass jars with airtight lids. Keep them inside a cool, dark cabinet instead of near the stove or sunny windows. Light, heat, and humidity slowly reduce flavor.
Label every jar with the herb name and harvest date. I also like using small reusable chalk labels because they make reorganizing pantry shelves much easier.
Most dried herbs maintain excellent quality for about one year, although they remain safe beyond that.
7. Know Which Herbs Need Special Care
Different herbs behave differently after harvest.
Rosemary, thyme, oregano, sage, lavender, bay leaves, and savory dry beautifully using almost any method.
Mint dries well but loses some of its bright color if exposed to sunlight.
Basil develops dark spots easily, so freezing often produces better flavor than drying.
Parsley dries successfully but becomes milder. If you use parsley mainly for fresh flavor, freezing may suit you better.
Cilantro usually loses much of its fresh aroma after drying, making freezing the preferred choice.
Knowing these small differences helps you preserve each herb at its best instead of treating every plant the same way.
8. Preserve Fresh Herbs in the Refrigerator
Sometimes you only need to keep herbs fresh for another week rather than drying everything immediately.
Trim the stems and place herbs like parsley and cilantro in a glass of water. Cover the leaves loosely with a plastic produce bag and store them in the refrigerator.
For rosemary, thyme, oregano, and sage, wrap them loosely inside a slightly damp paper towel before placing them in a reusable storage container.
These simple methods often keep herbs fresh much longer than leaving them in grocery store packaging.
9. Watch for Moisture Before Long-Term Storage
One lesson I learned through trial and error is to never rush herbs into storage.
Even if leaves feel dry, leave them on the counter for another few hours before sealing jars. Any hidden moisture trapped inside the container can encourage mold.
If you ever notice condensation inside a storage jar, remove the herbs immediately and continue drying them before storing again.
A Simple Workflow You Can Follow Every Time
Keeping the process consistent makes herb preservation much easier.
- Harvest herbs during the morning.
- Remove damaged leaves.
- Wash only if necessary.
- Dry the herbs completely.
- Choose air drying, dehydrating, oven drying, or freezing based on the herb.
- Test for crispness before storage.
- Store in airtight containers.
- Label every jar with the harvest date.
After following this routine a few times, preserving herbs becomes almost automatic.
One small limitation is that drying changes the flavor slightly. Herbs like basil and cilantro rarely taste exactly like fresh leaves, which is why freezing often produces better results for those varieties.
In my opinion, air drying remains the best overall method for most home gardeners. It preserves flavor well, costs almost nothing, and requires very little equipment compared to other techniques.
Also read: Herb Garden Kit for Beginners: The Perfect Setup for Fresh Herbs Without Wasting Money
A Small Trick That Saves Time
If you harvest several herbs together, group them by stem thickness instead of herb type. Herbs with similar stem sizes usually dry at the same speed, making it easier to check them without opening every bundle each day.
One Mistake to Avoid
Do not crush dried herbs before storing them. Leave the leaves whole whenever possible and crumble only what you need while cooking. Whole leaves keep their essential oils longer, so they stay flavorful for many more months.
A Few Last Words
Learning how to preserve herbs gives you a simple way to enjoy your harvest long after the growing season ends. Whether you choose air drying, freezing, or using a dehydrator, the goal stays the same: protect flavor while reducing waste. Start with one method, adjust it to the herbs you grow most often, and you will always have fresh-tasting herbs ready for your favorite recipes.
Featured image credit: Photo by Anne Nygård on Unsplash









Leave a Reply