
You open a closet looking for one thing and find winter coats, old shoes, half-used cleaning products, and items you forgot you owned. The house may not look particularly messy, but it still feels like it is carrying everything from the previous season.
That is why I find spring decluttering slightly different from other seasonal resets. You are not simply making room for warmer-weather belongings. You are also coming out of a period when windows stayed closed, heating systems ran regularly, and many parts of the house received less attention.
A good spring declutter checklist should therefore combine two things: removing what you no longer need and checking the parts of your home that need attention after winter. I like to do these tasks together because it saves me from cleaning the same areas twice.
Why Spring Decluttering Needs a Different Approach
Spring naturally encourages people to clean, but cleaning and decluttering solve different problems.
Cleaning removes dirt. Decluttering reduces the number of things you need to clean, move, maintain, and store.
After winter, I focus first on items that accumulated because of colder weather. Think winter clothing, blankets, seasonal accessories, holiday leftovers, indoor entertainment items, and things that simply stayed untouched for several months.
Then I move into maintenance. This order matters because there is little point in thoroughly cleaning an area before you remove the things you no longer need.
You also don’t need to complete the entire house in one day. A focused spring decluttering challenge can work better when you divide the house into manageable zones.
How to Follow This Spring Declutter Checklist
Before you begin, collect four basic supplies: a trash bag, a donation bag, a laundry basket for items that belong elsewhere, and a few reusable containers.
Use the laundry basket throughout the process. If you find a book in the bathroom or a winter scarf in the living room, place it in the basket instead of interrupting your current task.
I also recommend keeping a small notebook or phone note nearby for maintenance issues. Write them down rather than stopping your decluttering to research or repair them.
With that preparation done, you can work through the house in a consistent order.

1. Put Winter Items Away and Review Them
Start with the items that winter brought into your everyday life.
Gather coats, boots, scarves, gloves, heavy blankets, winter bedding, and cold-weather accessories. Before storing them, check each item for damage, stains, missing buttons, broken zippers, or anything that needs repair.
This is one of my favorite parts of a seasonal declutter because you already have months of information about these belongings.
If you never wore a particular coat because you disliked it, or you constantly avoided a pair of uncomfortable boots, you have a good reason to question whether they deserve another season of storage.
Wash or clean appropriate items before storing them, and use labeled containers or breathable garment bags where suitable.
Don’t Turn This Into a Full Wardrobe Declutter
You don’t have to examine every item of clothing you own.
Keep the focus on winter-specific pieces and anything that obviously needs attention. You can always return to your regular wardrobe later if you want a more extensive bedroom declutter.
2. Check Winter Bedding and Linens
Next, gather heavier blankets, comforters, flannel sheets, mattress protectors, and other cold-weather bedding.
Wash and dry anything you’re storing. Check for worn fabric, stains, broken fasteners, or bedding that no longer fits the beds you use.
Fold everything neatly and store seasonal textiles in breathable bags or suitable containers. Label them clearly if you have several sets.
I find this particularly useful because it prevents the common situation where you open five containers next winter looking for one blanket.
3. Review Holiday and Seasonal Items
Spring is a good time to deal with anything left behind from the winter holidays.
Look at Christmas decorations, gift-wrapping supplies, seasonal tableware, holiday clothing, and other items that returned to storage after the holidays.
If something broke while you were taking it down, don’t simply put it back into the box.
Separate items that need repair, items you no longer want, and items you definitely plan to use again.
A small labeled container for damaged decorations can help you avoid mixing repair projects with usable decorations.

4. Declutter the Entryway
Your entryway often tells you exactly what the previous season looked like.
Remove winter boots, heavy coats, snow or rain accessories, and anything that no longer belongs there.
Then look inside baskets, drawers, and cabinets. You may find old receipts, gloves without pairs, worn bags, and miscellaneous items that accumulated during the colder months.
A simple basket can hold items that belong in other rooms while you work. Once you’re finished, make one trip through the house and return everything.
5. Refresh the Bedroom
Once winter bedding and clothing are handled, move through the bedroom.
Look under the bed, inside bedside tables, and around the closet. Remove obvious rubbish, empty packaging, unused products, and things that migrated into the room during winter.
Check your mattress and pillows according to their care instructions. Rotate or clean them if appropriate for the product.
If you notice damaged furniture, loose handles, or broken storage hardware, add those jobs to your maintenance list rather than leaving them unnoticed.
6. Go Through the Bathroom Cabinets
Bathroom cabinets can quietly become storage areas for products you no longer use.
Take out expired or empty toiletries, dried-up products, and items you bought but never liked using.
Don’t automatically throw away every product you haven’t touched recently. Some items have occasional uses. Instead, focus on products that are clearly finished, damaged, unsuitable, or no longer useful to you.
Wipe shelves after removing the unnecessary items, then return the products you actually use.
A few small bins can keep similar products together without requiring a complete bathroom reorganization.

7. Give the Kitchen a Spring Review
The kitchen deserves special attention after months of heavier indoor cooking.
Start with the refrigerator and freezer. Check expiration dates, old leftovers, freezer-burned food, and ingredients you no longer plan to use.
Then look through the pantry.
Check duplicates before buying replacements. You may discover that you already have several bags of rice, multiple sauces, or baking ingredients hiding behind newer purchases.
Next, examine drawers and cabinets for broken utensils, mismatched containers, and appliances you haven’t used.
You don’t need to reorganize every cabinet. Focus on removing obvious clutter first.
8. Check Cleaning Supplies
Spring cleaning often means buying new cleaning products, but I prefer checking what I already own first.
Look under sinks, in utility closets, and wherever you keep household cleaners.
Remove empty containers and products you no longer use, and group similar supplies together.
Follow the labels for safe storage and disposal. Never mix cleaning chemicals simply because you’re trying to reduce the number of bottles.
A small handled cleaning caddy can keep frequently used supplies together and reduce the temptation to leave individual products scattered around the house.
9. Check Windows, Screens, and Doors
Once the obvious clutter is gone, spring is a good time to inspect areas that winter may have affected.
Look at window screens for holes or damage. Check doors and windows for damaged seals, drafts, moisture, or obvious gaps.
Clean appropriate surfaces according to the manufacturer’s recommendations.
If you find a structural problem, significant water damage, or anything involving electrical or gas systems, add it to your maintenance list and get appropriate help rather than treating it as a simple DIY cleaning task.

10. Inspect Your HVAC and Heating Areas
Your heating system has worked through the colder season, so spring provides a useful opportunity to check it.
Replace or clean filters according to your system’s instructions. Make sure vents and air returns aren’t blocked by furniture, baskets, or stored belongings.
If your system needs professional servicing, schedule it according to the manufacturer’s recommendations.
The U.S. Department of Energy also recommends regular HVAC maintenance and appropriate filter replacement as part of keeping heating and cooling systems operating effectively.
11. Check the Laundry Area
Look around your washer and dryer for items that have accumulated during winter.
Remove empty detergent containers and products you no longer use. Clean accessible areas according to the appliance instructions.
Check the dryer lint filter and surrounding area regularly. If you notice damaged cords, unusual smells, leaks, or other problems, arrange appropriate repair instead of continuing to use the appliance as normal.
A small shelf or basket can keep laundry products contained without turning the laundry room into another storage area.
12. Move Outdoors and Check Seasonal Equipment
Once the indoor areas are under control, move outside.
Check patio furniture, gardening tools, outdoor cushions, planters, hoses, bicycles, and other equipment that will become useful again.
Look for broken tools, cracked containers, damaged cushions, and outdoor items that you no longer use.
Clean appropriate equipment before putting it back into service.
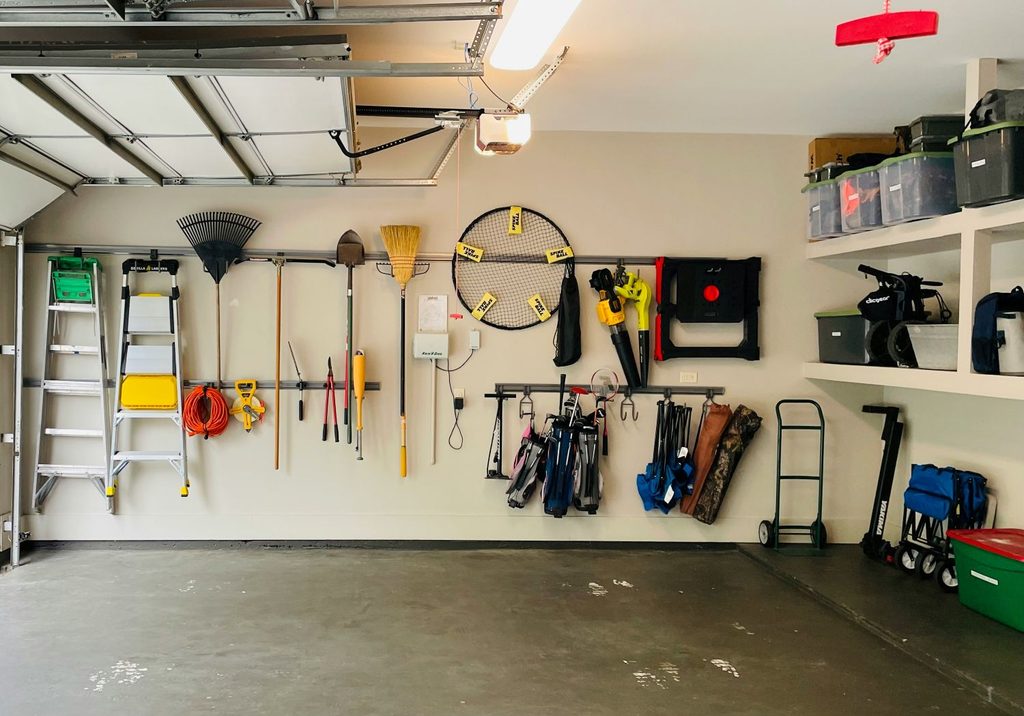
For small gardening supplies, inexpensive bins or divided containers can prevent things such as plant ties, clips, gloves, and hand tools from spreading throughout a shed or garage.
13. Review the Garage, Basement, or Storage Area
Don’t attempt to reorganize the entire garage just because it is spring.
Instead, concentrate on seasonal storage.
Bring winter items forward only long enough to check them and store them properly. Then identify summer items you’ll need soon.
This is where clear labels become particularly valuable. “Seasonal items” tells you very little. “Winter boots and accessories” or “Holiday wrapping supplies” saves you from opening multiple containers later.
14. Check Your Outdoor Maintenance Needs
Spring maintenance can reveal problems that were hidden during winter.
Walk around the exterior of your home and look for damaged gutters, loose outdoor fixtures, cracked surfaces, damaged screens, standing water, or signs of leaks.
Don’t assume every problem needs immediate DIY attention. Some repairs require professional assessment, especially where roofs, electrical systems, gas, or structural components are involved.
The goal is to notice problems early and create a clear list of what needs attention.
15. Finish With a Whole-House Reset
After completing the individual zones, walk through the house one more time.
Look for things that still don’t have a home, bags of donations that haven’t left the house, repair items that need action, and seasonal belongings that haven’t reached storage.
This final walk-through is important because the house can look temporarily worse during decluttering.
Don’t judge the process halfway through.
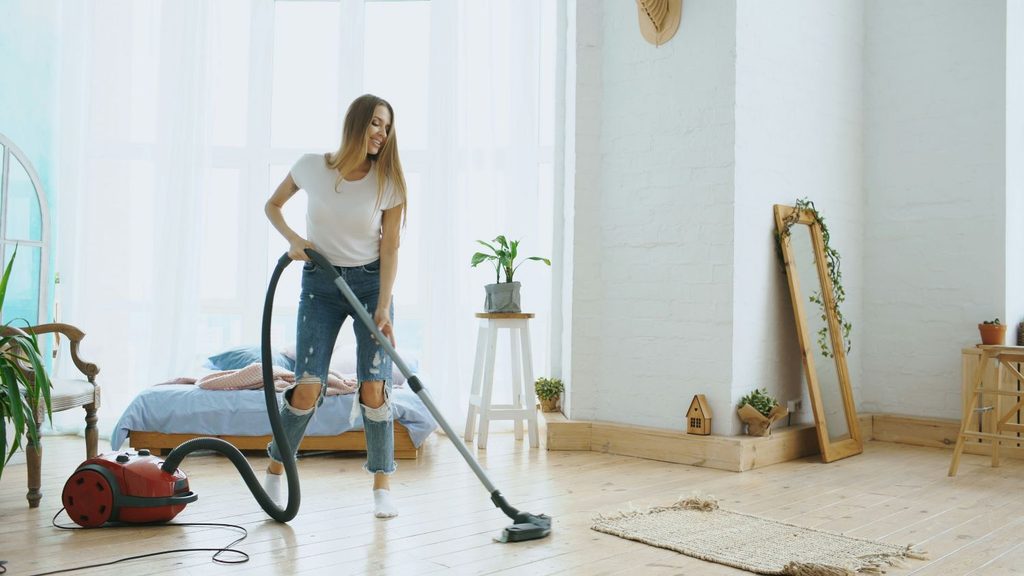
Finish the decisions, remove the rubbish and donations, return misplaced belongings, and then clean the surfaces you’ve cleared.
A Spring Decluttering Trick I Actually Find Useful
Keep a “repair and maintenance basket” while you work.
If you find a loose button, damaged curtain hook, broken storage bin, or similar item, put it there rather than stopping immediately.
At the end, you can quickly decide what deserves repair and what isn’t worth keeping.
I also like taking photographs of storage boxes before closing them. It gives me a visual reminder of what I stored without requiring me to open every container later.
Also read: How to Declutter Your Home in 30 Days: A Realistic Plan That Actually Feels Manageable
Don’t Let Spring Cleaning Become an Endless Project
A common mistake is treating every spring decluttering session as an opportunity to redesign the entire house.
You don’t need to reorganize every drawer, buy new storage products, or create a perfect spring decluttering aesthetic.
Your first goal should be removing things that no longer serve a purpose and identifying maintenance problems. Organization can come afterward.
That approach keeps the work manageable and makes it much easier to finish.
Also read: The One-Year Rule: Simple Decluttering Tips for Deciding What to Keep and What to Toss
Your Spring Maintenance Notes
Before you finish, review the maintenance list you created throughout the process.
Separate urgent repairs from tasks you can schedule later. You might have noticed a leaking faucet, damaged window screen, HVAC service requirement, gutter issue, or appliance problem.
Don’t keep these observations in your head. Write them down with the location and a short description.
That turns “I need to deal with the house” into a practical list you can actually work through.

What If You Don’t Have Time for a Full Spring Reset?
You can divide this spring cleaning and decluttering checklist across several short sessions.
For example, spend one session on winter belongings, another on the kitchen and bathroom, and another on maintenance.
A shorter completed reset is more useful than an ambitious plan that leaves half the house untouched.
Also read: 5 Decluttering Methods Compared: Which One Works Best for You?
A Few Last Words
A spring declutter checklist works best when you treat spring as a transition rather than one enormous cleaning event. Remove winter clutter, review seasonal belongings, check the areas that need maintenance, and deal with obvious household problems while you’re already moving through each room. You don’t need a perfect home by the end. You simply need a home that is ready for the season ahead and easier to maintain.