
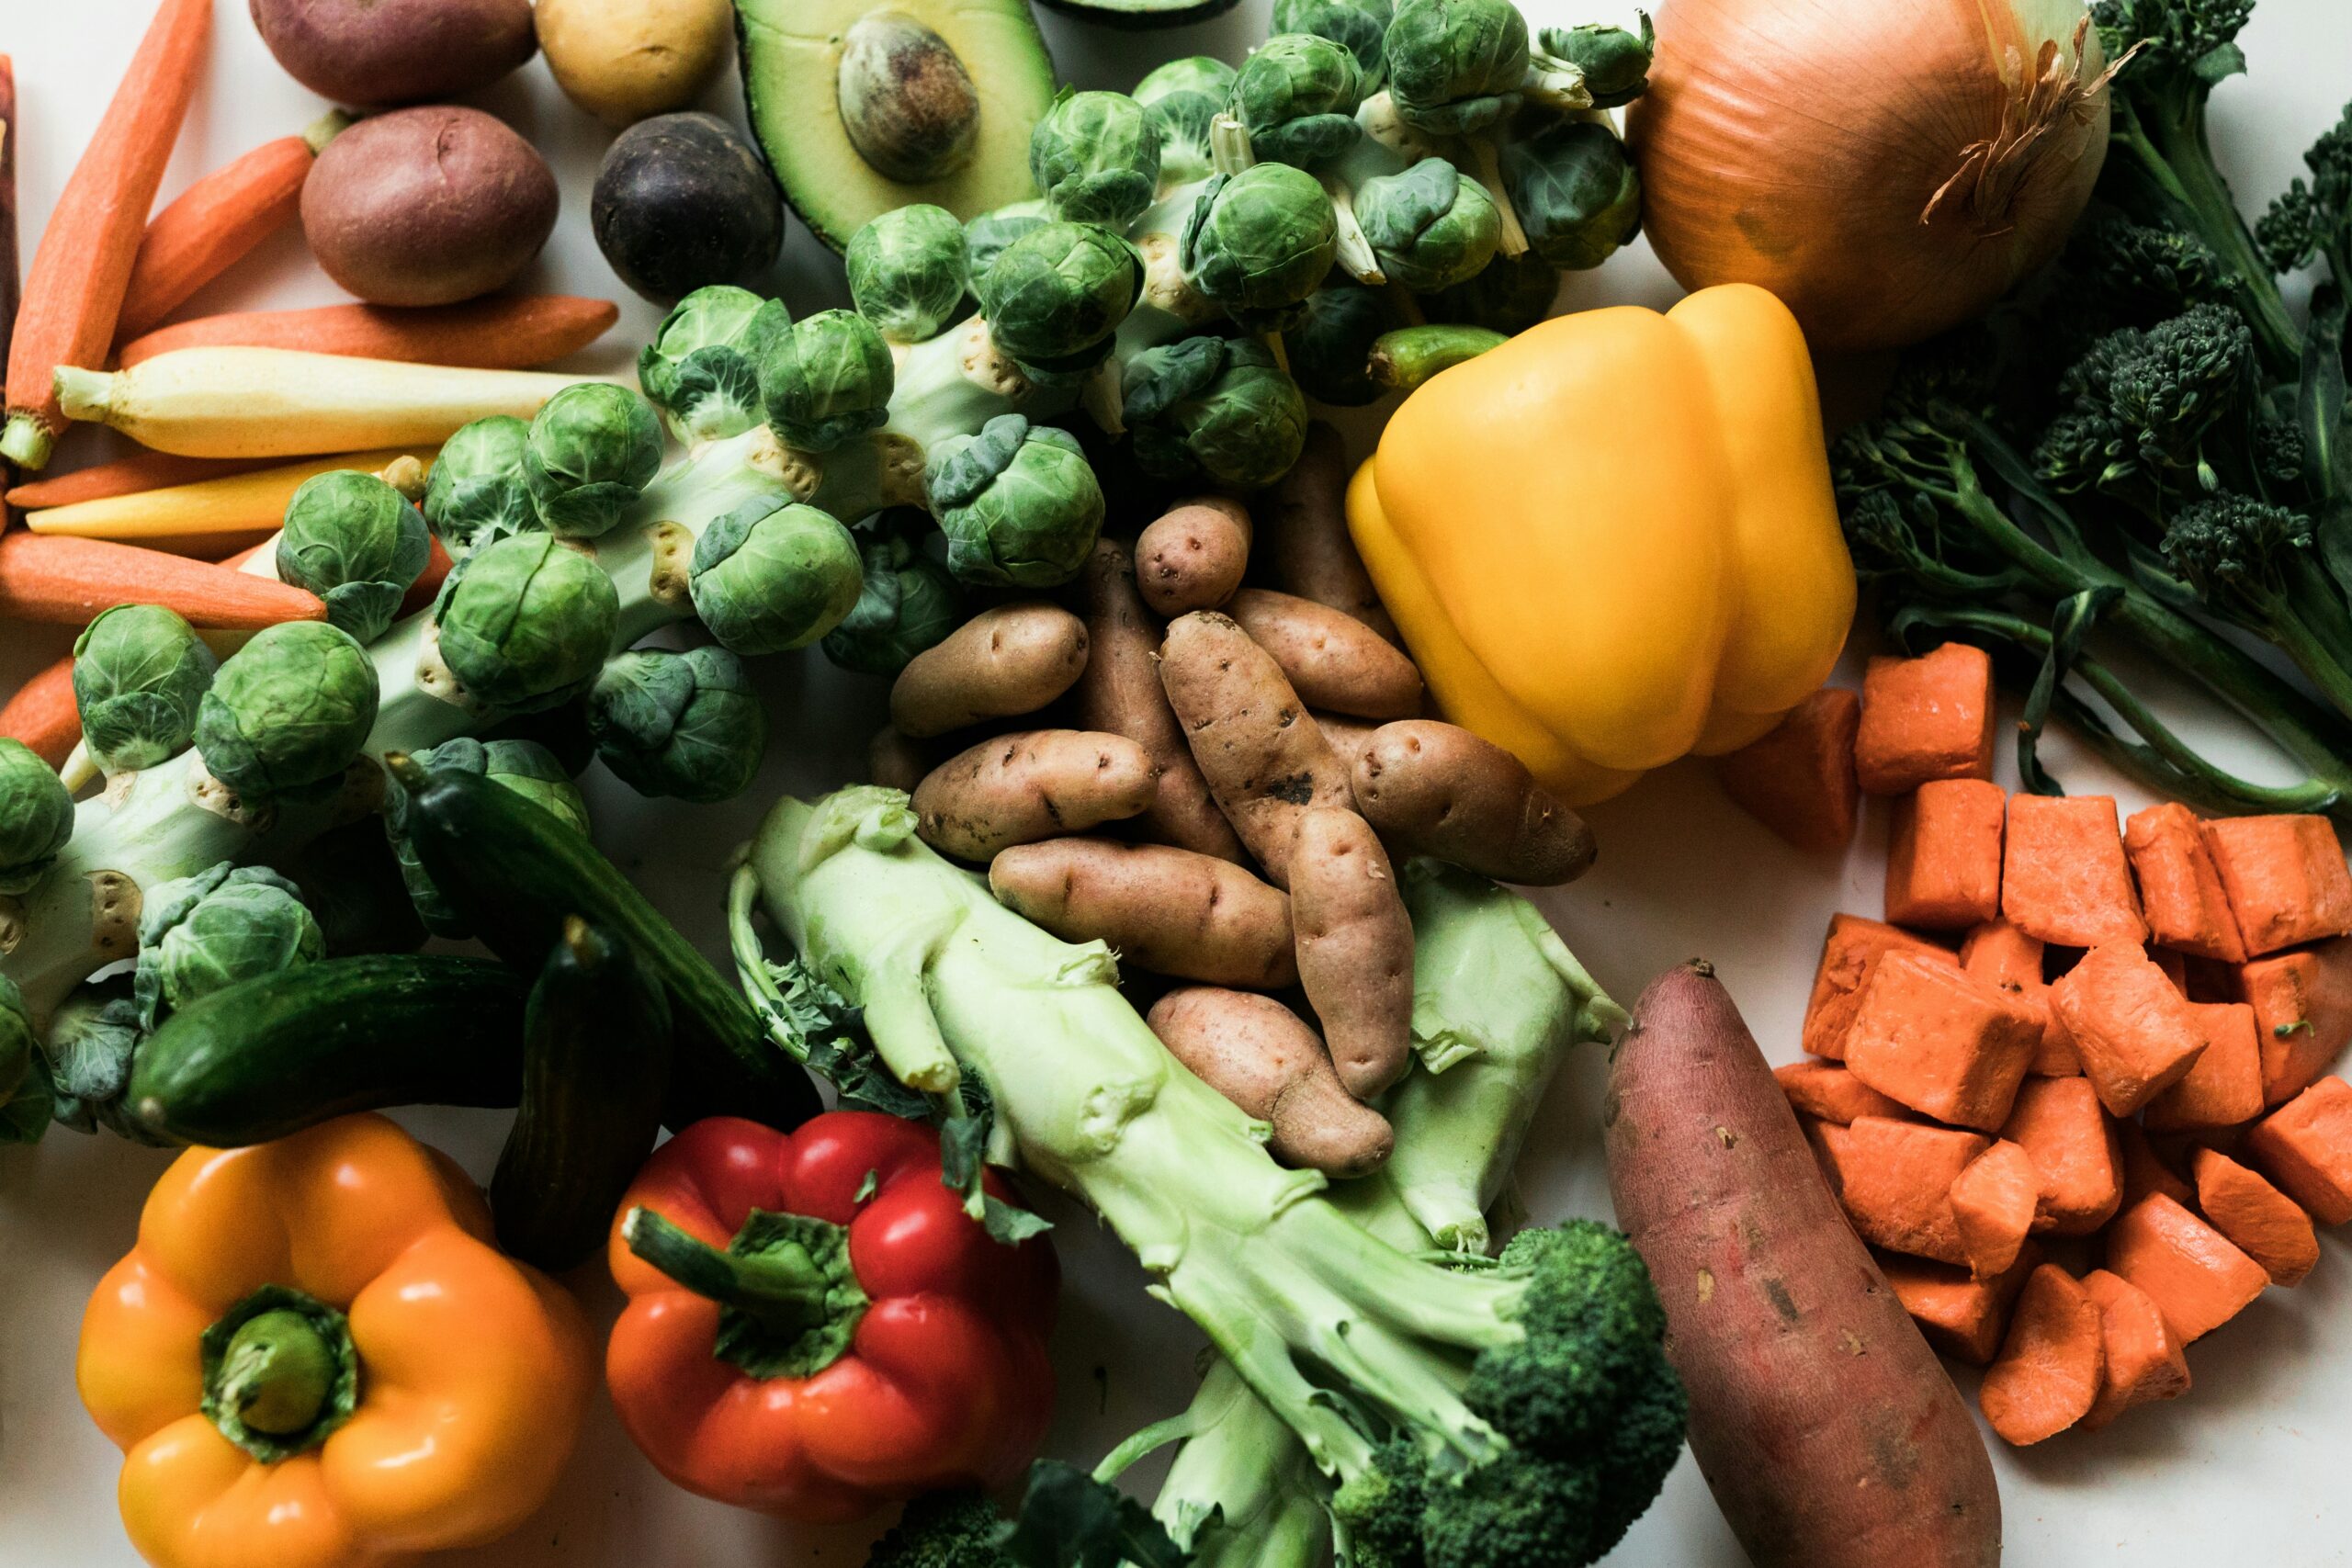
Have you ever looked at the bottom of a lettuce, a potato with tiny sprouts, or a bunch of green onions and wondered if throwing them away is a waste? I used to do exactly that. Starting vegetables from seeds can take time, require planning, and sometimes end in disappointment when seeds fail to germinate. Growing vegetables from kitchen scraps feels much more approachable because you are giving part of an existing plant a second chance.
While kitchen scrap gardening will not replace a full vegetable garden, it is one of the easiest ways to learn how plants grow while saving a little money. Many scraps quickly produce fresh leaves or even another harvest with very little effort. Once I started regrowing a few vegetables on my kitchen windowsill, I found myself paying much closer attention to the health of every plant in my garden. If you want an easy place to begin, these are the vegetables I recommend first.
Which Vegetables to Grow From Kitchen Scraps Actually Work?
Not every vegetable grows well from scraps, but these fifteen have earned their place because they are reliable, beginner-friendly, and easy to maintain.
1. Green Onions
Green onions are probably the easiest vegetables to grow from kitchen scraps. Simply leave the white bulb with about one inch of stem attached and place it in a small glass with enough water to cover the roots. Within days, new green leaves begin to appear. After a week, move them into a small pot if you want stronger growth. Give them six hours of sunlight, keep the soil lightly moist, and harvest by cutting only the green tops. You can usually harvest several times before replacing the plant. A simple recycled jar and a small watering can make the process effortless.
2. Lettuce
Romaine and leaf lettuce both regrow surprisingly well. Save the bottom two inches of the head and place it in a shallow dish with a little water. Fresh leaves begin forming from the center within a week. After roots develop, transplant it into a container with well-draining soil. Lettuce enjoys cool weather, partial to full sun, and consistently moist soil. You will not grow a full supermarket-sized head again, but you can harvest tender leaves for salads in three to five weeks. A shallow planter works perfectly because lettuce has relatively small roots.
3. Celery
Celery scraps regrow almost as easily as lettuce. Keep the base of the stalk, place it in shallow water, and change the water every couple of days. Once healthy roots appear, transplant it outdoors or into a deep container. Celery needs rich soil, regular watering, and six to eight hours of sunlight. It generally takes three to four months to mature, but you can harvest outer stalks much earlier. Using mulch around the plant helps keep the soil evenly moist, which celery appreciates.
4. Garlic
If one garlic clove begins sprouting in your kitchen, do not throw it away. Plant the clove with the pointed end facing upward about two inches deep. Garlic prefers loose soil, full sun, and moderate watering. Depending on the variety, it usually matures in eight to nine months. Even before full bulbs develop, you can harvest the green garlic shoots to flavor soups and stir-fries. A small hand trowel makes planting individual cloves much easier.
5. Potatoes
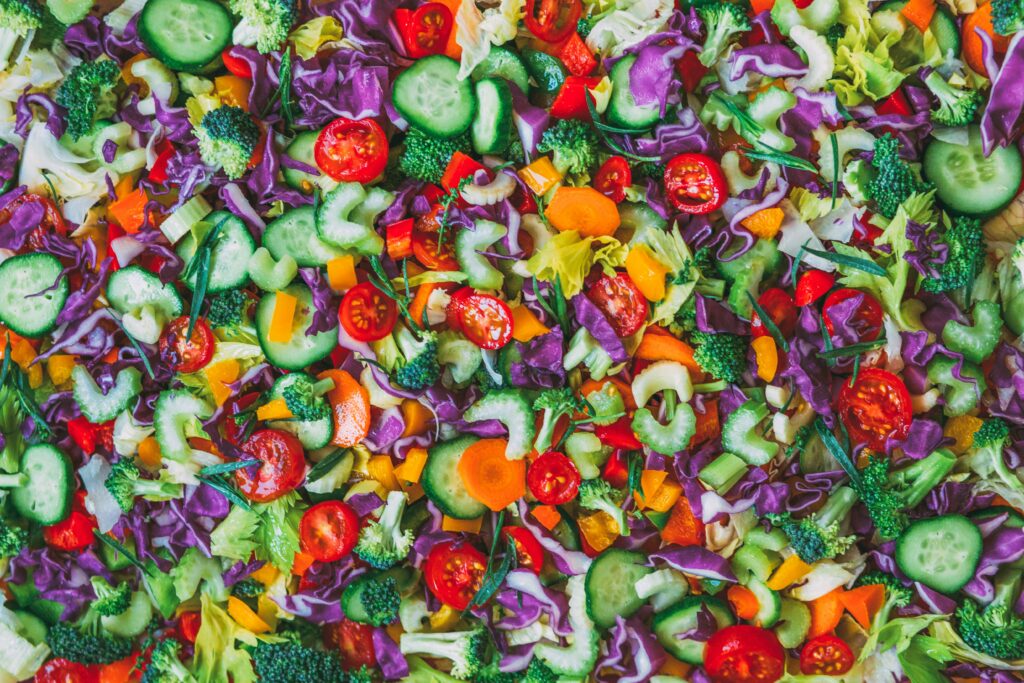
Sprouting potatoes often become the beginning of a productive crop. Cut the potato into pieces so each section contains one or two healthy eyes. Allow the cut surfaces to dry for a day before planting. Potatoes need loose, fertile soil, plenty of sunshine, and consistent watering without becoming soggy. Most varieties mature in 90 to 120 days. Grow bags are especially useful because they improve drainage and make harvesting much easier than digging directly into the ground.
6. Sweet Potatoes
Sweet potatoes regrow differently. Suspend half a sweet potato over water using toothpicks, and wait for slips to develop. Once the slips grow several inches long and develop roots, separate them and plant them individually. Sweet potatoes love warm temperatures, full sun, and well-drained soil. They usually need about four months before harvest. Raised beds or large containers work well because the vines spread widely while the roots expand underground.
7. Ginger
Fresh ginger from the grocery store often contains visible growth buds. Plant the rhizome just below the soil surface with the buds facing upward. Ginger prefers filtered sunlight, warm temperatures, and evenly moist soil. It grows slowly, taking eight to ten months for a full harvest, although you can harvest small pieces earlier. A wide, shallow container gives the rhizomes room to spread naturally.
8. Turmeric
Turmeric grows almost exactly like ginger. Plant healthy rhizomes in rich soil during warm weather and water consistently without soaking the soil. Turmeric appreciates partial shade in very hot climates and usually reaches harvest size after eight to ten months. Fresh turmeric costs much more than many vegetables, so growing your own from a small piece often pays off surprisingly well.
9. Leeks
Leeks regrow similarly to green onions. Place the rooted base in a small glass of water until new leaves appear, then transplant it into the garden. Leeks need full sun, fertile soil, and steady moisture. Most varieties mature in four to five months. As they grow, gently mound soil around the stems to produce the long white shafts that cooks prefer. A simple garden fork helps loosen the soil without damaging the roots.
10. Bok Choy
Bok choy regrows quickly from its base. Place the cut end in shallow water and keep it in bright light. After new leaves appear and roots begin forming, transplant it into soil. Bok choy enjoys cool weather and regular watering. Baby leaves can be harvested in about one month, while full plants usually mature in 45 to 60 days. A moisture meter can help prevent overwatering, which often causes root problems.
11. Fennel
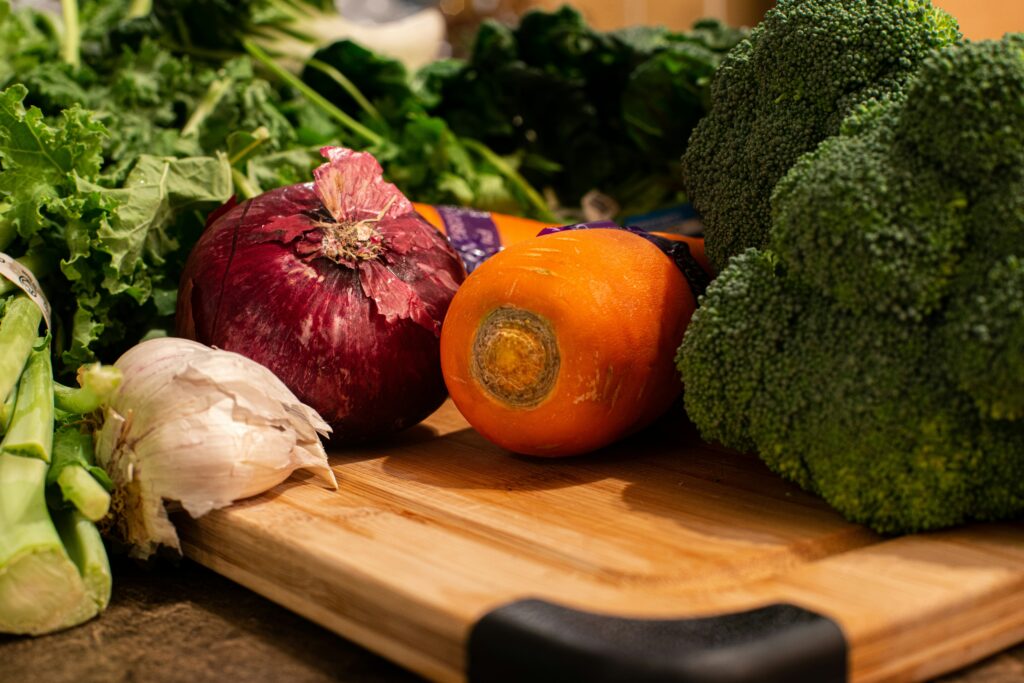
The bulb base of fennel can produce fresh leafy growth when placed in water. Once roots become stronger, move it into well-drained soil. Fennel needs full sun and moderate watering. It usually matures in about three months. While the new bulb may not become as large as the original, the feathery leaves remain useful in salads, soups, and fish dishes.
12. Carrot Tops
Carrot tops will not grow another carrot root, but they produce attractive leafy greens. Place the carrot tops in a shallow dish with water and move them to soil after roots develop. The greens grow within weeks and can be used in pesto, chimichurri, or homemade vegetable stock. This is one situation where managing expectations matters because many beginners expect an entirely new carrot to form.
13. Beet Tops
Like carrots, beet tops regrow leafy greens rather than another beetroot. Keep the top inch of the beet, place it in water, and transplant after roots appear. The leaves grow quickly and taste similar to Swiss chard. They need moderate sunlight, moist soil, and about three to four weeks before the first harvest of tender leaves.
14. Cabbage
Cabbage bases can surprise you with fresh leafy growth. Place the base in shallow water until new leaves emerge, then transplant it into fertile soil. Cabbage enjoys cool weather and regular watering. While it rarely forms another full-sized head, it produces enough fresh leaves for cooking over several weeks. Lightweight row covers can help protect young leaves from cabbage worms.
15. Lemongrass
Although technically an herb, many gardeners grow lemongrass alongside vegetables because it fits perfectly into kitchen scrap gardening. Place the stalk base in water until strong roots develop, then transplant it into a sunny location. Lemongrass grows quickly in warm climates, needs consistent moisture, and becomes harvest-ready within three to five months. A large container keeps its vigorous roots from spreading too far.
How to Start Your Kitchen Scrap Garden Successfully
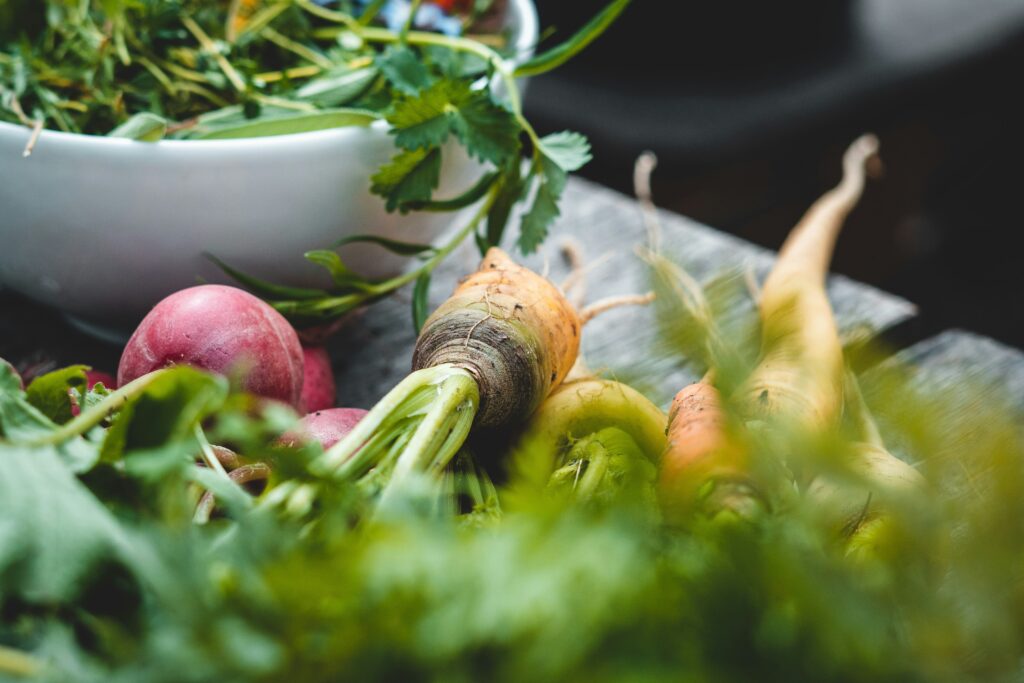
You do not need expensive equipment to begin. Start by choosing healthy scraps that still have roots, bulbs, or growing points attached. Place water-grown scraps somewhere bright but out of harsh afternoon sun, and refresh the water every two or three days. Once roots appear, move them into containers filled with quality potting mix. Label each container with inexpensive plant markers so you remember when you started each vegetable. A simple watering can with a narrow spout also helps you water gently without disturbing young roots.
From my experience, patience matters more than buying expensive supplies. Some scraps begin growing within days, while others take several weeks before showing visible progress.
Also read: Container Gardening Made Easy: Vegetables to Grow for Every Pot Size
A Small Trick That Makes Regrowth More Reliable
Instead of transplanting immediately after seeing the first roots, wait until the roots reach about one inch long. Stronger roots adjust to soil much better and reduce transplant shock, especially for lettuce, celery, and bok choy.
One Thing to Watch Carefully
Kitchen scraps often fail because people leave them sitting in the same water for too long. Dirty water encourages bacteria and mold. Change the water every few days and remove any soft or rotting pieces before they affect healthy growth.
One important thing to remember is that not every vegetable grown from scraps produces another full harvest. In many cases, you regrow fresh leaves rather than complete vegetables. That does not make the process less worthwhile. It still reduces waste, teaches valuable gardening skills, and provides fresh ingredients with very little investment.
Most experienced gardeners agree that kitchen scrap gardening works best as a supplement rather than a replacement for traditional gardening. Think of it as an easy way to extend the life of vegetables you already buy while building confidence before growing larger crops from seed.
A Few Last Words
Growing vegetables to grow from kitchen scraps is one of the simplest ways to make gardening feel less intimidating. You need very little space, only a handful of common supplies, and a little patience. Once you see fresh green growth appear from something you almost threw away, you may find yourself looking at every vegetable in your kitchen a little differently.
Featured image credit: Photo by Nathan Dumlao on Unsplash
Leave a Reply