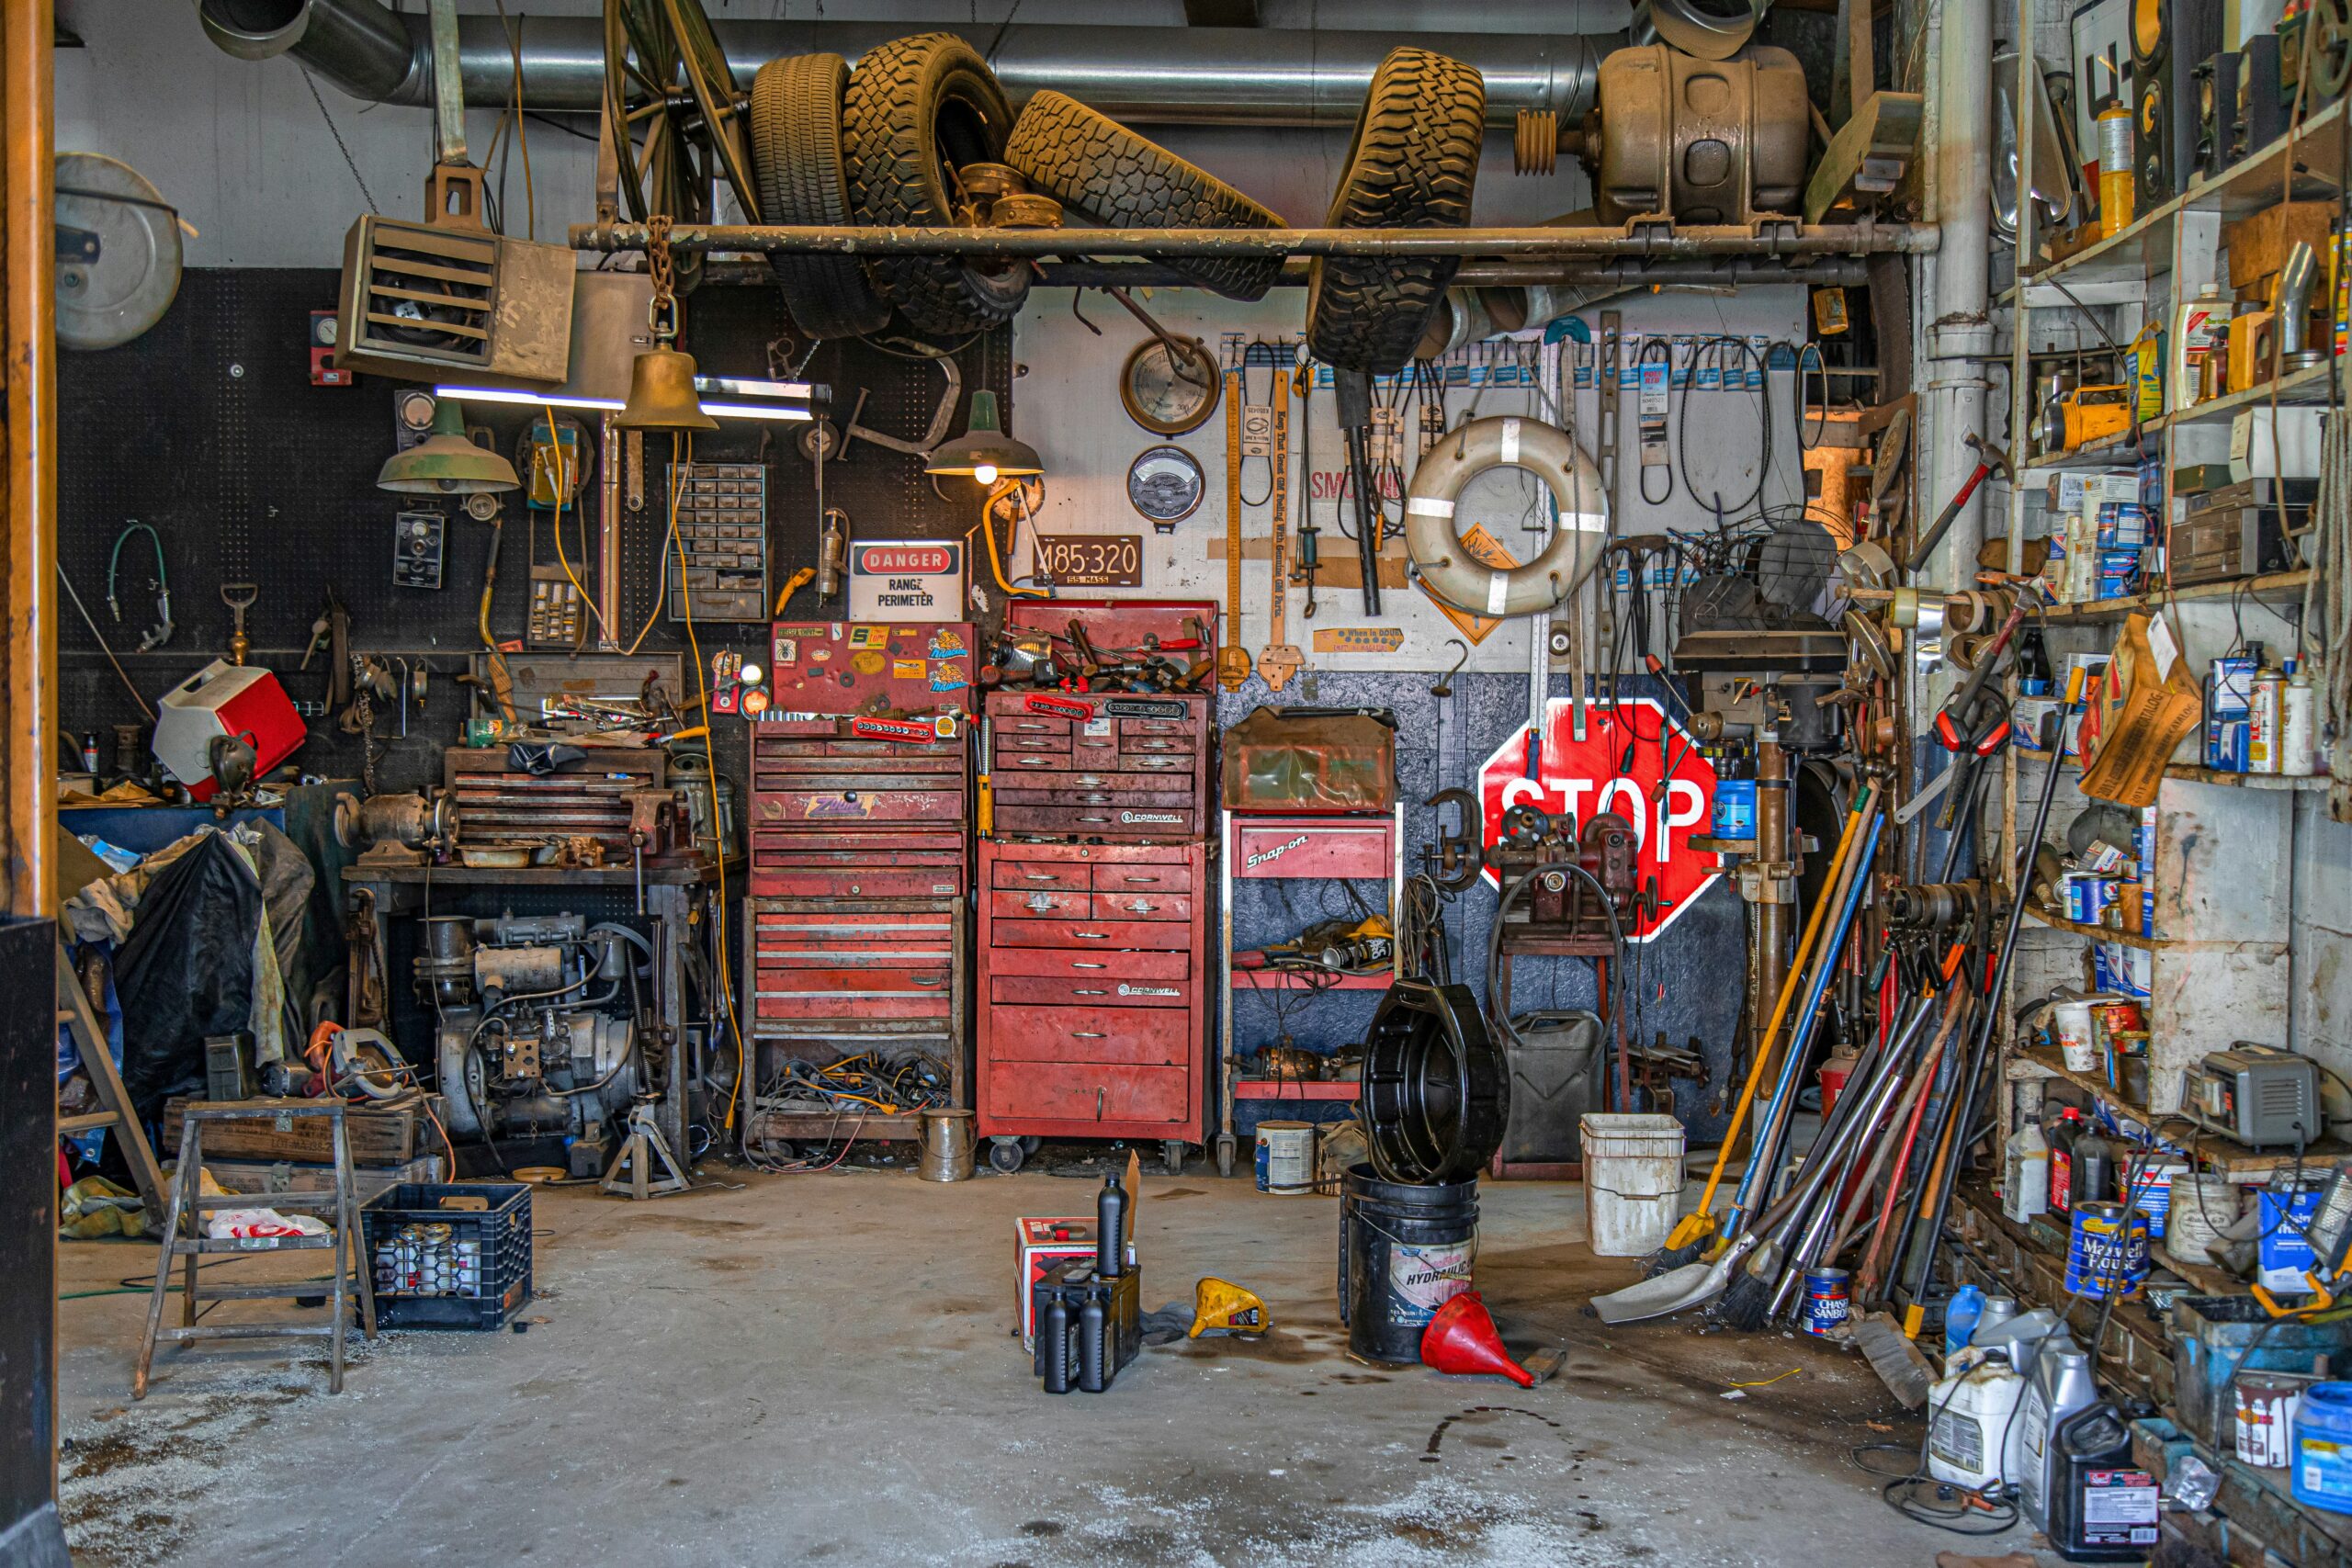
Let’s be honest. Your garage was supposed to be for your car, your tools, maybe a bike or two. But somewhere along the way, it became the room where everything goes to be forgotten. The broken treadmill, the holiday decorations from 2019, three half-empty cans of spray paint, and a folding table you have not touched since your cousin’s graduation party. And thus, decluttering garage became a myth in your household.
You are not alone. This is one of the most common home struggles in America. And the good news? You do not need a huge budget or a whole weekend to fix it. You just need a plan.
Here are 10 practical steps to finally tackle your garage decluttering, and turn that chaotic space into one that actually works for you.
Step 1: Set a Clear Goal Before You Start
Before you move a single box, ask yourself what you want this space to be. A parking spot for your car? A workshop? A spot for sports gear and garden tools? Having a clear vision makes every decision after this so much easier. Grab a notepad, sketch a rough idea, and keep that goal in mind throughout the whole process.
Step 2: Empty Everything Out
Yes, everything. Pull it all out onto your driveway or lawn. This step feels big, but it is worth it. When you can see every item in broad daylight, you make faster and smarter decisions. It also lets you sweep, vacuum, and wipe down the space before anything goes back in. A clean slate changes how you think about the whole project.
Also read: Decluttering Tips: How to Declutter Your Closet in Just One Weekend
Step 3: Sort Into Three Piles
This is the heart of all good garage decluttering ideas. Make three piles: keep, donate, and toss. Be honest with yourself. If you have not used it in over a year, it probably is not earning its spot. That dusty exercise bike, the camping gear from college, the spare door handles for a car you no longer own — let them go. You can sell items on Facebook Marketplace or OfferUp to make a little cash while you are at it.
Step 4: Get Rid of the Donate and Toss Piles Immediately
Do not let those piles sit. Load up your car for donation right away. Schedule a junk pickup or make a trip to the dump the same day. This matters more than it sounds. If those items stay in your garage overnight, they creep back in. Out of sight truly does mean out of mind here.
Step 5: Plan Your Zones
Now that you only have your “keep” items left, it is time to think about garage organization. Divide your garage into zones based on activity. Common ones include gardening, automotive, sports, tools, seasonal storage, and kids’ stuff. Great zones to consider include Gardening, Automotive, Sports, Holiday, and Home Improvements. Think about which areas of the garage make the most sense for each. Items you grab daily should be closest to the door. Seasonal items can go in the back or up high.
Step 6: Go Vertical With Your Storage
This is the single biggest garage storage idea that most people overlook. Your walls are free real estate. Install pegboards for tools. Add wall-mounted hooks for bikes and ladders. Use slatwall panels for a more customizable look. Vertical space is the key to making a family garage truly functional, especially when you are working with a small footprint. Even a few shelves mounted at shoulder height can free up enormous amounts of floor space.
Also read: 7 Space-Saving Shoe Storage Ideas for Any Home
Step 7: Add Smart Garage Storage Solutions
You do not have to spend a lot to get your garage storage organization in order. Wire shelving units are affordable and incredibly sturdy. Plastic bins with lids stack well and keep pests out. Magnetic strips on the wall hold metal tools like screwdrivers and wrenches without taking up drawer space. For bulky things like bikes, overhead storage racks are one of the best ways to get bikes off the floor and free up room for everything else. Pulley systems work great for kayaks, canoes, and heavy lawn equipment too.
Step 8: Label Everything
This is where so many people skip a step and regret it later. Labels are the reason your garage organization will actually last. Use a label maker or even a marker and masking tape. Label every bin, shelf, and basket. When your kids or your spouse can clearly see where the soccer balls go or where the extension cords live, things actually get put back where they belong. It sounds simple because it is. And it works every time.
Step 9: Do the Mini Makeover Touches
A garage makeover does not mean spending thousands on custom cabinetry. Small touches make a big difference. Paint the walls a light color to brighten the space. Add an LED shop light if things feel dim and dingy. Put a small utility rug near the entry door. Add a power strip to a workbench for charging tools. These are the kinds of low-cost, high-impact garage organization ideas that make the space feel intentional rather than just functional. The popular home organization blog Hana’s Happy Home has a fantastic before-and-after garage transformation that shows just how dramatically a few smart choices can change a space — well worth a look for visual inspiration.

Step 10: Create a System to Keep It This Way
Here is the honest truth. The reason most garages fall back into chaos is not a lack of organization. It is a lack of a system. Scheduling quarterly 30-minute tidying sessions is all it takes to prevent clutter from building up again. Every few months, do a quick sweep. Toss expired products, return misplaced items, and do a mini purge if needed. Make it a family habit. Put it on the calendar like any other chore.
A Few Budget-Friendly Product Picks to Get You Started
You do not need to buy everything at once. Start with what you need most. A pack of clear plastic bins runs about $20 to $40 at Walmart or Target. A basic pegboard kit is around $30. Command hooks and a label maker are under $15 each. Many garage storage organization wins cost less than a dinner out.
You Can Do This
A garage cluttered with years of accumulated stuff can feel completely overwhelming. But it does not have to stay that way. Take it one step at a time. You do not have to tackle the whole thing in a single Saturday. Start with one corner, one zone, one wall. Progress builds momentum. And once you feel the relief of a clean, functional space, you will wonder why you waited so long.
Your garage has the potential to make your daily life easier, your weekends more enjoyable, and your home feel more put-together overall. All it takes is a plan and the willingness to start.