Hardwood flooring is a popular choice for both residential and commercial spaces due to its sleek finish, durability, and low maintenance. Cleaning is easy as it does not trap dust and debris like carpets do, making it the best option for your place. Whether you opt for professional installation or choose to tackle the project yourself, it’s a great investment.
You can consult flooring companies for full-service installation or save money by taking on the task yourself. Whether you have the skills or just want a DIY project, these companies will help you choose high-quality and long-lasting hardwood flooring. However, a DIY project requires the right equipment and knowledge, so you must prepare adequately before beginning.
Here are five steps for a successful DIY hardwood floor installation for your residential or commercial space.
Prepare the flooring areas
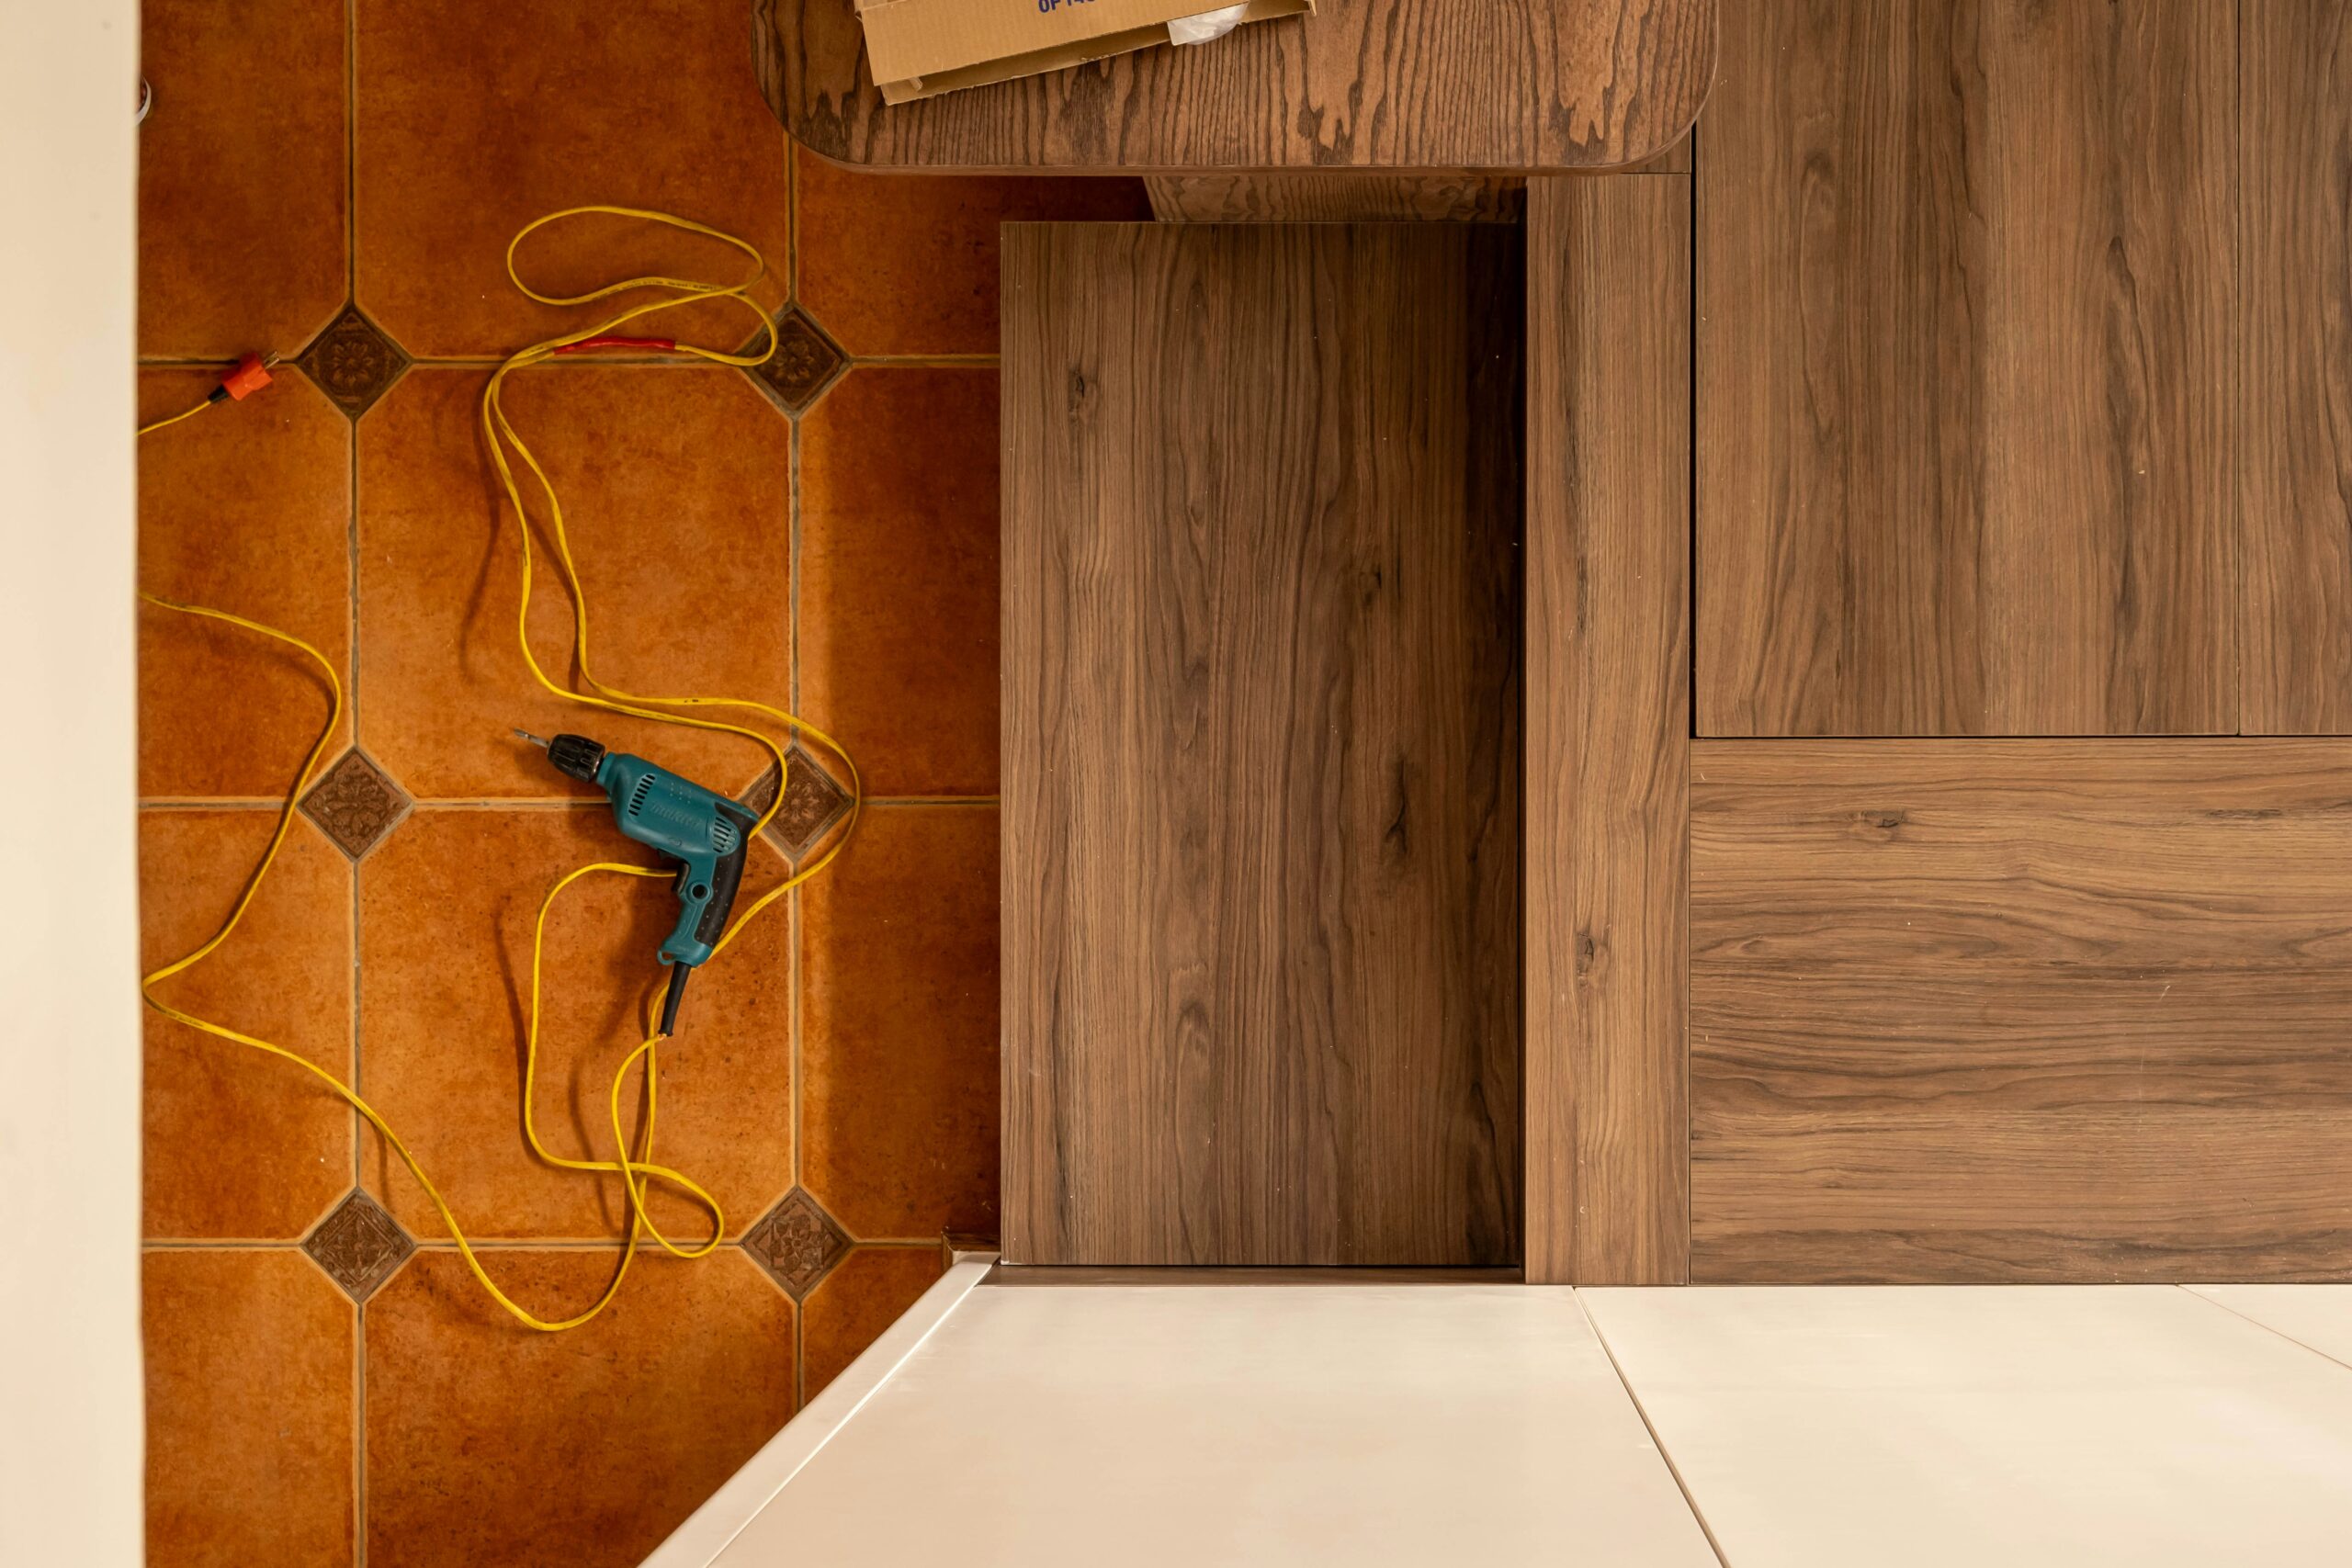
Preparing the flooring area is the first and most important step for a successful DIY hardwood floor installation. Uneven or rough areas will lead to an uneven finish causing gaps and squeaks between the planks. So, before installing the hardwood floor, it’s crucial to ensure that the surface area is clean and even. You have the option to either remove the existing flooring or install the new flooring over it.
If you opt for the former, you will have a fresh surface to work on, but it may involve leveling the base or correcting any ridges, which can raise the cost. Installing the flooring over the existing flooring offers insulation benefits and will result in a smooth finish. Remember to also remove doors and shoe moldings as part of the preparation process and clean the space well.
Acclimate the flooring
It’s essential to acclimate the hardwood planks you’ll use for the flooring during the DIY hardwood floor installation. Wood reacts to changes in temperature and can shrink or expand, so allowing it to adjust to the temperature in your home is critical. Arrange the planks in the order you intend to install them in the room and leave them for a minimum of 3 to 5 days to acclimate to the humidity and temperature.
Once the acclimation period is over, you can quickly identify the straightest pieces and start installing them along the walls. This will also reveal any damaged or warped planks that are unsuitable for installation, which can be set aside and used for cutting corners.

Pick a suitable installation method
There are several options available for installing hardwood flooring, and the one you select will depend on factors such as the condition of your subfloor, personal preference, and budget. The three most common installation methods are glue-down, nail-down, and click lock.
The glue-down method is the most popular and straightforward one for DIY hardwood floor installation and involves spreading glue on the subfloor and pressing the hardwood planks into place. It is also one of the most economical installation methods.
The nail-down method provides more stability and durability but requires a wooden subfloor. If you don’t have one, you may need to remove your current flooring and install a plywood subfloor, which can increase the installation cost.
The click-lock method is best for engineered wood and involves clicking the panels together to create a seamless floor. It is another easy and cost-effective option like the glue-down method.
Lay the boards in order
This step is the most important and sensitive one, as this will influence the final output. You can use either an electric saw or a cutter to cut the hardwood boards. It’s important to cut each piece into a square shape and at a 90-degree angle so that the pieces fit together perfectly along the wall and provide a seamless installation. If you’re looking to create a unique, irregular cut or a curved shape, use a jigsaw.
Use a floor nailer to fasten the flooring securely and efficiently. You can use the face nailing or blind nailing technique – both are effective.
To begin the installation process, start from the straightest wall of the space and select boards that align with the room length. Leave a half-inch gap between the wall and the boards to allow for expansion. You can cover it with molding later on.
Add finishing touches
The final rows of the flooring installation can be challenging to fill. The ends of the boards won’t match due to the nature of the pieces. Keep at least six inches of space between the jagged ends and the wall to fix this. Cut the boards as needed to fill in the gaps. Consider adding variety to the look by mixing and matching different colors and textures of the boards.
After the installation, fill any nail holes or missing surfaces with putty. To complete the project, install baseboards and shoe moldings and secure them to the walls.
Changing the flooring of your house can change its look. If you’re bored with the old carpets, time to throw them away and install hardwood flooring for a change. Although hiring professionals to install your flooring may be easier, doing it yourself can be both enjoyable and cost-effective. A DIY hardwood floor installation project can also produce impressive results if done correctly. If you’re worried about potential damage, make sure that your home insurance covers it.
Featured image: Photo by Nguyễn Hiệp on Unsplash